Do you have a question about the ring Floodlight Cam and is the answer not in the manual?
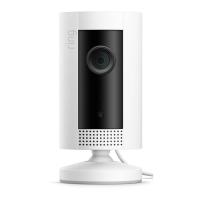
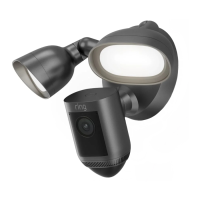
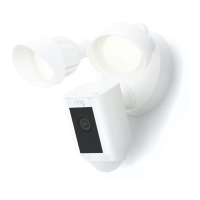
Your new Ring Floodlight Cam extends security around your entire property.
Know when someone's in your yard and watch your home from anywhere.
Monitor, prevent crime, and protect your property from your phone, tablet, or PC.
Tools included for installation: screwdriver handle and Phillips bit.
Use this bracket to attach your Floodlight Cam to your wall.
Includes install screws, anchors, drillbit, cap nuts, and a hook.
Diagram showing how mounting posts, bracket, wires, and screws connect.
Details on adjustment knobs for lights and camera collars.
Optimal detection range up to 10m at 3m height with detector parallel to ground.
Turn off power to the floodlight circuit at the fusebox before installation.
Risk of electrical shock; use licensed electrician, ground fixture, avoid flammables.
Adjust light fixtures and rotate the camera 180 degrees for installation.
Disconnect power and wires, then remove the old floodlight and bracket.
Prepare gasket, route wires, and mount bracket level to the wall.
Use hook to hang cam, then connect earth and power wires.
Attach and secure live, neutral, and earth wires using provided connectors and screwdriver.
Align mounting posts, press cam into place, and secure with cap nuts.
Restore power; the cam enters setup mode when lights turn on.
Use the Ring app to connect the Floodlight Cam to your Wi-Fi network.
Access settings, control lights, motion alerts, and siren from the app dashboard.
Toggle motion notifications and adjust sensitivity for preferred alerts.
Define custom areas to trigger motion alerts and lights.
Set a schedule for your lights to turn on and off automatically.
Customize areas that trigger lights and adjust their on-time.
Solutions for lights not turning on or poor video/audio quality.
Tips for resolving setup failures, Wi-Fi issues, and no power.
Contact Ring support via website or phone for further assistance.
| Resolution | 1080p HD |
|---|---|
| Connectivity | 802.11 b/g/n Wi-Fi connection @ 2.4GHz |
| Audio | Two-way talk with noise cancellation |
| Motion Detection | Advanced motion detection with customizable motion zones |
| Power Source | Hardwired |
| Siren | 110dB |
| Night Vision | Infrared night vision |
| Weather Resistance | Weather Resistant |
| Storage | Cloud storage (with subscription) |
| Lights | Built-in LED floodlights (adjustable brightness and motion-activated) |
| Operating Conditions | -22°F to 120°F (-30°C to 48°C), weather resistant |