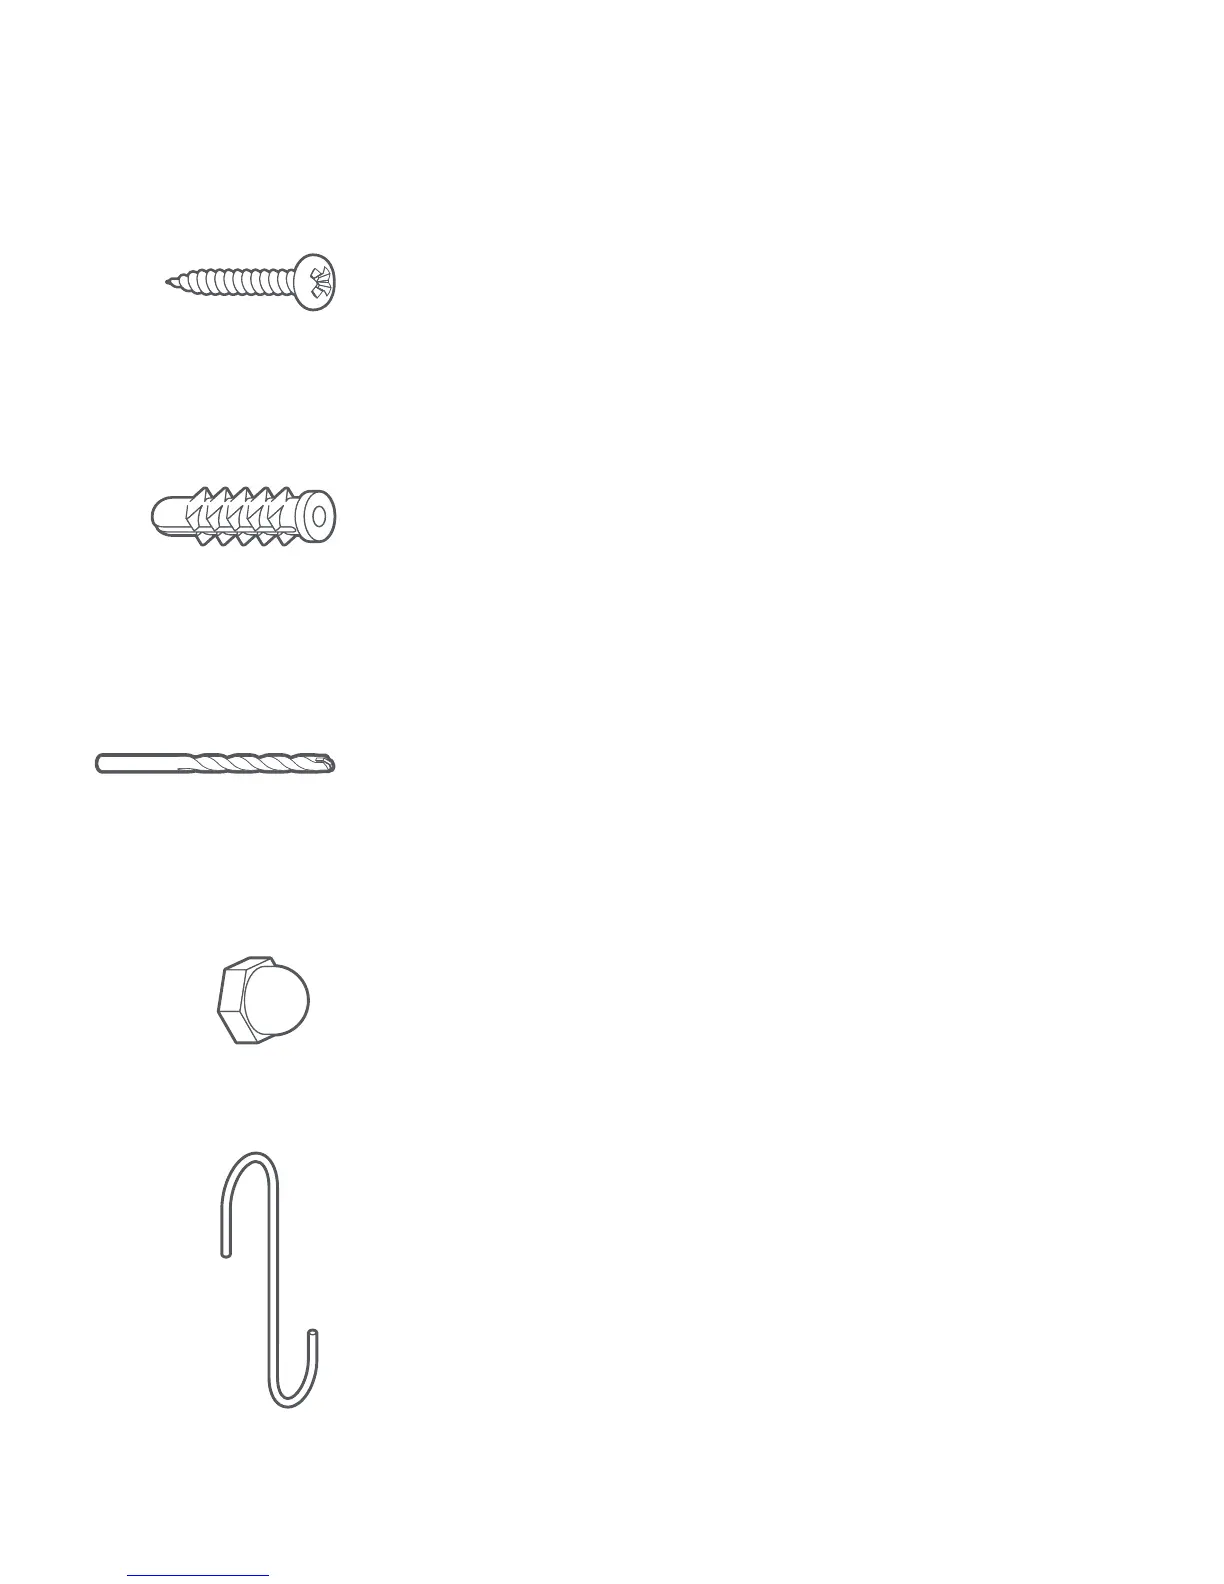
Install Screws (5)
Use 2 of these to attach the mounting
bracket to your wall.
Anchors (5)
Use these in combination with the
Install Screws if installing on a brick,
stucco or other masonry surface.
Drillbit
Use this to drill holes if you’ll be using
the anchors.
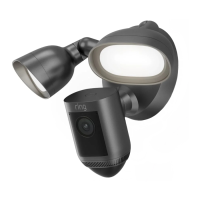
Cap Nuts (3)
Use these to secure your Floodlight
Cam to the posts on the mounting
bracket to complete the installation.
Hook
Hang your Floodlight Cam while
connecting the wires.
5