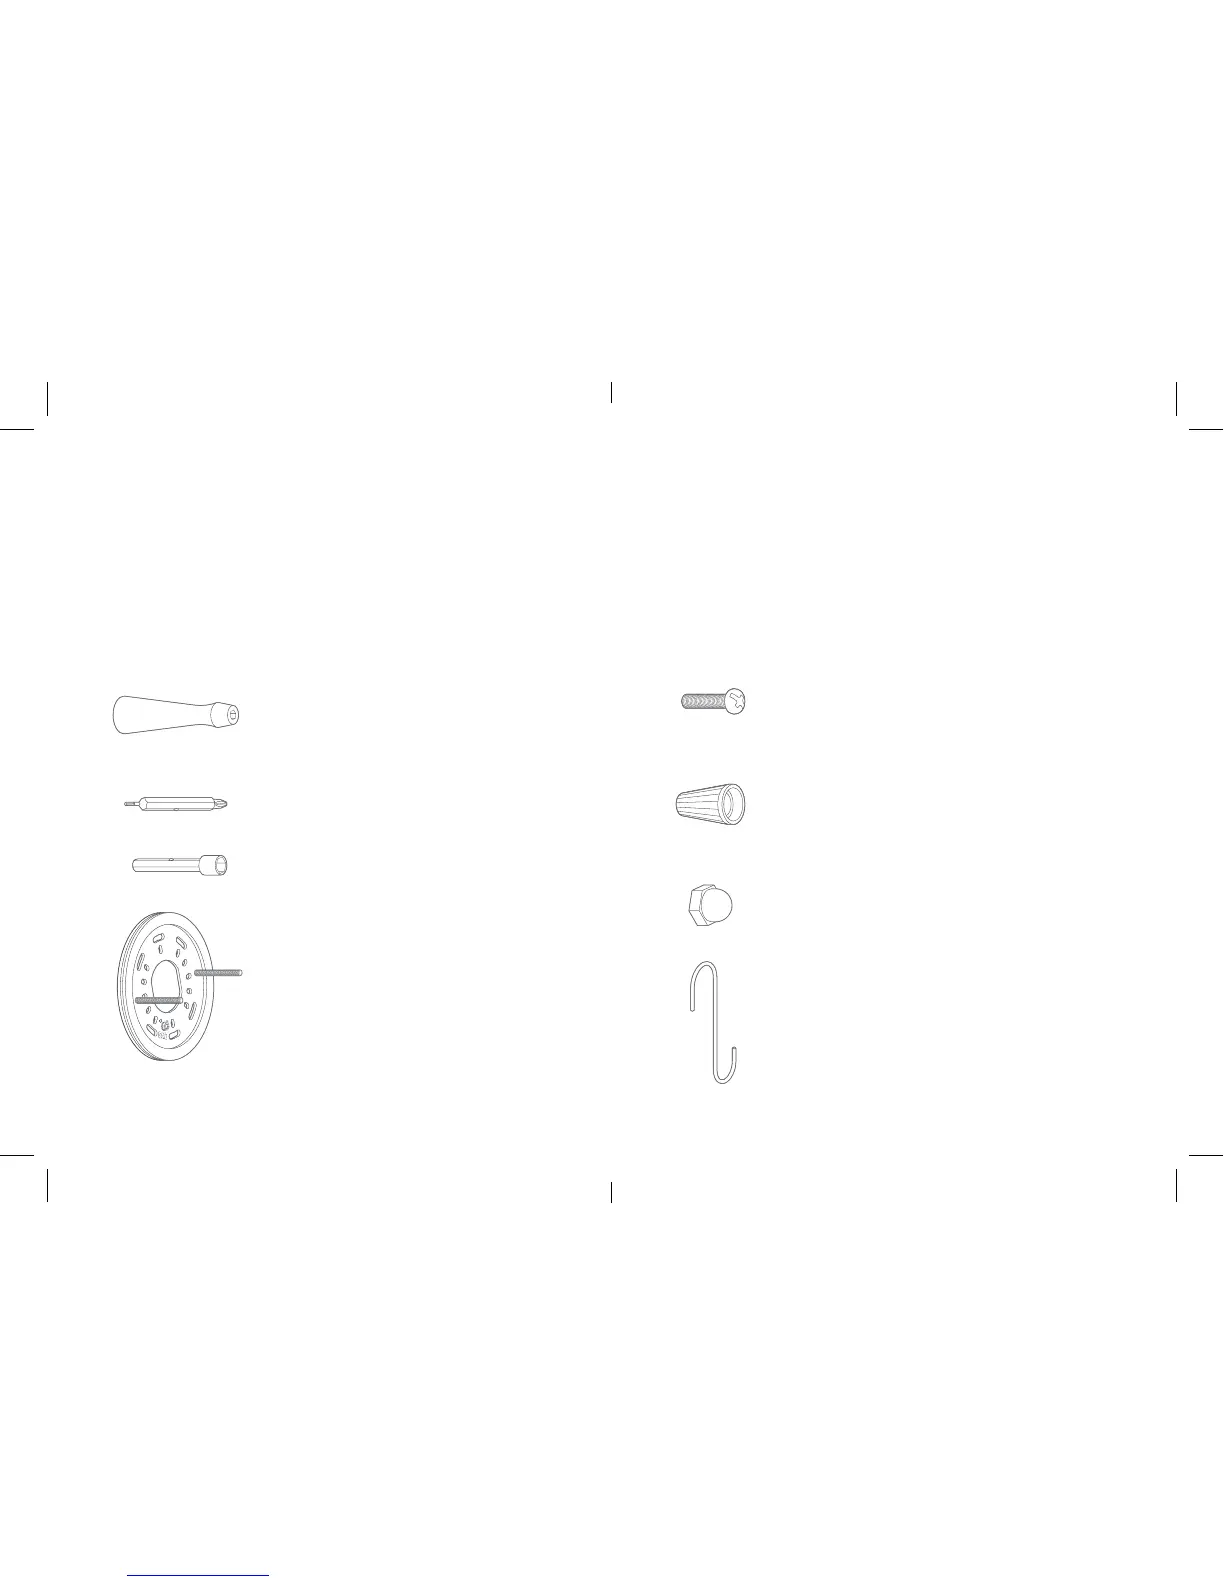
EasyManuals Logo

ring Floodlight Cam Installing And Setting Up

ring Floodlight Cam
26 pages
To Next Page IconTo Next Page
To Previous Page IconTo Previous Page
Page #5 background imageLoading...
Page #5 background image
Screwdriver
Use the Phillips bit for installing the
mounting bracket and the socket bit
to tighten the screw cap covers.
Phillips Bit
Socket Bit
Mounting Bracket
This bracket screws into your
junction box before attaching to
your Floodlight Cam.
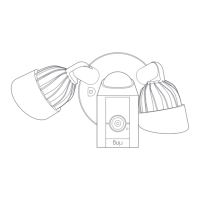
Before you begin
Check out all the stu in the box.
These instructions assume you’re replacing an existing
floodlight and/or have a junction box where Floodlight
Cam can be mounted. If you don’t have a junction box,
then you’ll need to hire an electrician to install one.
Bracket Screw (5)
Use 2 to 4 of these to attach the supplied
bracket to your junction box.
Wire Nuts (3)
Use these to connect Floodlight Cam’s wires
to your existing wires.
Screw Cap Covers (2)
Use these to cover the ends of the posts on
the mounting bracket after installation.
Hook
Hang your Floodlight Cam while connecting
the wires.
54

Other manuals for ring Floodlight Cam

Questions and Answers:

Question and Answer IconNeed help?

Do you have a question about the ring Floodlight Cam and is the answer not in the manual?

ring Floodlight Cam Specifications

General IconGeneral
Resolution1080p HD
Connectivity802.11 b/g/n Wi-Fi connection @ 2.4GHz
AudioTwo-way talk with noise cancellation
Motion DetectionAdvanced motion detection with customizable motion zones
Power SourceHardwired
Siren110dB
Night VisionInfrared night vision
Weather ResistanceWeather Resistant
StorageCloud storage (with subscription)
LightsBuilt-in LED floodlights (adjustable brightness and motion-activated)
Operating Conditions-22°F to 120°F (-30°C to 48°C), weather resistant

Related product manuals