Support centre
How to Use
How can we help?
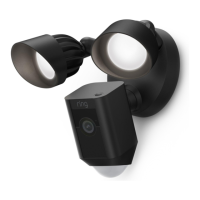
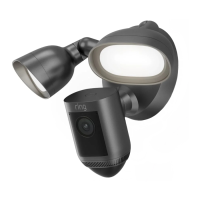
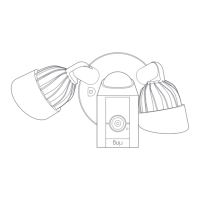
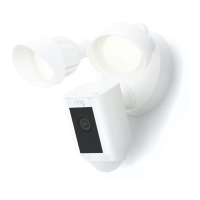
Floodlight Cam Wired Plus Installation Guide
Before you begin
WARNING: Electrical shock hazard. Disconnect power to the installation area at your circuit breaker
or fuse box before beginning installation. Always use caution when handling electrical wiring.
Installation by a qualified electrician may be required in your area. Refer to your local laws and
building codes before performing electrical work; permits plus professional installation may be
required by law.
Turn off power at the fuse box before installing.
Verify that the supply voltage is correct. Connect fixture to a 100~240 VAC 50/60 Hz power
source.
The earth wire must be connected to the light fixture. DO NOT INSTALL if a working earth
connection is not available.
Do not connect this light fixture to a dimmer switch or timer.
CAUTION: Risk of fire.
Do not install near combustible or flammable surfaces. Floodlight Cam Wired Plus must be installed
on a wall or eve.
Installation Steps
To install your Floodlight Cam Wired Plus device, follow these steps:
1. Open the Ring app and select Set Up a Device. Then follow the in-app instructions.
2. Scan the QR code found on the front of the manual, or on the back of the camera. This identifies
your Ring device to make setup fast and easy.