Do you have a question about the Rinnai INFINITY A26 and is the answer not in the manual?
Describes intended residential applications and limitations for use.
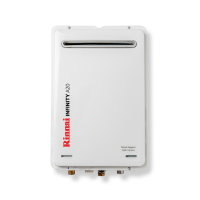
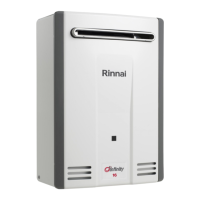
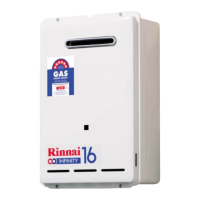
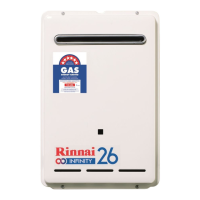
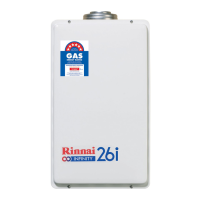
Details technical specifications for Rinnai INFINITY models A16, A20, A24, A26, and EF26.
Diagrams and specifications for A-Series model connections.
Diagrams and specifications for EF26 model connections.
Key installation points for cold water inlet and isolation valves.
Guidelines for maintaining minimum clearances around the flue terminal.
Instructions for mounting the water heater securely to the wall structure.
Guidance on correct gas and water pipe sizing for optimal performance.
Information on water pressure, quality, and necessary filters.
Explanation of the automatic frost protection feature and its thermistor.
Rules for temperature limits, especially for hygiene purposes, and TLDs.
Compatibility, servicing, and usage notes for water controllers.
Defining master/sub-controllers and controller configurations.
Best practices for installing water controllers to avoid damage.
Details on neutraliser drain pipe installation and discharge points.
Requirements for discharging condensate into a common stack in multi-storey buildings.
Specifications for drain lines discharging into a tundish.
Protection measures for condensate pipes in freezing conditions.
A detailed, step-by-step guide for commissioning the water heater.
Guide to navigating the PCB menu and adjusting settings.
Details and cancellation procedure for EF26 error code 92.
Steps for terminating and connecting one or two communication cables.
Steps for terminating and connecting three or four communication cables.
Procedure for connecting controller cables to the PCB mini-plug.
Detailed steps for connecting controller cables to the appliance's PCB.
| Type | Tankless |
|---|---|
| Gas Type | Natural Gas or LPG |
| Category | Water Heater |
| Fuel Type | Gas |
| Energy Factor | 0.82 |
| Heat Exchanger | Copper |
| Ignition System | Electronic |
| Temperature Control | Digital |
| Model Number | A26 |
| Maximum Flow Rate | 26 Litres per Minute |
| Temperature Range | 37°C to 60°C |
| Power Supply | 230V / 50Hz |
| Capacity | 26 Litres per Minute |