Storage and Scan Modes (Option)
Converting Hard-copy to Stored Data (Scan Mode)
197
Scanning an Original for 1-Colour Printing
1
Select a scan mode.
See )p.25 for information about selecting a scan
mode.
2
Place the original.
See step 5 of "1-Colour Printing" ()p.51).
Go to step 4 if you are not specifying folder, data,
or owner name. If no settings are configured, data
is stored by default (Data Name: scan_001, Save
Location:1_folder, Owner:Owner-1).
3
Setting data information.
Sets the data name, save location and owner
name.
)p.201
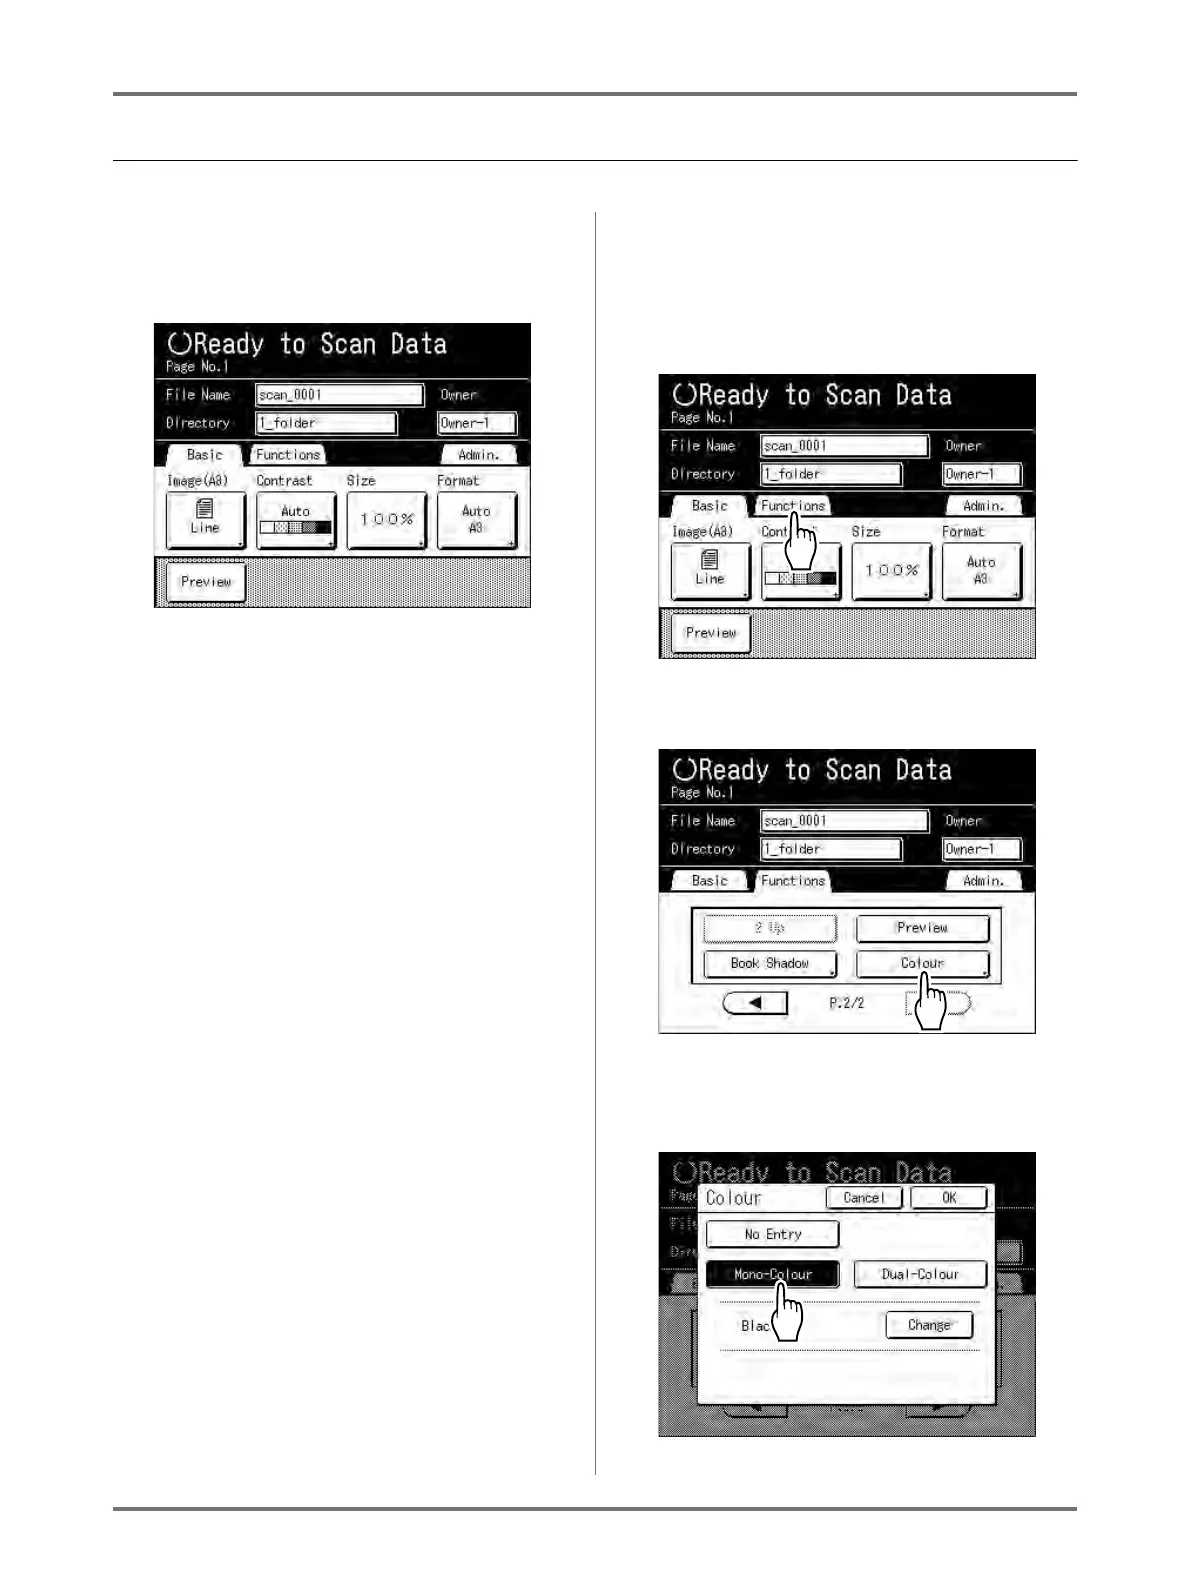
4
Setting required functions.
Set the required functions for scanning the origi-
nal.
Note:
• See the previous section for the functions that
can be set.
• You can instantly check scanned data by ena-
bling “Preview”.
Important!:
• Set “Format” when scanning custom-sized orig-
inals.
)p.203
To specify the original colour:
You can specify the print colour of the data you
retrieve for printing.
If a drum of a colour differing from the print col-
our selected is present, a message is displayed.
Note:
• The factory setting is [No Entry].
There is no particular need to set if printing
1-Colour originals.
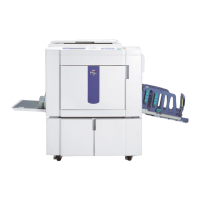
1) Touch [Functions].
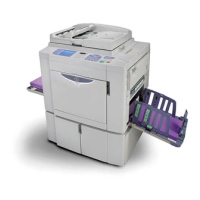
2) Touch [Colour].
The Colour screen appears.
3) Touch [Mono-Colour].