When using a Linked Printer (sold separately)
Setting up a Linked Printer [Link Properties]
224
Setting up a Linked Printer [Link Properties]
Linked Printer data must be entered in the machine in order to operate.
Important!:
• Make sure that the Linked Printer is physically connected to the machine. A Linked Printer cannot be recognized
by the machine unless physically connected.
• Unless the Linked Printer data is entered in the machine, the device will not print, and its optional features will not
be available.
• Enter information for each attached Linked Printer one device at a time.
• When there’s only one Linked Printer (sold separately) to the machine, set “Linked Printer” as “One-to-One”.
Note:
• “Link Properties” are explained below.
See “Link Mode” ()p.178) for more information about Link Mode and other Admin. settings.
Linked Printer Setup List
: Initial setting (factory default)
Functions Description How to Enter
Printer Name
Enter a name for the Linked Printer.
Note:
• The entered name will be displayed on the
Link Mode screen.
Touch character button to enter a new
name. Once the name is entered, touch
[
OK
]
to store it as the
Printer Name
. See
“
Rename
Screen” (
)
p.142) for more
details.
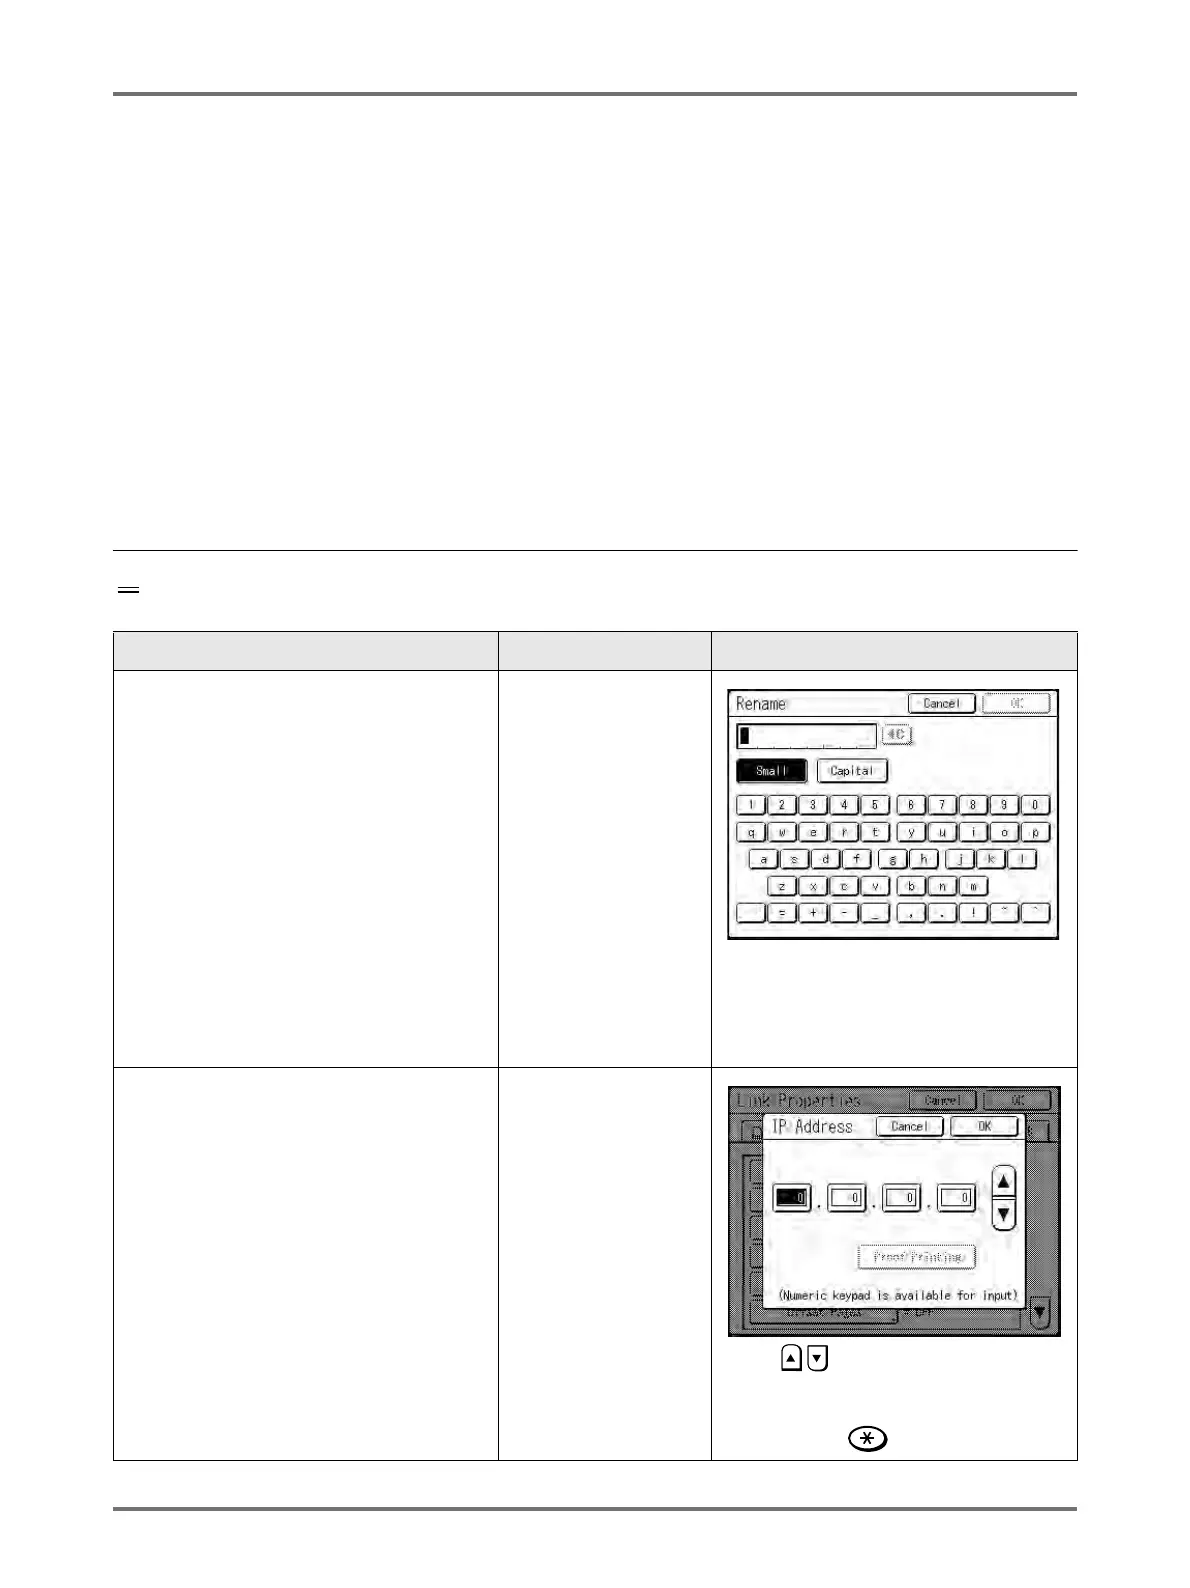
IP Address
Enter the IP address of the Linked Printer to
connect to the network.
Note:
• Touch [Proof Printing] to execute a data
transmission test to the Linked Printer.
When successful, the test results will print
from the Linked Printer. If the test fails, a
Pop-Up Message displays.
Touch [Cancel] and re-enter correct
settings.
• [Proof Printing] is disabled until “Base IP
Address” is correctly entered on the
Admin. screen.
)p.175
• Use , or enter using the Print
Quantity Keys.
• To move to another field, touch the field,
or press the key to move.
 Loading...