Storage and Scan Modes (Option)
Converting Hard-copy to Stored Data (Scan Mode)
200
8
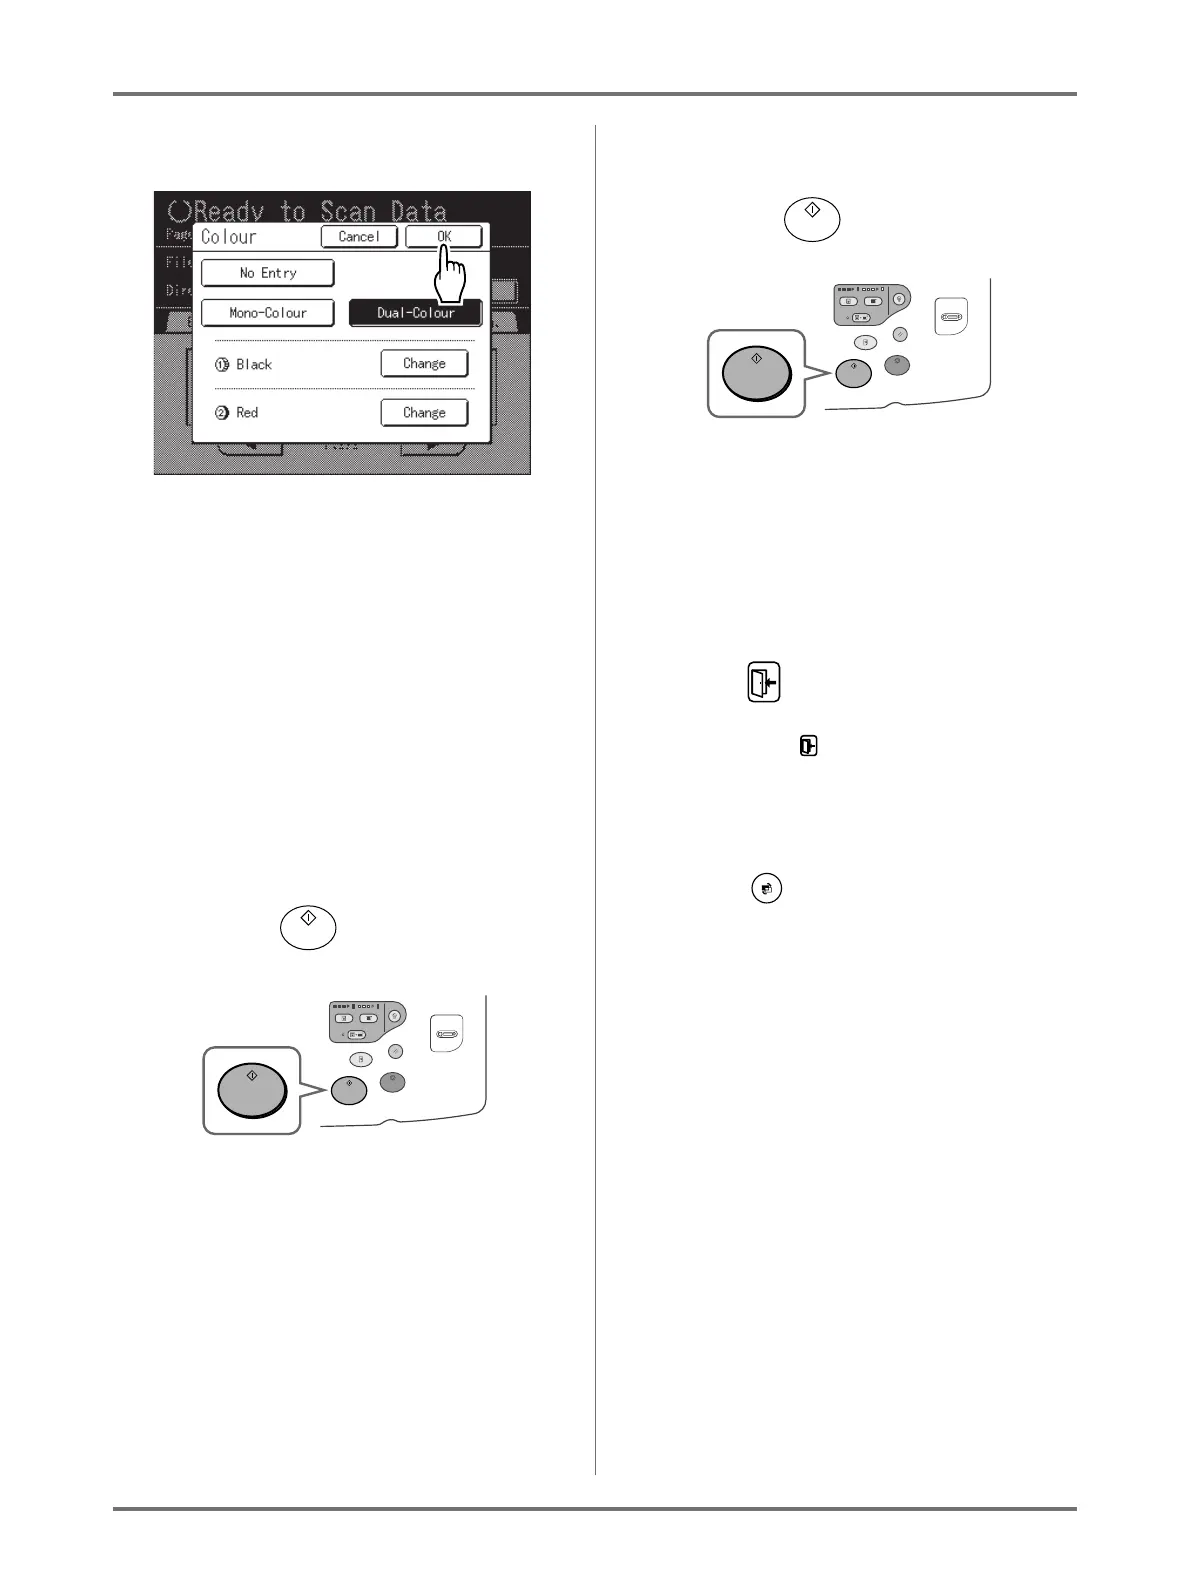
Touch [OK].
The colour specified for the original is confirmed
and the screen returns to the Scan Basic Screen.
9
Apply the required settings to the
original for Drum 1.
Set the required functions for scanning the origi-
nal.
Note:
•See ()p.196) for the functions that can be set.
• You can instantly check scanned data by ena-
bling “Preview”.
Important!:
• Set “Format” when scanning custom originals.
()p.203)
10
Press the key.
Scan of the original for Drum 1 starts.
Note:
• After scanning the original, a preview appears
on the display if “Preview” is set.
11
Place the original for Drum 2.
Step 8 of “2-Colour Printing with 2 Originals”
()p.43)
This step is not needed if the originals for Drum 1
and Drum 2 are placed together on the ADF unit
(option).
12
Apply the required settings to the
original for Drum 2.
13
Press the key.
Scan of the original for Drum 2 starts.
Note:
• A preview appears on the display if “Preview” is
set.
14
Repeat steps 2, and 9-13 if the origi-
nal has multiple pages.
15
Touch .
Once the original to be saved as one set of data is
scanned, touch .
A confirmation screen appears.
16
Touch [Yes].
The data is saved.
Press the key to exit scan mode.
 Loading...