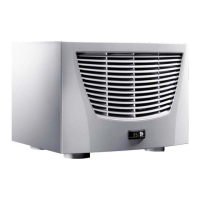
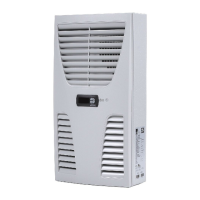
8 Rittal air/water heat exchanger assembly instructions
4 Assembly and connection
EN
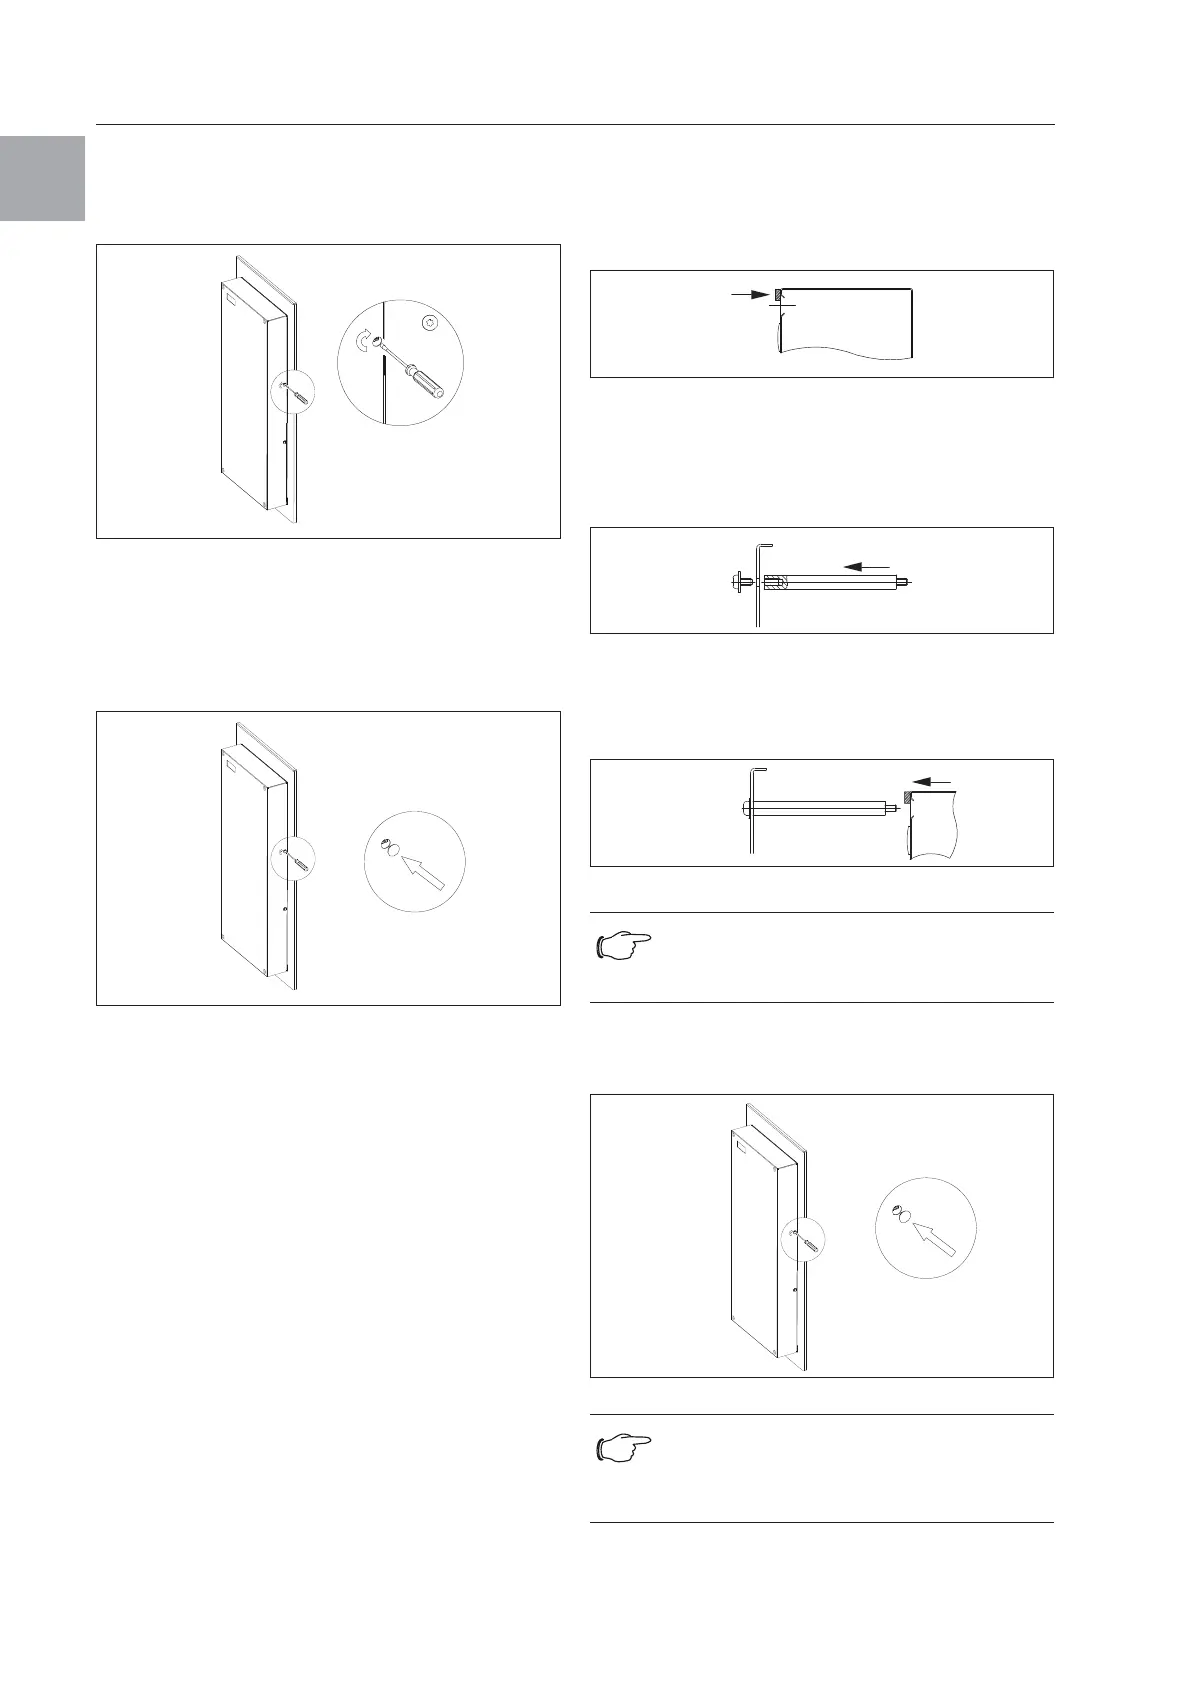
Step 4:
Twist the side locking screws in the enclosure
cover in a clockwise direction as far as they will go,
until the sealing tape adheres securely.
Fig. 8: Twist the screws in a clockwise direction as far as
they will go
Step 5:
Using the stoppers, seal the 4 openings in the
cover.
Fig. 9: Seal the openings in the cover
Full internal mounting
Step 1:
Stick sealing tape to all four edges at the front of
the device.
Fig. 10: Stick sealing tape to all four edges
Step 2:
Hold the 4 spacers (internal thread) in place on
the inside of the enclosure, and secure from the
outside using the relevant washers and screws.
Fig. 11: Secure the spacers
Step 3:
Push the device over the spacers and secure with
the relevant washers and nuts.
Fig. 12: Push the device over the spacers and screw-fasten
Step 4:
Using the stoppers, seal the 4 openings in the
cover.
Fig. 13: Seal the openings in the cover
4.
5.
Note:
For models 3373.XXX, 3374.XXX and
3375.XXX, step 4 is additionally required.
Note:
The enclosure must be sealed on all sides,
especially in the vicinity of the cable entry
openings and the enclosure base.
1.
4x
2.
3.
4.
 Loading...