4 Assembly and connection
Rittal air/water heat exchanger assembly instructions 9
EN
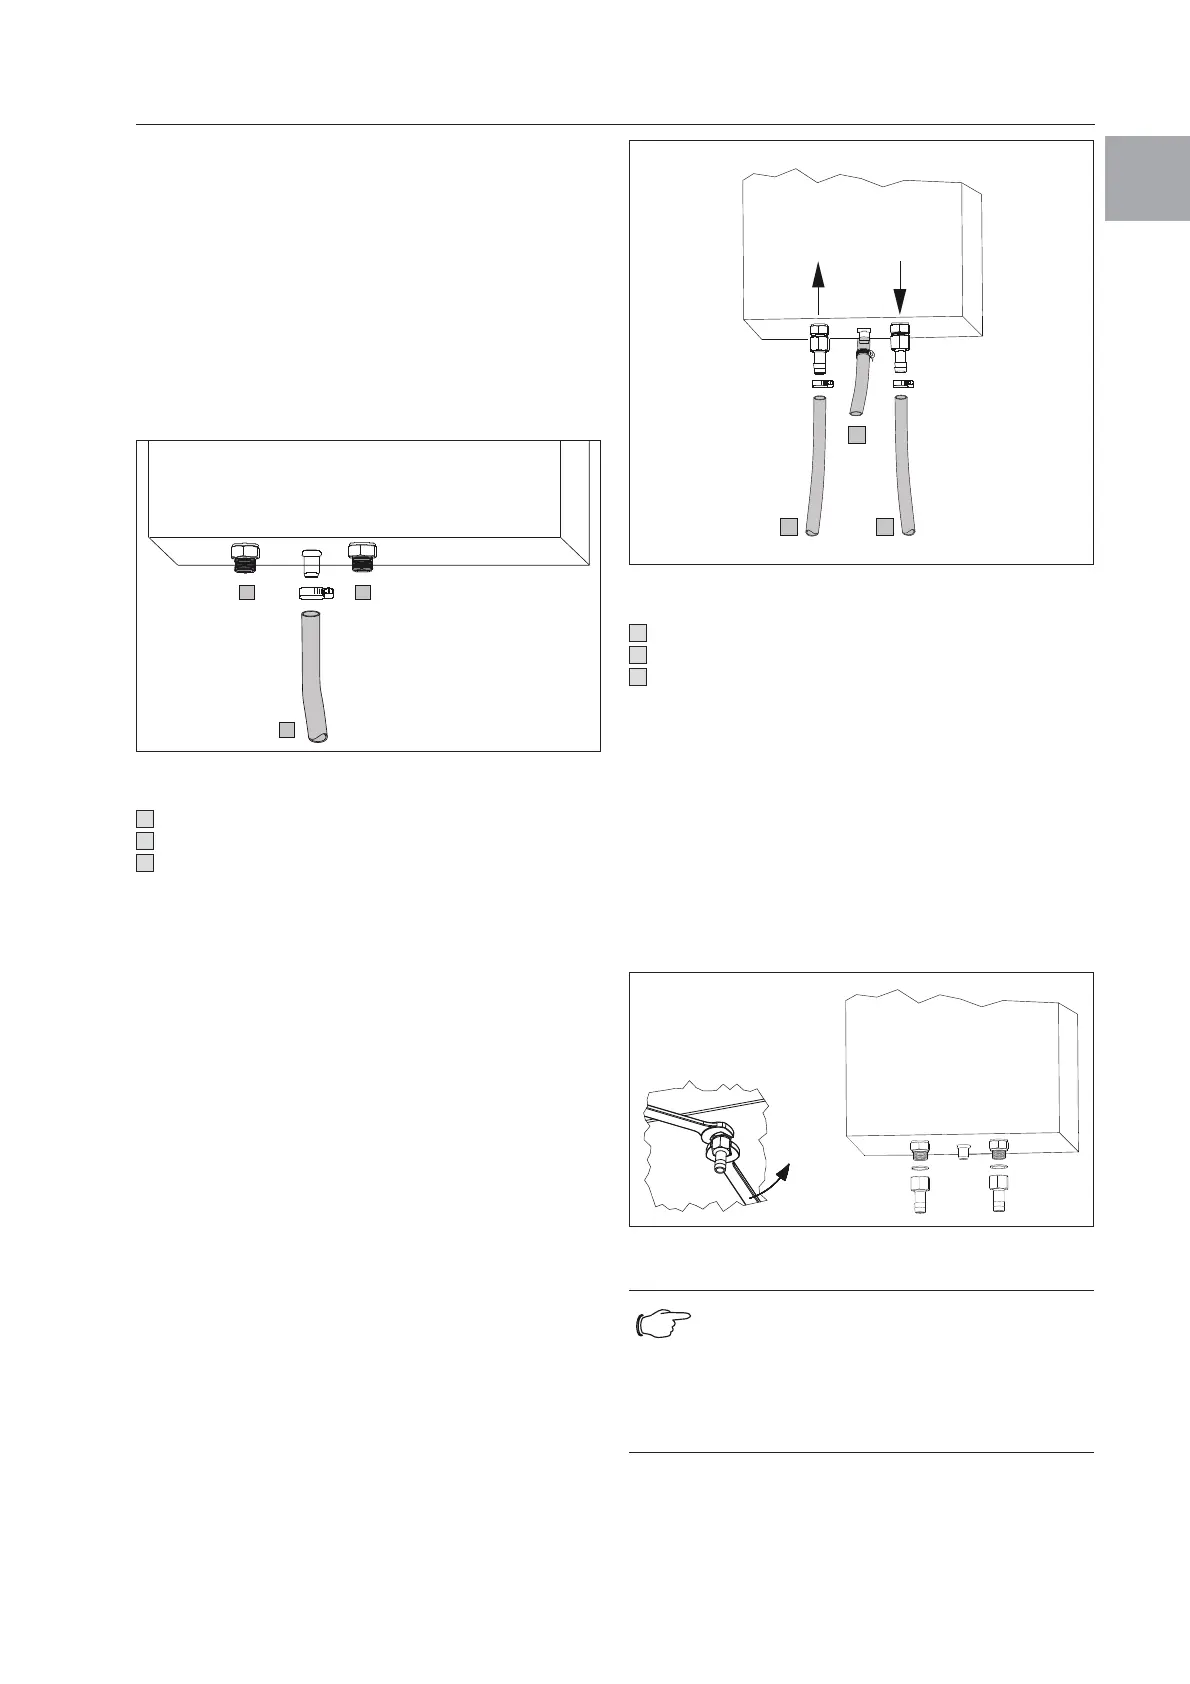
4.4 Connecting the condensate discharge
A flexible condensate discharge hose Ø 12 mm (
1
/
2
˝)
can be fitted to the air/water heat exchanger
(see fig. 14).
The condensate discharge
– must be laid with a suitable and constant gradient
(no siphoning).
– must be laid without kinks.
–
must not have a reduced cross-section if extended
.
The condensate hose is available as an accessory
(refer also to Accessories in the Rittal Catalogue).
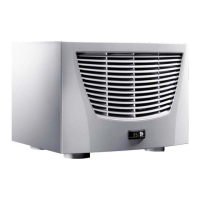
Fig. 14: Connecting the condensate discharge
Key
Cooling water connection (inlet)
Cooling water connection (return)
Condensate discharge
Connect a suitable hose to the condensate nozzle
(at the bottom of the unit) and secure it with a hose
clip (with 2 Nm torque).
Lay the condensate hose, e.g. into a drain.
To prevent the water from backing up, the hose
cross-section must not be restricted!
4.5 Connecting the water connection
There are 4 different options for connecting water to
the air/water heat exchanger.
a)
1
/
2
˝ connector sleeve (included with the supply)
In its delivered state, a compression-proof, flexible
cooling water hose Ø 12 mm (
1
/
2
˝) may be connected
to the air/water heat exchanger for both the inlet and
the return.
The cooling water hose
– must be laid without kinks
– must not have a reduced cross-section if extended
and, if necessary, must be insulated.
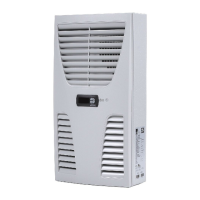
Fig. 15: Connecting the cooling water inlet and return
Key
Cooling water connection (inlet)
Cooling water connection (return)
Condensate discharge
b) Fixed pipework with G
3
/
8
˝ external thread
(included with the supply)
In its delivered state, fixed pipework with a G
3
/
8
˝
external thread may be connected to the air/water
heat exchanger for both the inlet and the return.
To this end, you will need to remove the connector
sleeve attached to the device (see fig.
16
).
The fixed pipework should be tightened with
25 Nm.
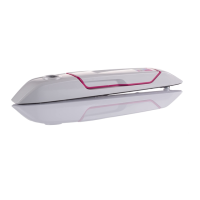
Fig. 16: Remove the connector sleeve
Note:
When loosening the connector sleeve, it is
vital to ensure that the fitting on the device
end is fixed with an SW22 open-jawed
spanner. The connection inside the device
could develop a leak.
3
2
1
 Loading...