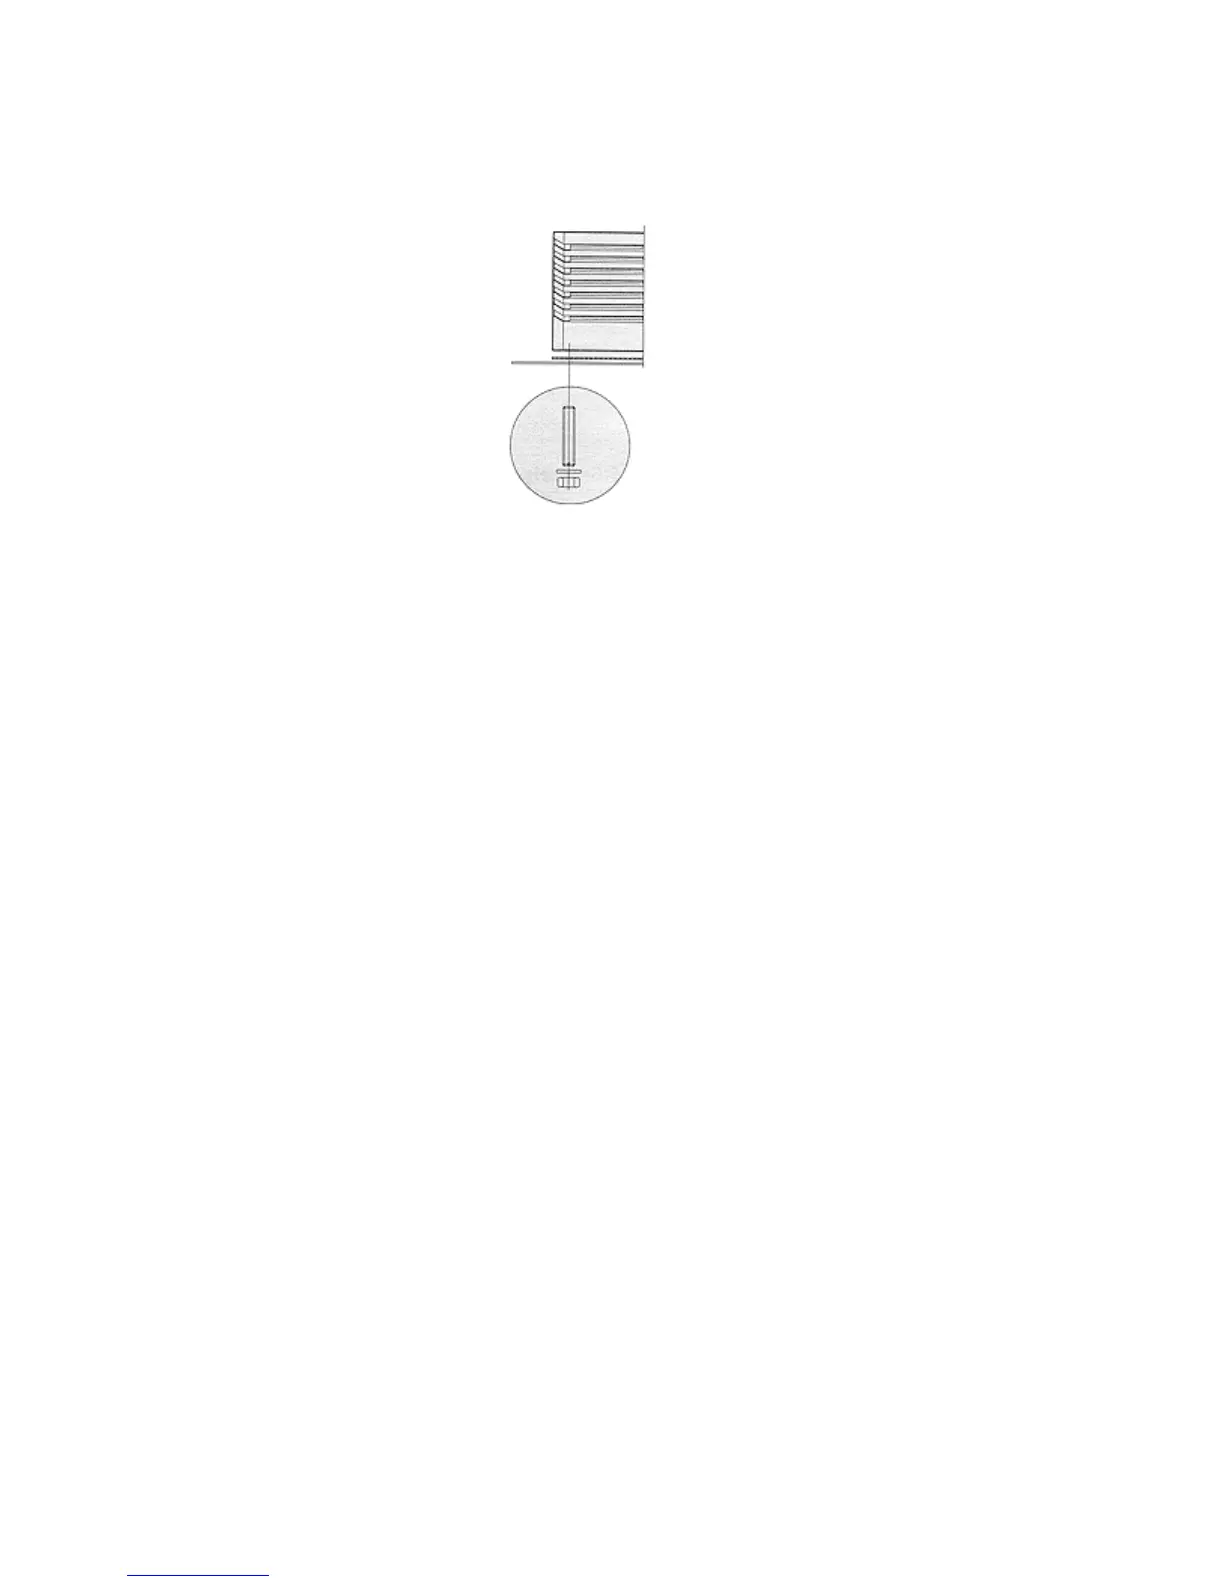
Figure 3.3 Mounting
4. Electrical Connection
The connected voltage and frequency must correspond to the values stated on the name plate. The
cooling unit must be connected to the mains via an isolating device, which ensures at least 3 mm
contact opening when switched off. The unit must not have any additional temperature control
connected before it. Line protection should be provided by means of the pre-fuse specified on the
name plate. Observe the relevant regulations during installation!
Version....100
Connection should be made to the cable attached to the unit (see Detailed Wiring Diagram).
Version....500
Connect the mains connection to the plug-in terminal strip X10 (see Wiring Diagram).
--Door limit switch, see 5.2.3.3
--Collective fault signal connection, see 5.2.3.1
--Note the designations on the terminal strip (see wiring diagram)
--The unit must be disconnected prior to checking the protective earth conductor, high voltage and
the insulation in the enclosure.
5. Commencing Operation and Control Behavior
Following the completion of mounting and a waiting period of approximately 30 minutes (to allow oil
to collect in the compressor in order to ensure lubrication and cooling) electrical connection can be
made.
5.1 Control by Thermostat
Version....100
The cooling unit operates automatically, i.e. following the electrical connection, the evaporator fan will
run continuously to circulate the air inside the enclosure. This provides a uniform temperature
distribution in the enclosure. The built-in temperature controller (setting the desired internal
temperature) effects automatically controlled switch-off of the cooling unit by the value of the fixed
switching difference setting of 5 K. This is set at the factory to +35ºC.