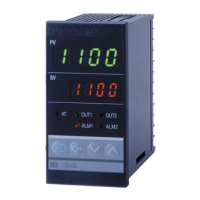
IMR01M01-E16
5
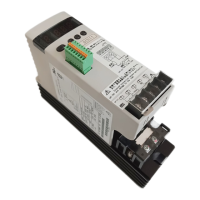
80 A and 100 A types
Unit: mm
Mounting dimensions Dimensions
a
Dimensions when the connector plug (optional) is connected.
When connecting the connector plug, install the thyristor by taking
enough space for its wiring into account.
b
Minimum space when mounted closely side by side.
c
Some space for heat radiation is required in the vertical direction
between the lower and upper ends of the instruments.
Therefore, make a space of at least 200 mm between them.
120
b
4-M5
188
±
0.2
200
c
104 ± 0.2
188
200
150
68
104
116
158.5
a
4.3 Mounting Procedures
The mounting direction of the instrument must be the same as the direction shown in the figure below to provide adequate
ventilation space so that heat does not build up.
This unit generates heat. It is cooled by air convection when installed as shown. Failure to observe the instructions
in 4.2 and 4.3 could cause damage to the instrument, equipment or injury to personnel. Precautions should be
made for heat dissipation in the control cabinet.
1. Prepare the holes as specified in 4.2 Dimensions.
2. Place the instrument in mounting position.
3. Insert the mounting screws into the holes, then tighten them with a screwdriver.
Recommended tighten torque: 1 N⋅m [10 kgf.cm]
Customer must provide the set of screws.
Screw type: Pan-head screws (Size: M5, Length: 10 mm)
20 A, 30 A, 45 A and 60 A types 80 A and 100 A types
CAUTION
Mounting positions
(lower)
Mounting positions (upper)
Mounting positions
(lower)
Mounting positions (upper)
The Figure shows the type of 20 A and 30 A.
However, the mounting procedure is the
same as for the type of 45 A and 60 A.
Mounting
screw
Mounting
screw
Mounting
screw
Mounting positions
(upper)
Mounting positions
(lower)
Mounting
screw
Mounting
direction
Heat radiation
direction
Mounting
direction
Heat radiation
direction
 Loading...