Maintenance
Repair
74 MagneMotion
Rockwell Automation Publication MMI-UM037A-EN-P - April 2020
9. Remove the motor from the transport system.
10. Store the motor in a secure location.
11. See Shipping on page 133 to return the motor to MagneMotion.
Install the New Motor
1. See the MagneMover LITE User Manual for detailed installation instructions.
A. Transfer the motor mount from the old motor to the new motor. Install the pre-
viously removed M6 x 20 mm bolt and split lock washer, do not tighten the M6
bolt.
B. Locate the motor so that the protruding boss on the motor mount is keyed into
the beam and aligned to the T-nut. Install the previously removed M8 x 20 mm
bolt and M8 split lock washer, do not tighten.
C. Adjust the position of the motor along the beam so it is properly centered
where it is being installed.
D. Tighten the M8 bolt to 26 N•m [230 in•lb] with a 13 mm Hex socket to secure
the motor mount to the beam.
E. For aluminum rails, install the V-braces at all guide rail joints using M6 x 12
mm screws and tighten finger-tight to pull the rails together.
For stainless steel rails, install the V-braces at all guide rail joints using M6 x
12 mm screws with Loctite 243 and tighten finger-tight to pull the rails
together.
F. Using fingers, align the rails at the motor joints and tighten the two M6 x 12
mm screws on each V-brace at that motor joint to 3.4 N•m [30 in•lb] with a
T30 Torx bit.
G. Tighten the M6 bolt to 5.5 N•m [49 in•lb] with a 10 mm Hex socket to secure
the motor to the motor mount.
NOTE: For stainless steel rails the Loctite must cure for 2 hours at 22° C
[72° F] before using the transport system.
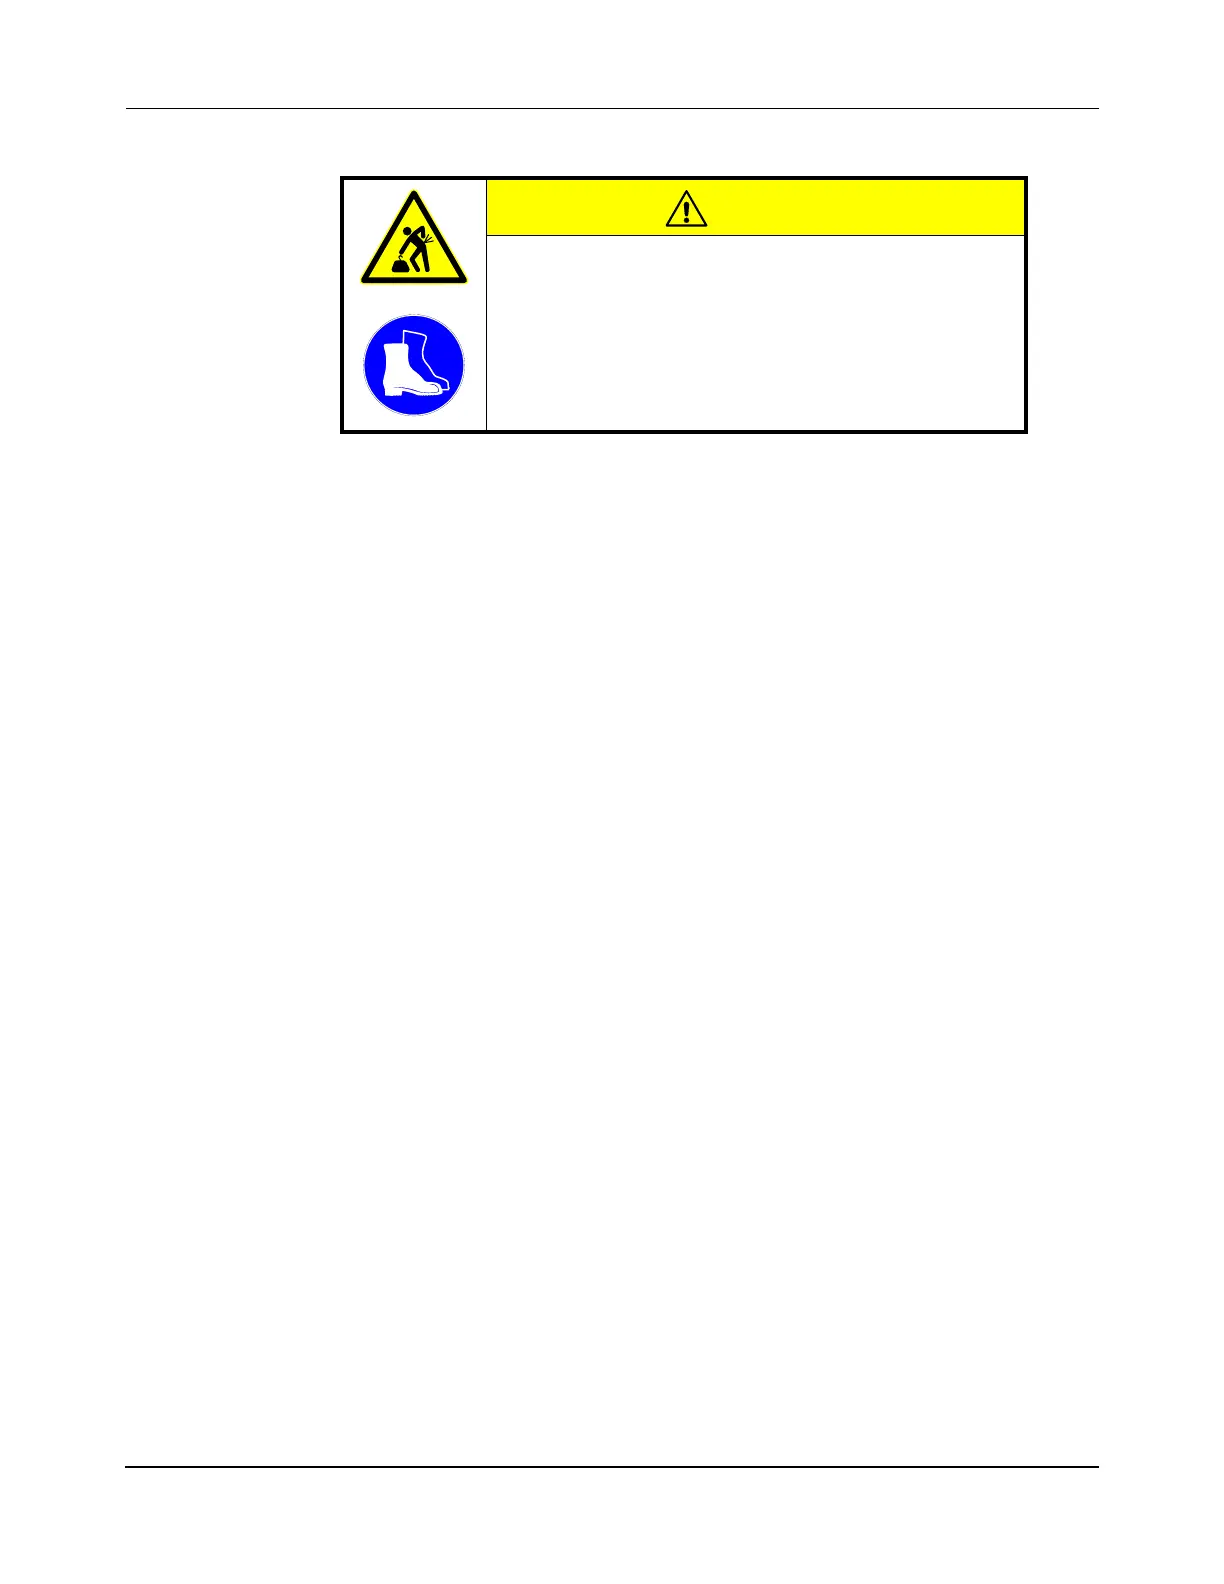
CAUTION
Lift Hazard
The MagneMover LITE components can weigh as
much as 7.3 kg [16.1 lb].
Use proper techniques for lifting and safety toe shoes
when moving any MagneMover LITE components.
 Loading...


