Maintenance
Repair
92 MagneMotion
Rockwell Automation Publication MMI-UM037A-EN-P - April 2020
Procedure
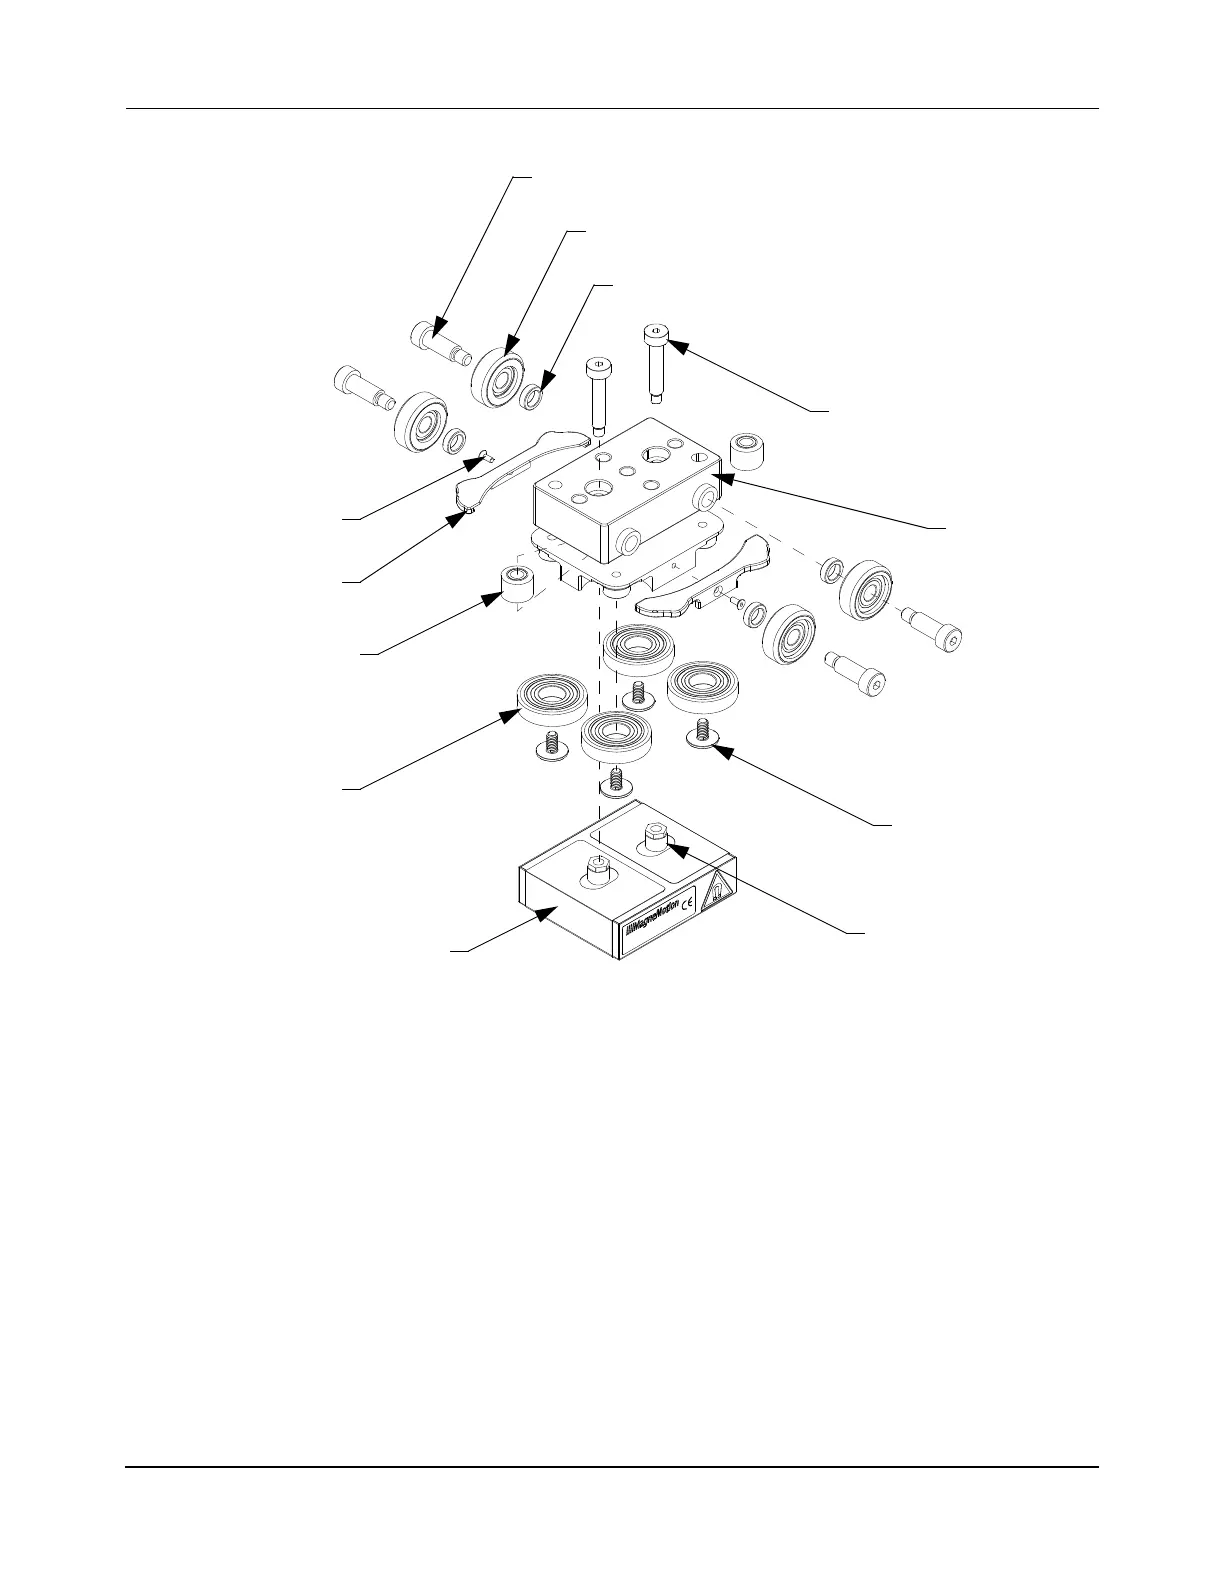
Figure 28: Replace 4-Wheel Puck Wear Points
1. Remove the wheeled puck from the MagneMover LITE transport system (see Replace
Pucks on page 78).
2. Place the puck on a non-metallic work surface with the magnet array down. Keep the
magnet array at least 1 m [3 ft] away from metal objects and tools.
Replace Bumpers
A. Remove the M2 screws that secure the two bumpers onto the puck body.
B. Secure the new bumpers with the new M2 screws and tighten to 0.3 N•m
[3 in•lb].
The Loctite must cure for 2 hours at 22° C [72° F] before using the puck.
M4 x 23.5 Shoulder Screw
(2X)
Magnet Array
10-32 Ultra-Low-Profile Shoulder Screw
Suspension (Payload) Wheels
(4X)
(4X)
M2 Screw
(2X)
Bumper
(2X)
Lateral Guide
Wheels (4X)
M4 x 0.7 x 7.5
Screws (4X)
Septum Wheel
Puck Body
(2X)
Shim Washer
(4X)
Threaded Standoff
(ref)
 Loading...


