77
Chapter 5 Creating Your Own Patterns and
Chapter5
18.Press the [F4 (EXEC)] button.
Copying is executed and, upon completion, the normal
display reappears.
Available Settings:
SOURCE
FROM: SETUP, 1 – 32 (Maximum)
FOR: 1 – 31 (Maximum), ALL
DESTINATION
PTN: P:001–P:710, U:001–U:200
MEAS: 1 – 31 (Maximum), END
STATUS:
- ALL All musical data
- NOTE Note
- PC Program Change
- CC Control Change
- BEND Pitch Bend
- P-AFT Polyphonic Aftertouch
- C-AFT Channel Aftertouch
- SYS-EX System Exclusive
- TEMPO Tempo (BPM)
- MUTE Mute
MODE: REPL, MIX
TIMES: 1 – 32 (Maximum)
NOTES
* It is not possible to specify a number of measures that would
cause the length of the pattern to exceed 32 measures when the
Copy was executed.
* If more than one part was selected as the copy source, the data
will automatically be copied to the same parts as the copy
source.
* If [MUTE CTRL] was selected as the copy source part, only
[MUTE CTRL] can be selected as the copy destination part.
* It is not possible to copy between patterns that have different
time signatures.
Erasing Unwanted Data (Erase)
Erases part (or all) of a pattern.
Procedure
Select a pattern for which Erase is to be executed.
1. Press the [PTN] button.
2. Using the [VALUE] dial or the [INC/DEC] buttons,
select the pattern for which Erase is to be executed.
Invoke the screen for executing Erase.
3. Press the [F3 (EDIT)] button.
4. Press the [F2 (TRACK EDIT)] button.
The screen for selecting Pattern Edit appears.
5. Press the [CURSOR (left, right)] button to invoke the
screen displaying “ERASE.”
6. Press the [F2 (ERAS)] button.
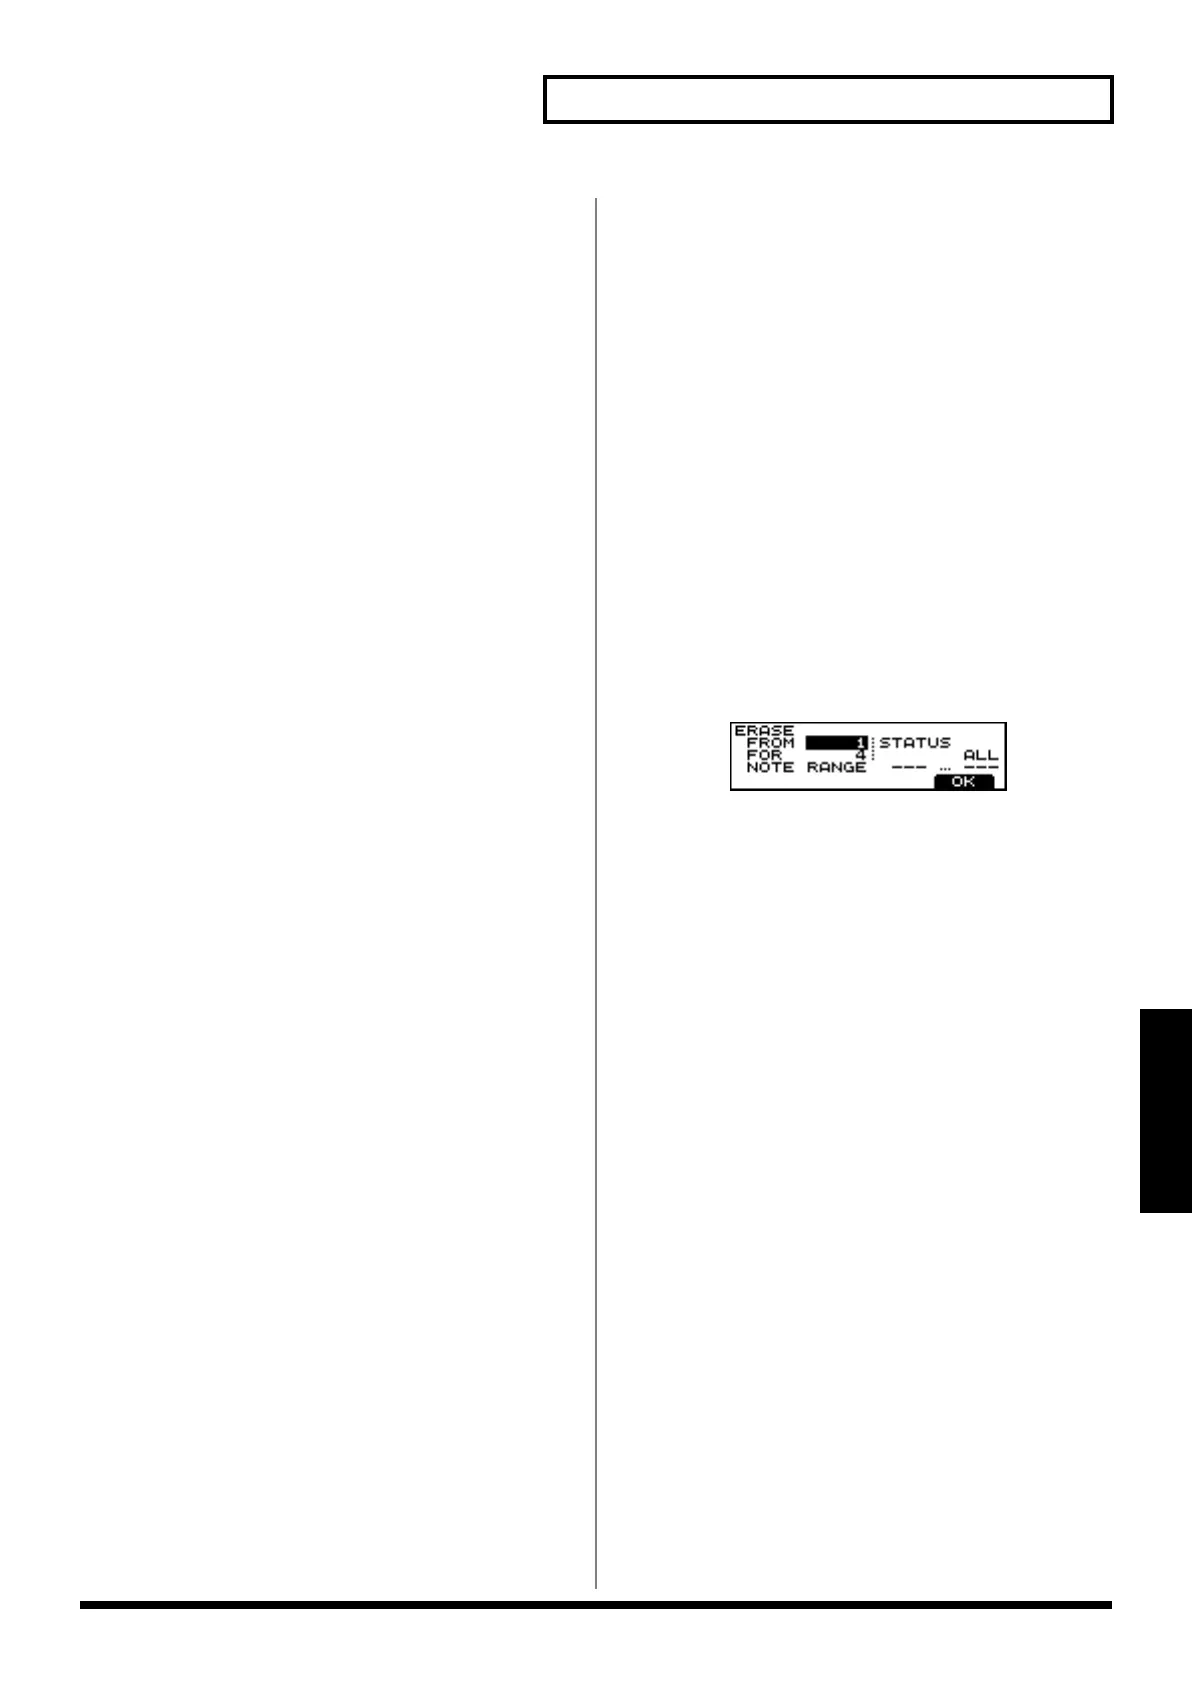
The screen for editing Erase appears.
7. Select the part to be edited using the relevant PART
button, [R], [1] to [7] or [RHYTHM PART VIEW].
* By pressing the [RHYTHM PART VIEW] button you can
specify the MUTE CTRL PART.
8. Move the cursor to “FROM” by pressing the [CURSOR]
buttons, and then select the measure at the beginning of
the portion of the pattern to be erased using the [VALUE]
dial or the [INC/DEC] buttons.
9. Move the cursor to “FOR” by pressing the [CURSOR]
buttons, and then specify the number of measures to be
erased from the beginning of the portion of the pattern
using the [VALUE] dial or the [INC/DEC] buttons.
10.Move the cursor to “STATUS” by pressing the
[CURSOR] buttons, and then select the data to be erased
from the portion of the pattern using the [VALUE] dial or
the [INC/DEC] buttons.
Now, execute erasing.
11.Press the [F4 (OK)] button.
A screen asking you whether to not you want to execute
erasing appears.
12.Press the [F4 (EXEC)] button.
The Erase operation is carried out, and the normal
display reappears.
* If you selected “STATUS” in Step 10, you can specify the
range of note numbers to be erased.
 Loading...