83
Chapter 5 Creating Your Own Patterns and
Chapter5
9. Press the [F4 (EXEC)] button.
The Edit Quantize operation will be carried out, and the
normal display will reappear.
Converting the Note Timing of a
Pattern (Reclock)
You can double or halve the timing of the musical data
recorded in a pattern. For example, you can convert a four-
measure pattern of BPM=120 to two measures so it will play
back identically at a BPM of 60. When you wish to connect
patterns of radically differing BPM, it is a good idea to use
the Reclock operation to match the timing values of the two
patterns.
Procedure
Select the pattern for which Reclock is to be executed.
1. Press the [PTN] button.
2. Using the [VALUE] dial or the [INC/DEC] buttons,
select the pattern for which Reclock is to be executed.
Invoke the screen for executing Reclock.
3. Press the [F3 (EDIT)] button.
4. Press the [F2 (TRACK EDIT)] button.
The screen for selecting Pattern Edit appears.
5. Press the [CURSOR (right)] button to invoke the screen
displaying “RECLOCK.”
6. Press the [F3 (RCLK)] button.
The screen for editing Reclock appears.
7. Select the part to be edited using the relevant PART
button, [R], [1] to [7] or [RYHTHM PART VIEW].
* By pressing the [RHYTHM PART VIEW] button you can
specify the MUTE CTRL PART.
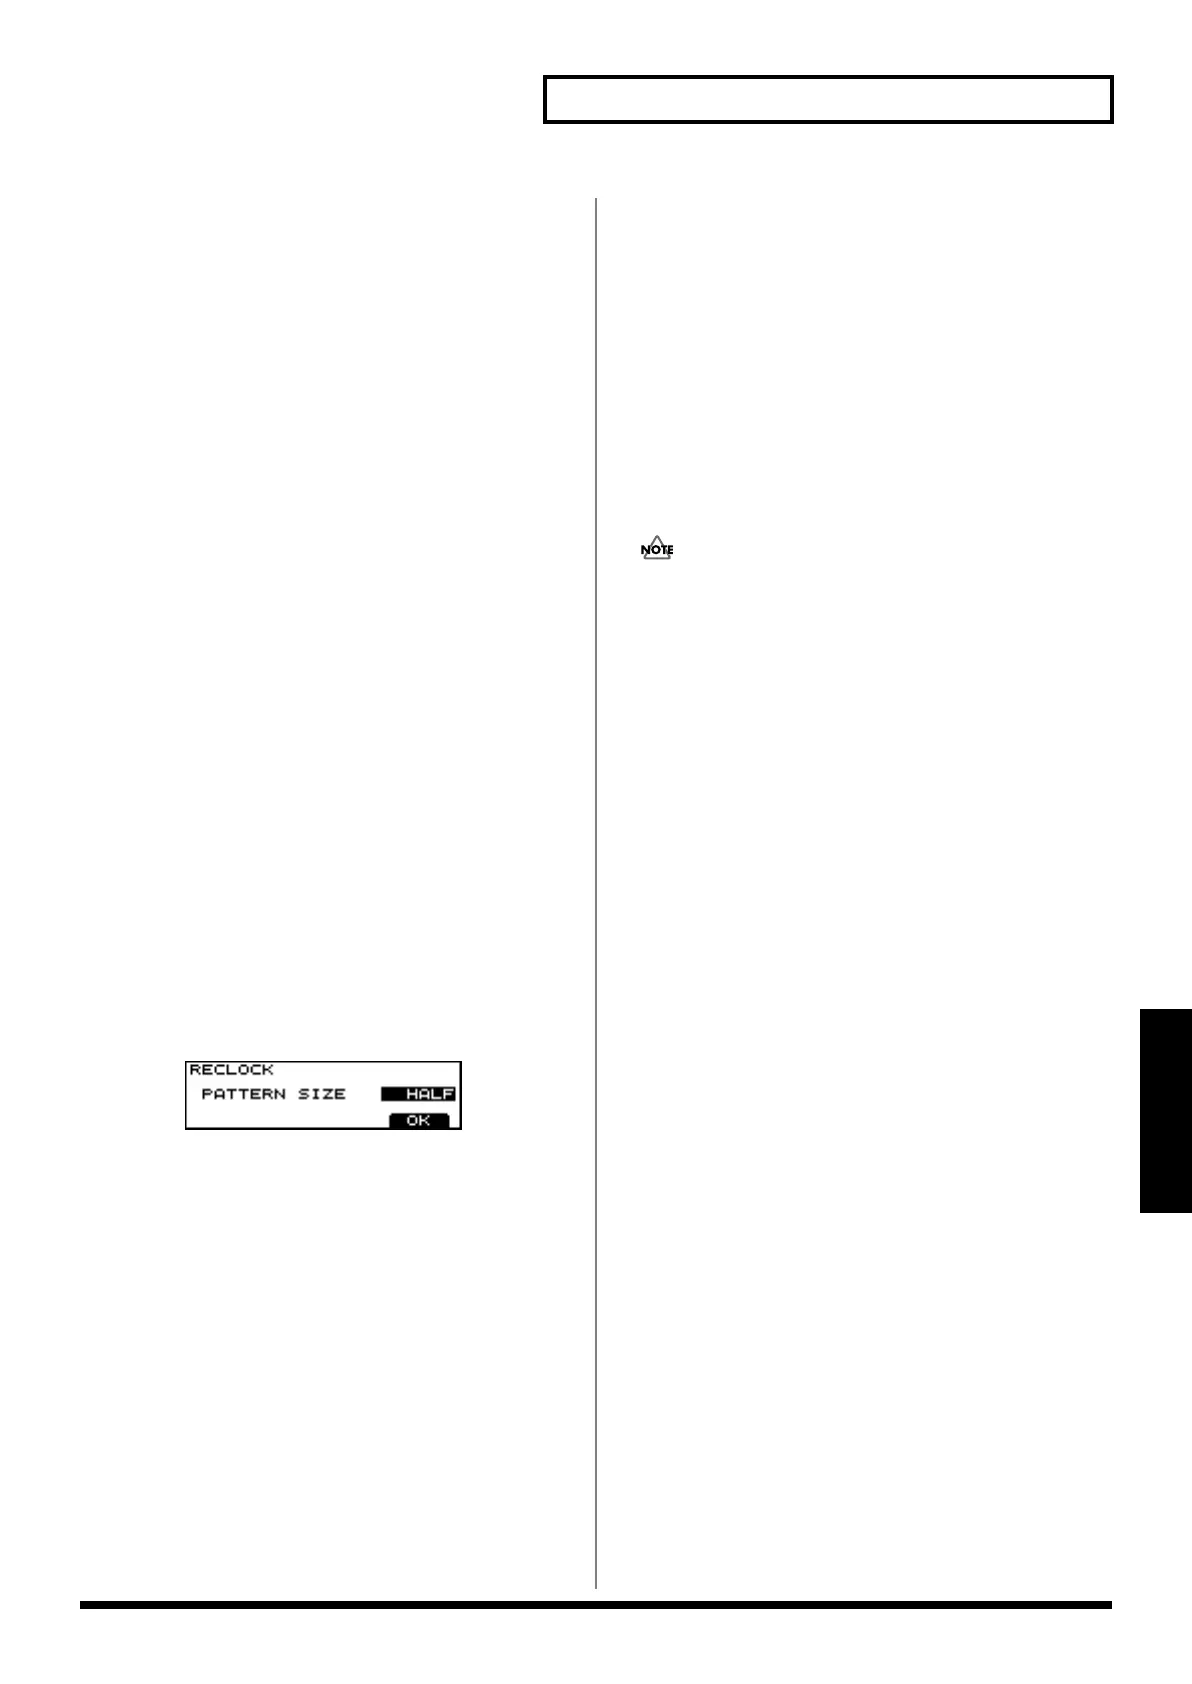
8. Set how to change the music division using the [VALUE]
dial or the [INC/DEC] buttons.
Now, execute Reclock.
9. Press the [F4 (OK)] button.
A screen asking you whether or not you want to execute
Reclock appears.
10.Press the [F4 (EXEC)] button.
The Reclock operation will be carried out, and the
normal display will reappear.
Available Settings:
PATTERN SIZE:
- HALF (Timing values will be halved)
- DOUBLE (Timing values will be doubled)
Saving the Pattern
When you’ve created a pattern you like, do this to save it as a
User Pattern.
Unless saved, the data for any recorded or edited Pattern is
lost when the power is turned off.
Procedure
If you are playing a pattern, stop it.
1. Press the [SYSTEM] button.
2. Press the [F3 (WR)] button.
3. Press the [F3 (PTN)] button.
4. Using the [INC/DEC] button or the [VALUE] dial, select
the save destination pattern.
Since the pattern will be saved in the number you
selected here.
5. Press the [F4 (WR)] button.
The screen for naming a pattern appears.
6. Select characters used to name the pattern using the
[VALUE] dial or the [INC/DEC] buttons.
The following characters are available.
space, A–Z, a–z, 0–9,! “ # $ % & ‘ ( ) * +, - . / : ; < = > ? @
[ \ ] ^ _ ` { | }
7. Upon completion, press the [F4 (OK)] button.
An “ARE YOU SURE?” message appears.
8. Press the [F4 (EXEC)] button.
Saving Pattern is executed.
* In Step 6, pressing the [CURSOR (up/down)] buttons allows
you to select upper-case (or lower-case) characters.
* In Step 6, the [F1] through [F2] buttons are useful in editing
pattern names.
[F1 (INS)]: Press to insert a character at the cursor position.
[F2 (DEL)]: Press to delete the character at the cursor position.
 Loading...