3-4
[ ]
SERVICE MENU
SUB MENU
SUB MENU
PUMP UP
PUMP UP
A B C
[ ]
[ ]
4
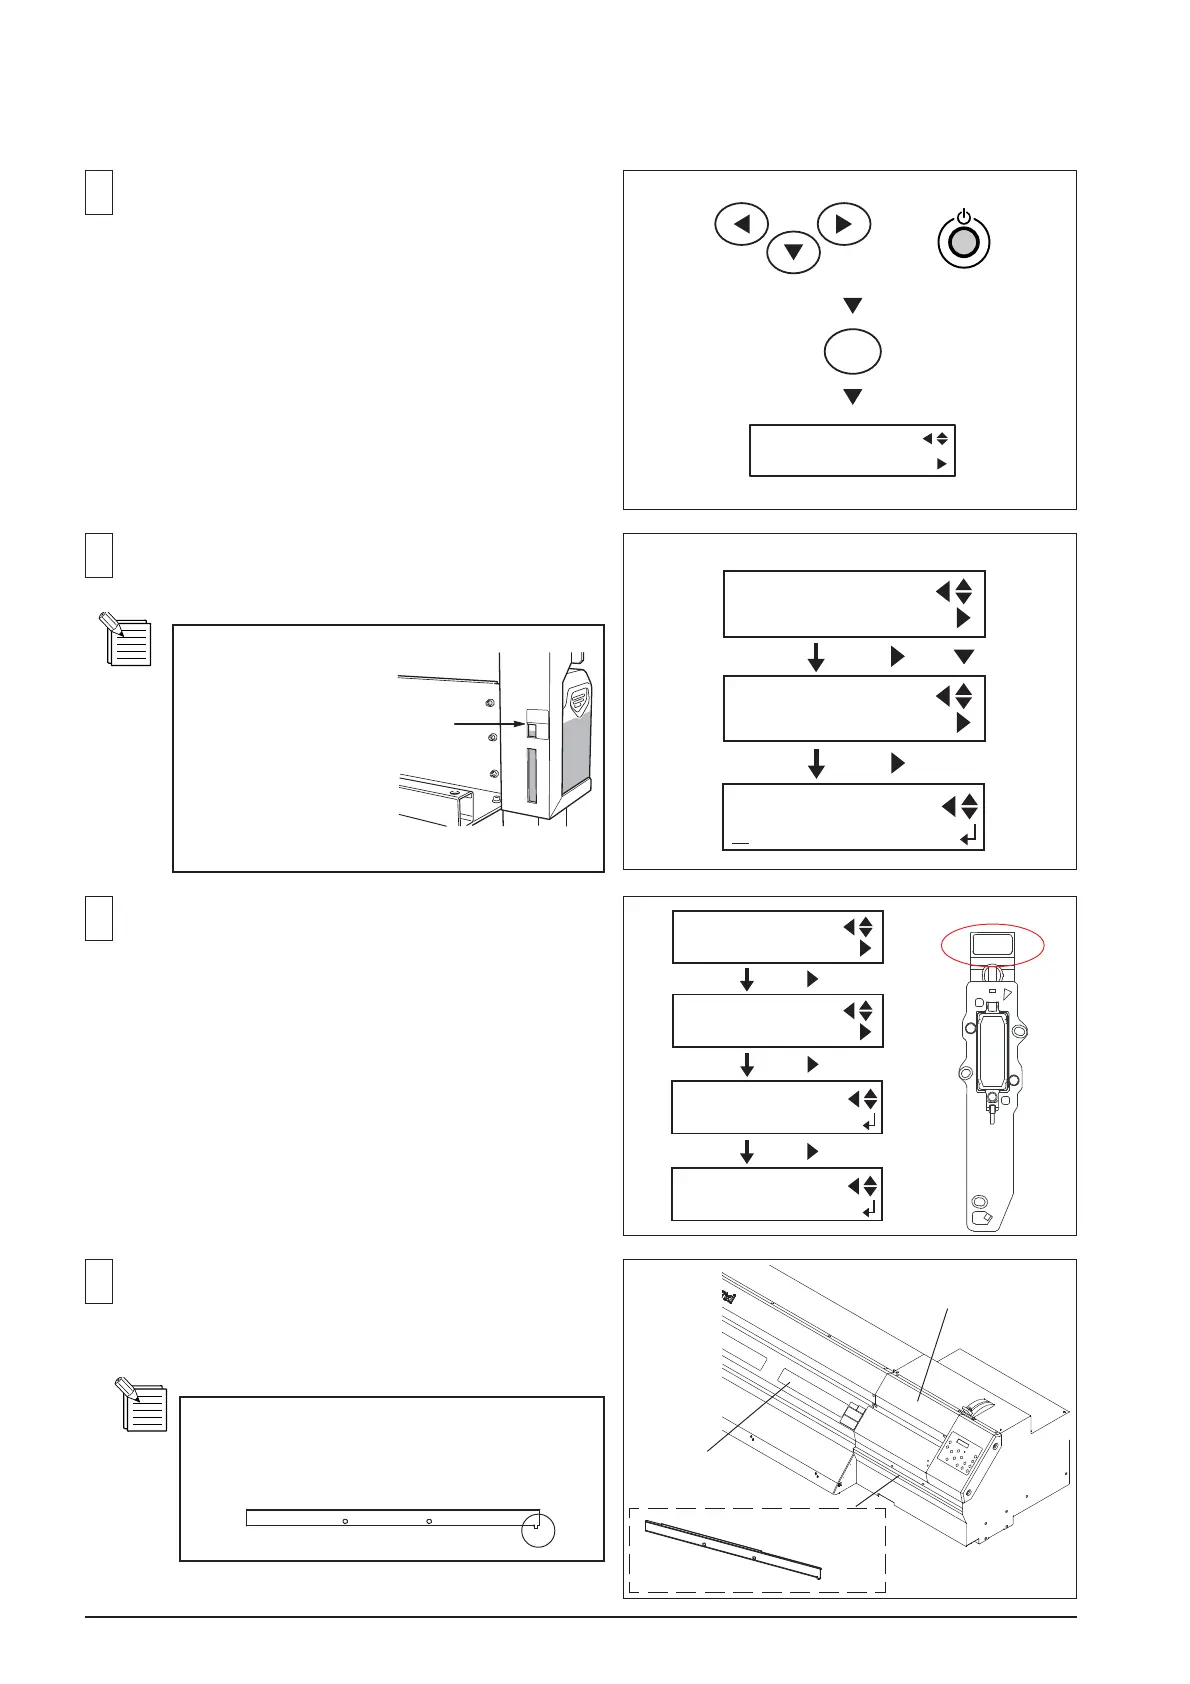
Remove the Front Cover, Right I/S Cover and Right Inner
Plate.
3
Select [PRINT MENU] > [HEAD RANK], and select the
Head No. of the head that you are going to replace and
input the Head Rank written on the new head.
Input the Head Rank by selecting the digit with the Left
and Right keys, and changing the parameters with the
Up and Down keys.
Press the [ENTER] key to save the settings.
* The Head No. are [HEAD1], [HEAD2], [HEAD3] in order
starting from the Cyan Head at the left end.
2
Select [SUB MENU] > [HEAD REPLACE], and select
the group of the target Head.
1
3-1 HEAD REPLACEMENT
Turn on the Sub Power SW while pressing the Left, Right
and Down keys to enter the Service Mode.
5CY2F2F
[ ]
SERVICE MENU
PRINT MENU
PRINT MENU
HEAD RANK
HEAD RANK
HEAD 1
[ ]
HEAD RANK 1
1234567 (1/5)
[ ]
HEAD RANK
Right I/S Cover
Front Cover
Right Inner Plate
Right Inner Plate has a small hook on its right
bottom and it is inserted to the lower cover.
Be cautious when removing it.
Check the ink
amount in the
Drain Bottle.
Discard it before
the ink exceeding
the upper limit.
MENU
SERVICE MENU
+
MENU
Upper Limit

 Loading...