4
To avoid personal injury and/or property damage, permit only trained personnel to
operate lift. After reviewing these instructions, get familiar with lift controls by running
the lift through a few cycles before loading vehicle on lift.
W
1. Before Loading:
• Inspect Lift - See "Operator Maintenance" on page 6.
Never operate if lift malfunctions or has broken or
damaged parts.
• Lift must be fully lowered and service bay clear of all
personnel before the vehicle is positioned onto lift.
• Assure area around lift is free of tools, debris, grease,
and oil.
• If lift is equipped with rolling jacks, jacks must be fully
lowered and the rear jack pushed toward center of lift
to provide under car clearance.
• Do Not allow unauthorized persons in shop area while
lift is in use.
• Do Not use any part of the lift as a crane or as a support
for another lifting mechanism. (i.e.: block & tackle, etc.)
2. Loading:
• The operator of the lift is required to be at least 18 years
of age, and must have been instructed by a trained
operator.
• Do Not allow unauthorized or untrained persons to
position vehicle or operate lift.
• Do Not overload lift. See capacity label on lift.
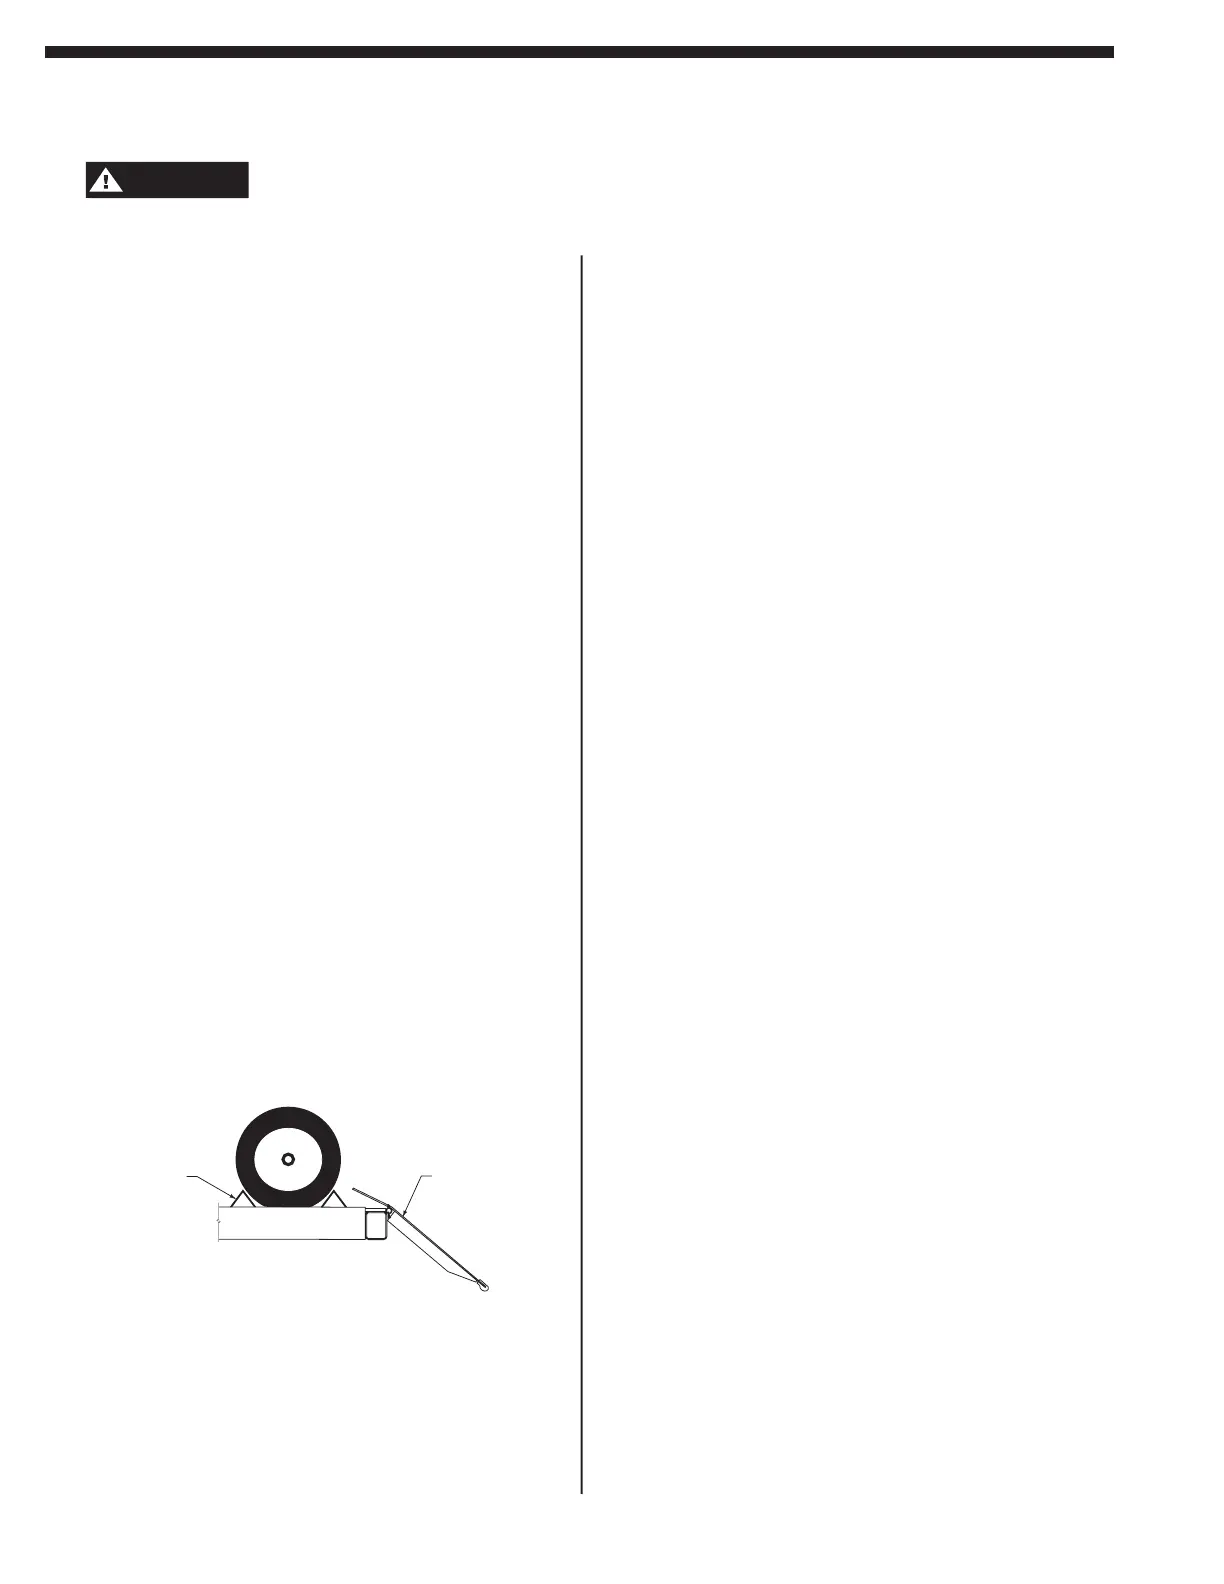
• Drive vehicle onto lift and stop vehicle when it is
centered on runway. At all times, be sure rear wheels
are forward of the ramp/chocks and the ramp/chocks
will clear tires when the lift is raised, Fig. 2.
• Put vehicle in park, engage parking brake and place
triangular wheel chocks on each side of one of the rear
tires, Fig. 2.
OPERATING INSTRUCTIONS
Surface Mounted Wheel Engaging Lifts
Note: Allow 2 seconds between motor starts. Failure to
comply may cause motor burnout.
• Continue to raise to desired height.
• Lower lift onto locks after desired height is
reached.
4. While Using Lift:
• Always use safety stands as needed for stability when
removing or installing heavy components. (i.e.: engines,
transmissions, etc.) Use 4 safety stands.
• Raise safety stands to meet vehicle, do not lower vehicle
onto stands.
• Avoid accidental touching of exposed exhaust system on
raised vehicles. Watch for air hoses and electrical
cords which may be tripped over.
• Wear safety glasses while working under vehicle.
5. Before Lowering Lift:
• Remove all tools or other objects from lift area.
• Assure personnel are not in lift area.
6. To Lower Lift:
• Remain clear of lift when lowering vehicle. Keep Feet Clear!
• Push LOWER switch to lower, Fig. 1.
7. Unloading:
• Fully lower lift.
• Remove triangular wheel chocks.
• Assure Exit area is clear of objects and personnel
before removing vehicle from lift.
• Carefully drive vehicle off lift.
8. Power Off:
• Turn switch to "OFF" position while lift is not in use.
9. Trouble Shooting:
• See page 7.
10. Maintenance:
• See page 7.
Ramp/Chock
Fig. 2
3. To Raise Lift:
• Do Not permit anyone on lift or inside vehicle when it is
being raised (or lowered).
• Maintain visual contact with lift & vehicle throughout
the motion of the lift while remaining clear of lift.
• Push RAISE switch on power unit, Fig. 1.
Wheel Chock
 Loading...