3 x Installation
13
FA ROTEX Solaris RPS3 P2 - 06/2012
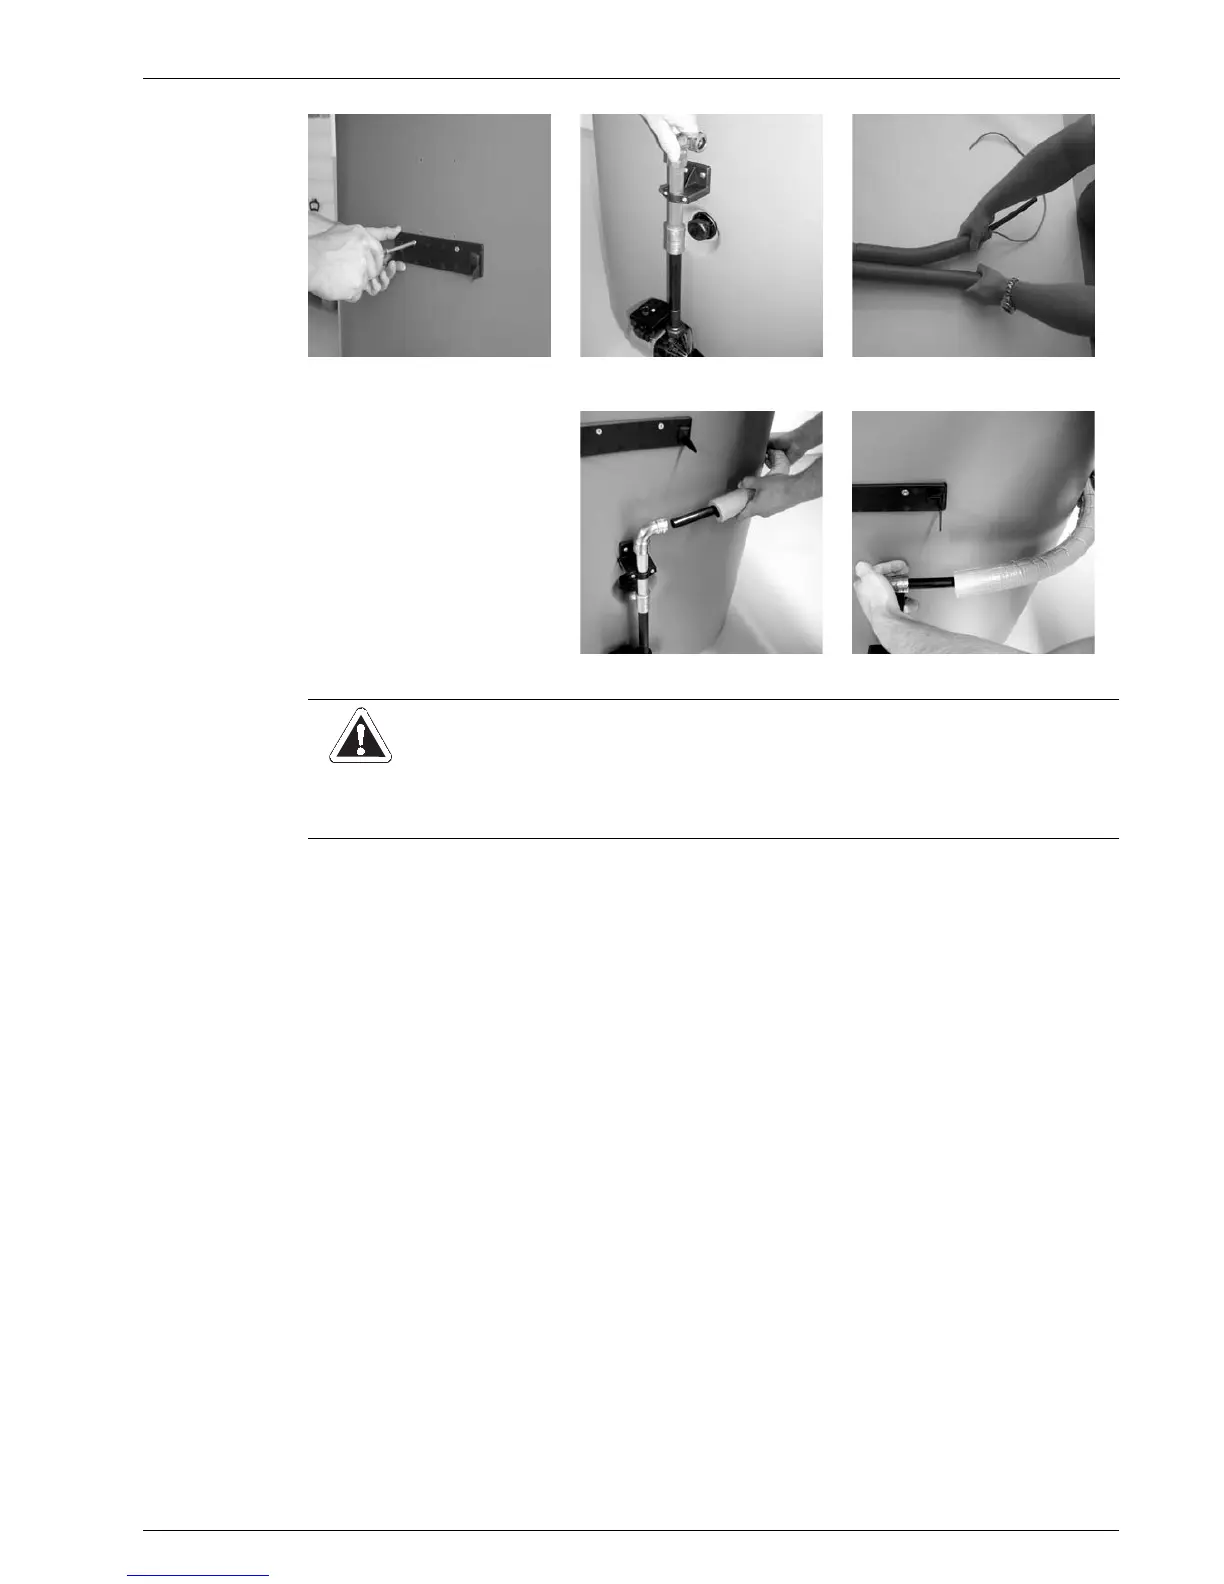
Fig. 3-9 Work step 8 Fig. 3-10 Work step 9 Fig. 3-11 Work step 10
11. Adapt the return line as required and
lay separately after cutting the twin
heat insulation.
12. Insert return line into the press-
fitting on the pump outlet pipe.
Fig. 3-12 Work step 11 Fig. 3-13 Work step 12
CAUTION!
In the case of longer pipe runs with only a minimum gradient, it is possible for water pockets with a siphoning
effect to develop due to thermal expansion of the plastic pipes between the mounting points:
• The pipe should be fixed to a rigid structure (e.g. profile rail, pipe etc.).
• Always make sure that pipe runs have a continuous gradient of at least 2 %.
 Loading...