Page 10 of 33
in-hypalm-v40 / 20051205
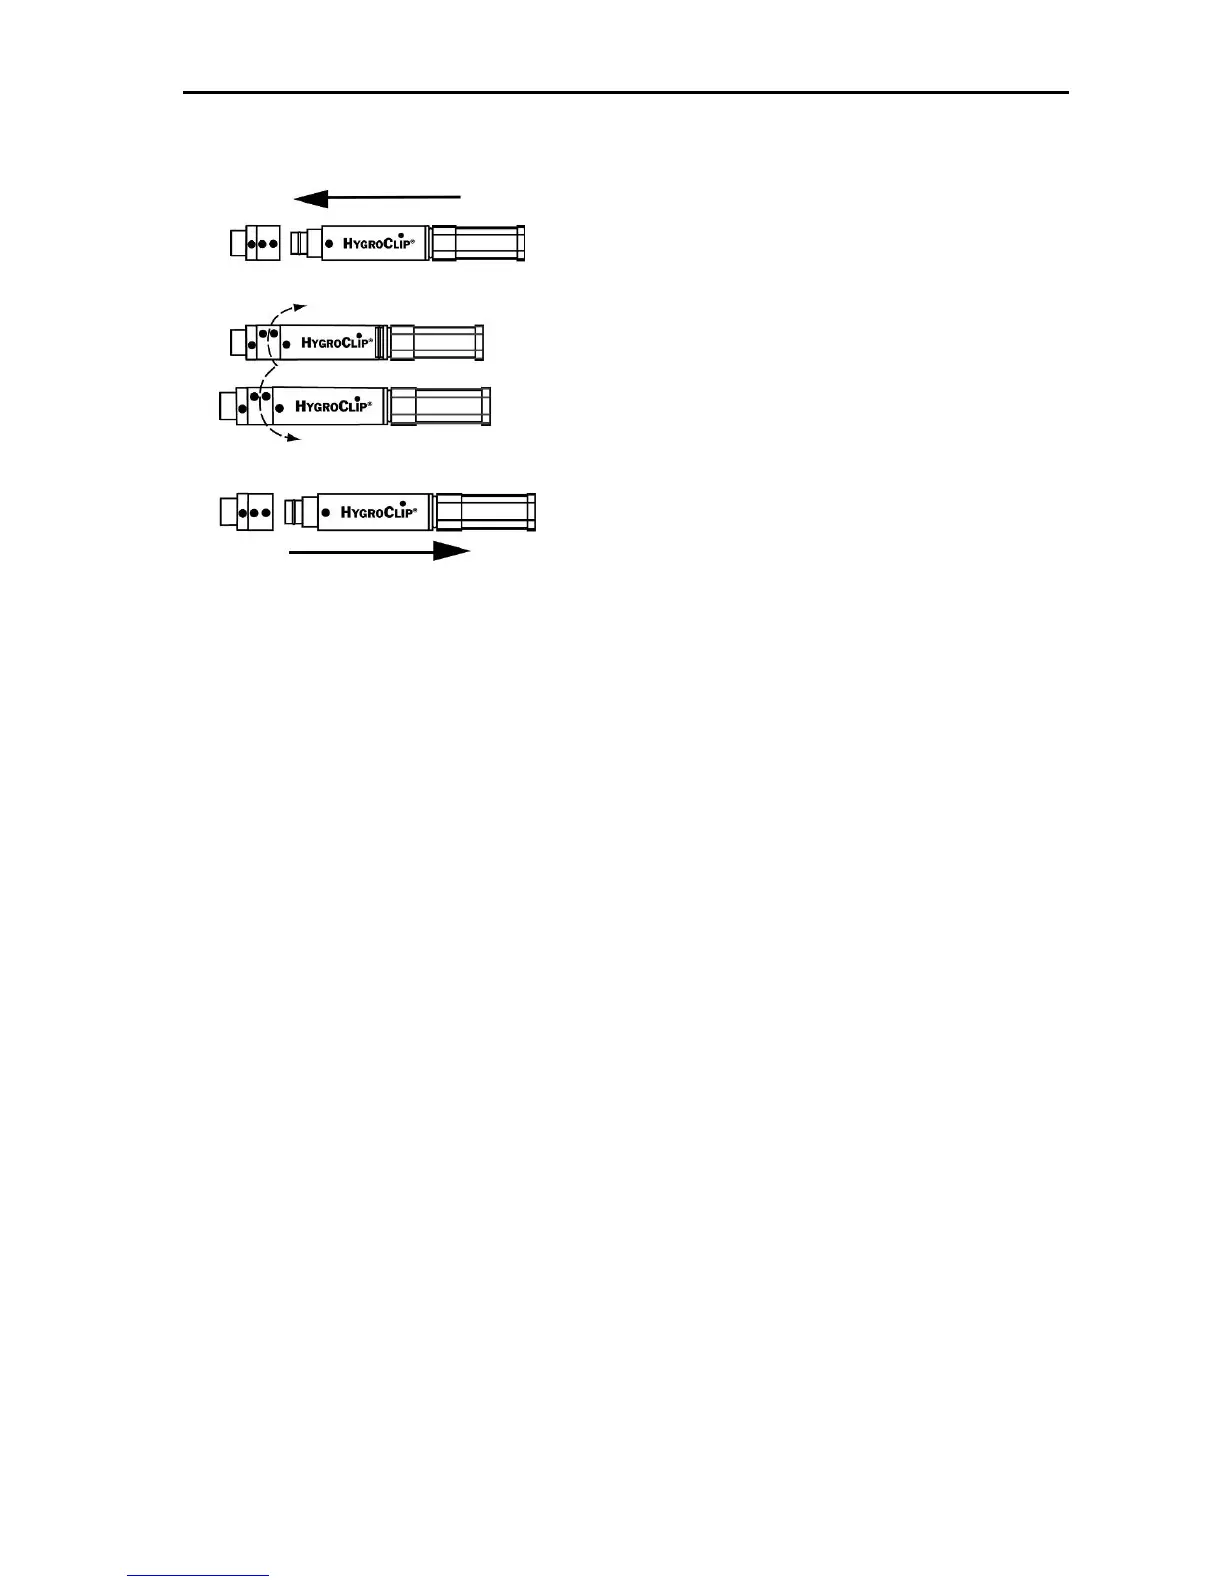
Installation and removal of the HygroClip probe (probe input 1)
Connect a probe to the HygroPalm
1)
and press on the ON/OFF key. After a brief test and introductory
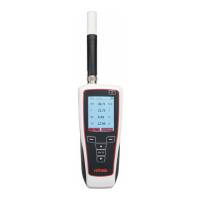
message, the measurements appear on the LC display. Measurements are updated to the display at the
rate of 0.75 sec. x number of digital probes (HygroClip) connected to the HygroPalm.
1) HygroPalm 2 and 3: the probe can be connected to any probe input - the HygroPalm automatically senses the
probe. HygroPalm3: unless otherwise specified when ordering, all probe inputs are factory programmed to accept a
HygroClip digital probe. Prior to using any analog probe, the corresponding probe input should be re-programmed.
This can be done with the HW3 or HW4 software after connecting the RS232 port of the HygroPalm 3 to a PC (see
separate HW3 or HW4 manual).
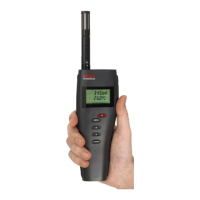
HOLD function
To freeze the measurements press briefly on the ON/OFF key. Press again briefly on the key to return to
normal operation.
Probe Input Selection (HygroPalm 2 and HygroPalm 3)
The display can be switched between probes with the UP or the DOWN key. The selection is confirmed
on the message line of LC display as well as by an indicator located at the top of the display.
Both the HygroClip probe and the base
of the connector (probe input 1) are
marked with a dot. The locking ring is
marked with 2 dots.
The probe can be inserted straight into
the connector (or removed from the
connector) when all dots are aligned.
If necessary, rotate the locking ring to
align the 2 dots of the ring with the dot
at the base of the connector.
WARNING: do not rotate the HygroClip
as this may damage the connector.
After inserting the probe, turn the
locking ring clockwise to secure the
probe.
 Loading...