Hardware Installation and Reference Guide Installing the AP
16
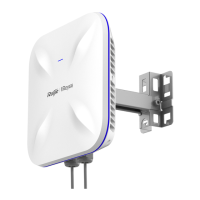
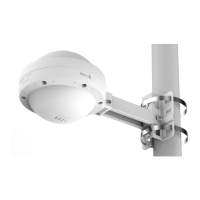
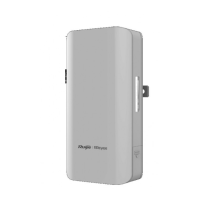
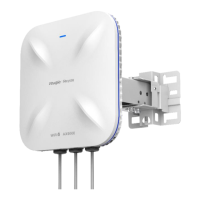
3.4.3 Installing the AP
Warning
The installation site should be free from water flooding, seepage, dripping, or
condensation.
When installing this device, ensure that the antenna end is facing upwards and the device
is mounted perpendicular to the ground. Avoid tilting, leveling, or inverting the installation,
as it may compromise the device's dust and water resistance performance.
Power on the device only after it is properly installed.
If the installation site does not meet any of the requirements mentioned above, you are
advised to take effective waterproof measures such as using a waterproof plaster or adhesive
tape.
1. Mounting the AP on a Wall
The mounting bracket and expansion screws (3.5 mm × 25 mm) are required for wall
mounting. Please follow the installation procedure outlined below:
(1) Place the mounting bracket against the wall and adjust its position (pay attention to the
designated areas for the AP and antennas). Use a marker to mark the positions for the wall
anchors, with the center distance of the mounting hole being 54±0.5 mm (2.13 in. ±0.02 in.).
Next, use an electric drill to create a 3.5 mm (0.14 in.) hole.

 Loading...