JUL 2023 | R1.7© Safe Fleet | All rights reserved
2. Installing FOCUS H2 In-car Video System
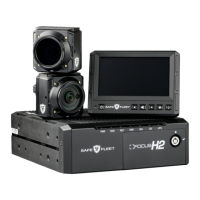
FOCUS H2 Installation Guide
p. 16
The microphone has the following three buttons
• Rec – larger button on top
• PB1 – smaller button on top. This is a programmable function button.
• PB2 – side button. This is a programmable function button.
If there are two wireless microphones, their push buttons are given the same functions.
• Mute – mutes the sound from the wmic. When mute is on, a button LED displays. When the mute is off the button LED
is turned off.
• Marker – records the time when the button is pressed. This is the same as a bookmark.
• TriggerCam2 – starts camera2.
• Snapshot –This is the same as the snapshot function on the live view screen.
Assembling the Microphone Unit
The microphone comes in a package, which also includes a battery, a wall charging unit, and an antenna. To use the
microphone, you must rst assemble it.
To assemble the microphone:
1. Remove the microphone, battery, antenna, and power adapter from the packaging.
2. Unscrew the lid of the battery compartment, and t the battery inside.
3. Carefully x the lid on to the battery compartment.
4. Thread the antenna inside the screw hole meant for this purpose. You should nd the screw hole along the breadth of
the microphone unit.
5. Use the charging unit to fully charge the microphone battery.
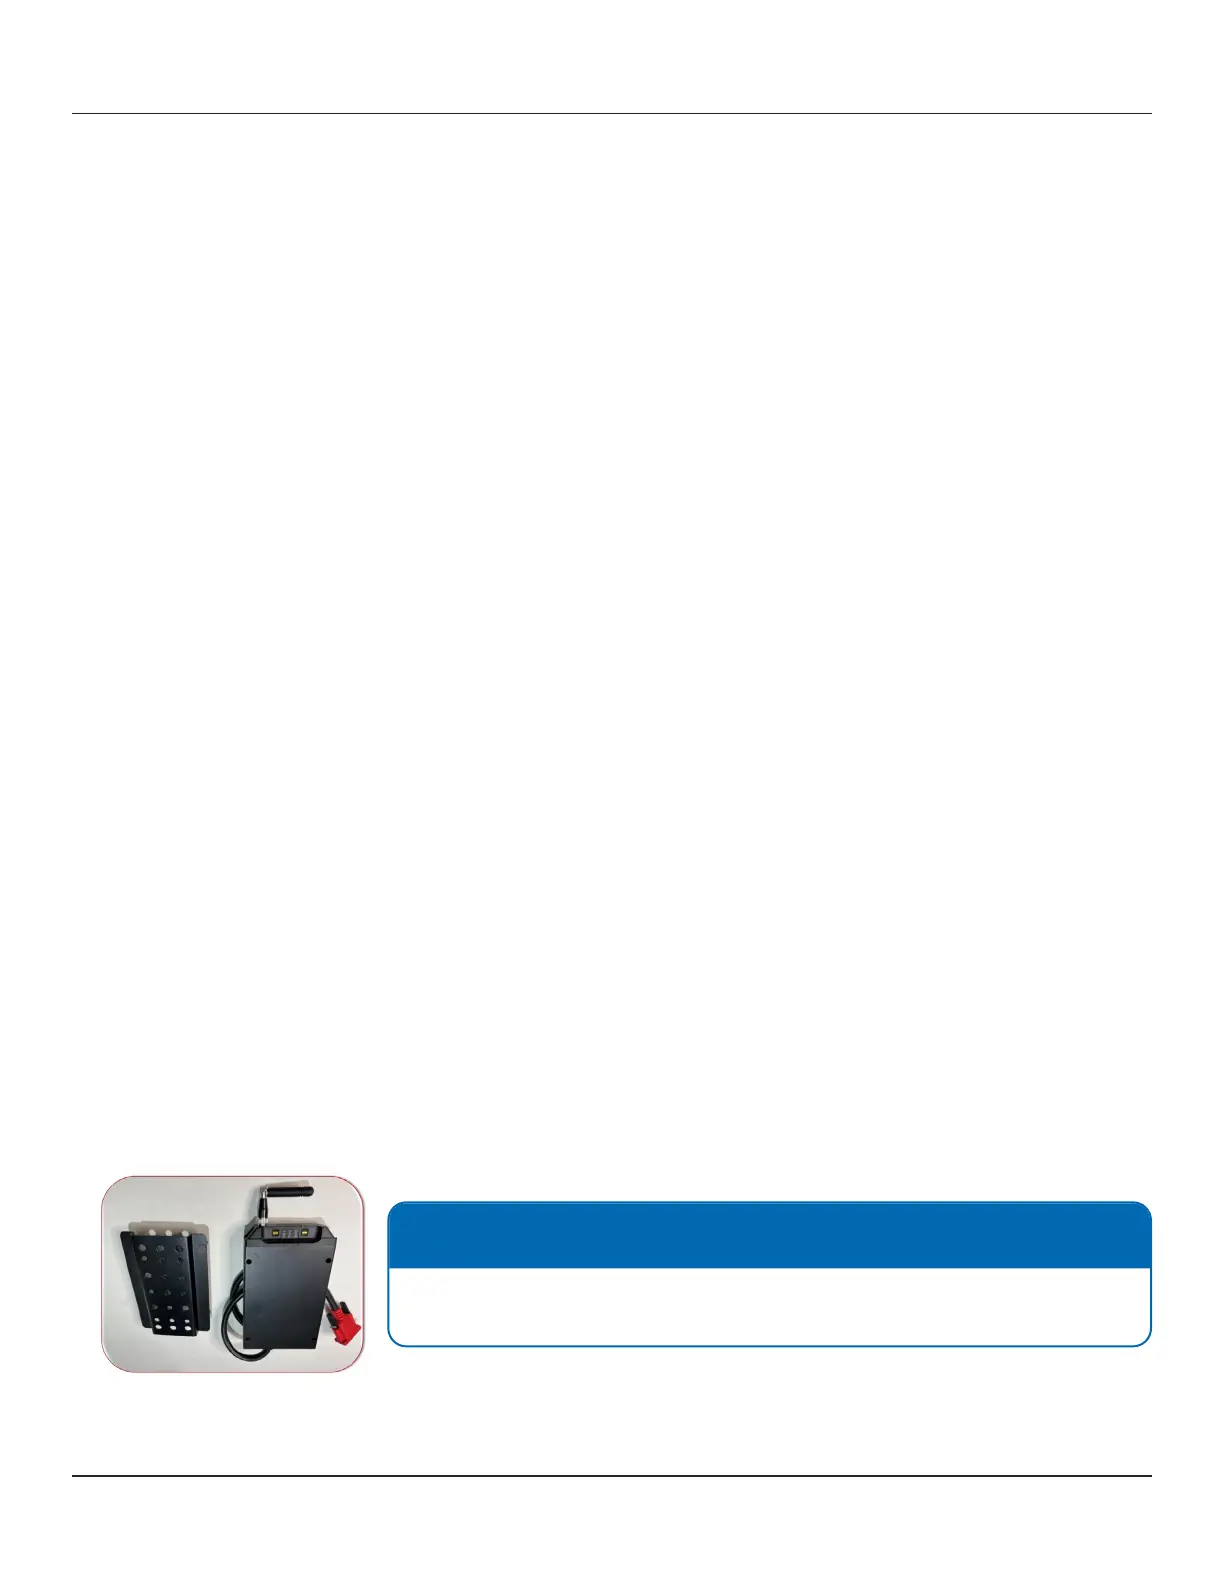
Installing the Microphone Receiver
The Microphone Receiver makes available the audio signal that is transmitted by the microphone.
Follow these steps to install the microphone receiver:
1. Install the microphone receiver as high as possible to clear the rewall. This will give the longest range for the body
microphone. The microphone receiver antenna should not be too close the metallic structures such as the vehicle
A-pillar, the roof, etc.
2. Install the backing plate rst. Then, mount the microphone receiver on top of the backing plate.
3. Fix the backing plate and the microphone receiver together with the provided screws.
NOTE: Mounting position of the microphone receiver
The microphone receiver will need to be accessible to the ofcer to sync the
microphone.