OPERATION
4.2 Revised 5/19/2010
Routine Operation
Warm Up
The Tissue-Tek AutoTEC requires a four-hour warm up
time at initial start up or if it was cooled down. The warm
up period can be programmed to start automatically at a
set time. Following warm up, the Tissue-Tek AutoTEC is
in Operating mode, ready to embed. A valid user must be
logged in to start embedding.
Preliminary Checks
Remove, then either clean or replace the paraffin trough
(Figure 1-C, Location 12). Place trough back into position
before beginning operation.
Ensure that paraffin levels are adequate prior to starting
operations. When adding paraffin to the reservoir during
normal hours of operation, use molten paraffin; do not
overfill the reservoir. Use the paraffin fill gauge, shown in
Figure 1-J, as a guide. At the end of the work day, paraffin
pellets may be added.
Only Tissue-Tek
®
Paraform
®
Sectionable Cassettes and
Tissue-Tek
®
Paraform
®
Processing/Embedding Medium,
Formula 3 (product code 7052) can be used in the
AutoTEC. See Section 7, Service and Replacement Parts
for information about how to order cassettes and
additional paraffin.
Confirm that the output doors are empty, and that the front
and rear access doors are closed and latched.
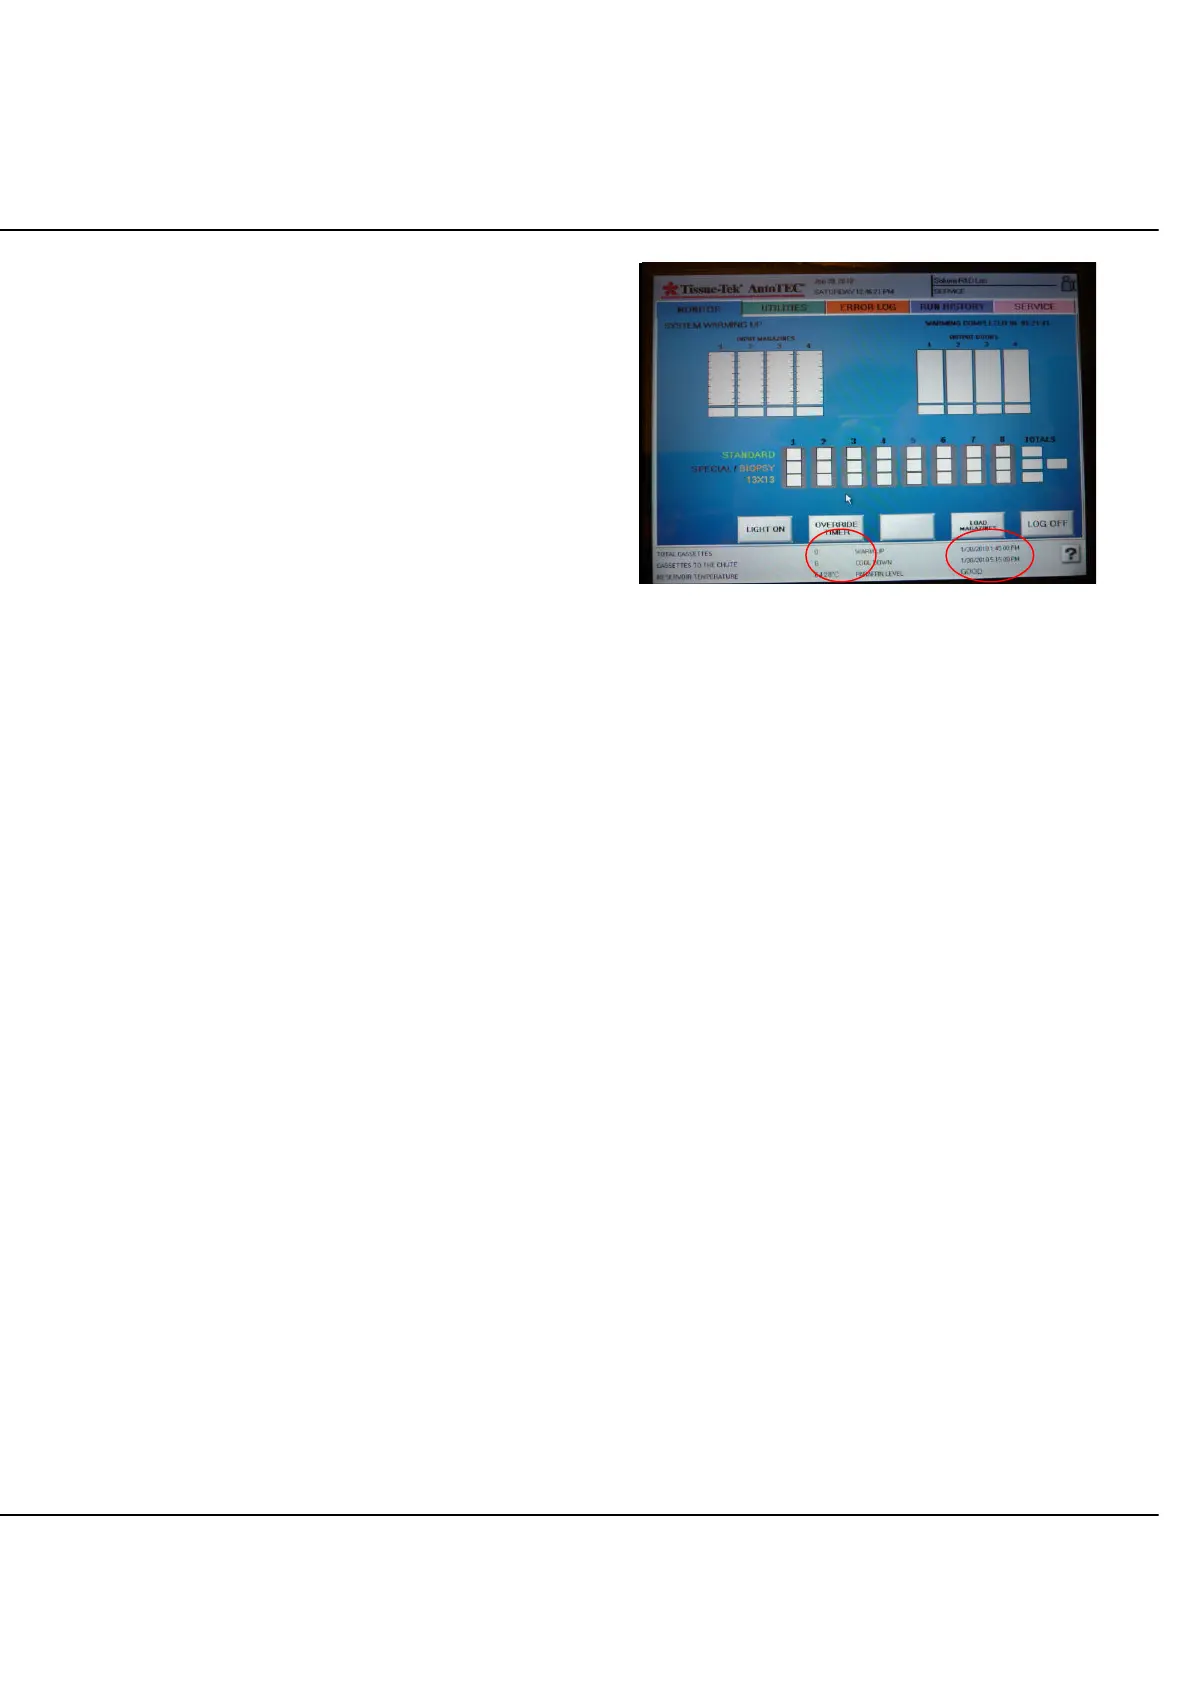
Depending on the initial thermal state of the system and
the room temperature, all internal components may reach
temperature before the 4 hour period has elapsed. At that
point, the OVERRIDE TIMER button will display (Figure 4-
D). The operator has the choice to either wait for the 4
hour cycle to complete or to touch the OVERRIDE TIMER
button to force the system to the ready state. In either
case, the OVERRIDE TIMER button disappears.
If the input door heaters are at temperature (typically 15 to
30 minutes after warm up begins), the LOAD
MAGAZINES button will display. Because the rest of the
instrument is not up to temperature, do not place
cassettes in the instrument until about 30 minutes prior to
the end of the warm up period, to avoid leaving tissues
exposed to heat for too long.
Figure 4-D: Initial Run screen (warm up cycle with
system up to temperature)
It is recommended to cool down the instrument (manually
or automatically) at the end of the day, to leave instrument
AC power switch on, and to program a Ready Time that
will ensure the system is ready when the laboratory
operation begins.
For example, if the laboratory opens at 7AM, a Ready
Time set at 7AM will guarantee that the warm up cycles
starts at 3AM and is completed by 7AM, at the latest. In
that case, after a successful log in, the Monitor screen will
not have any timer indication on the upper right corner,
and the only buttons available will be LOAD
MAGAZINES, LIGHT ON, and LOG OFF. The instrument
is then ready to receive cassettes and embed them.
Touching LOAD MAGAZINES button will give access to
the input door. An on-screen message will confirm that
the input door is ready to be opened.