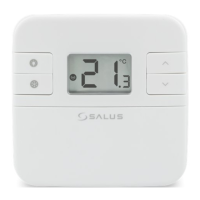
Wall mounting
Fit the front housing.
Press lightly
Note: You can also use a flush mount housing and a German and UK wall box to mount the thermostat directly
into the wall. The standard wall box has a diameter max 60mm and depth from 41-46 mm. The cable entry on
the backplate must allow a cable with 5*1,5 mm
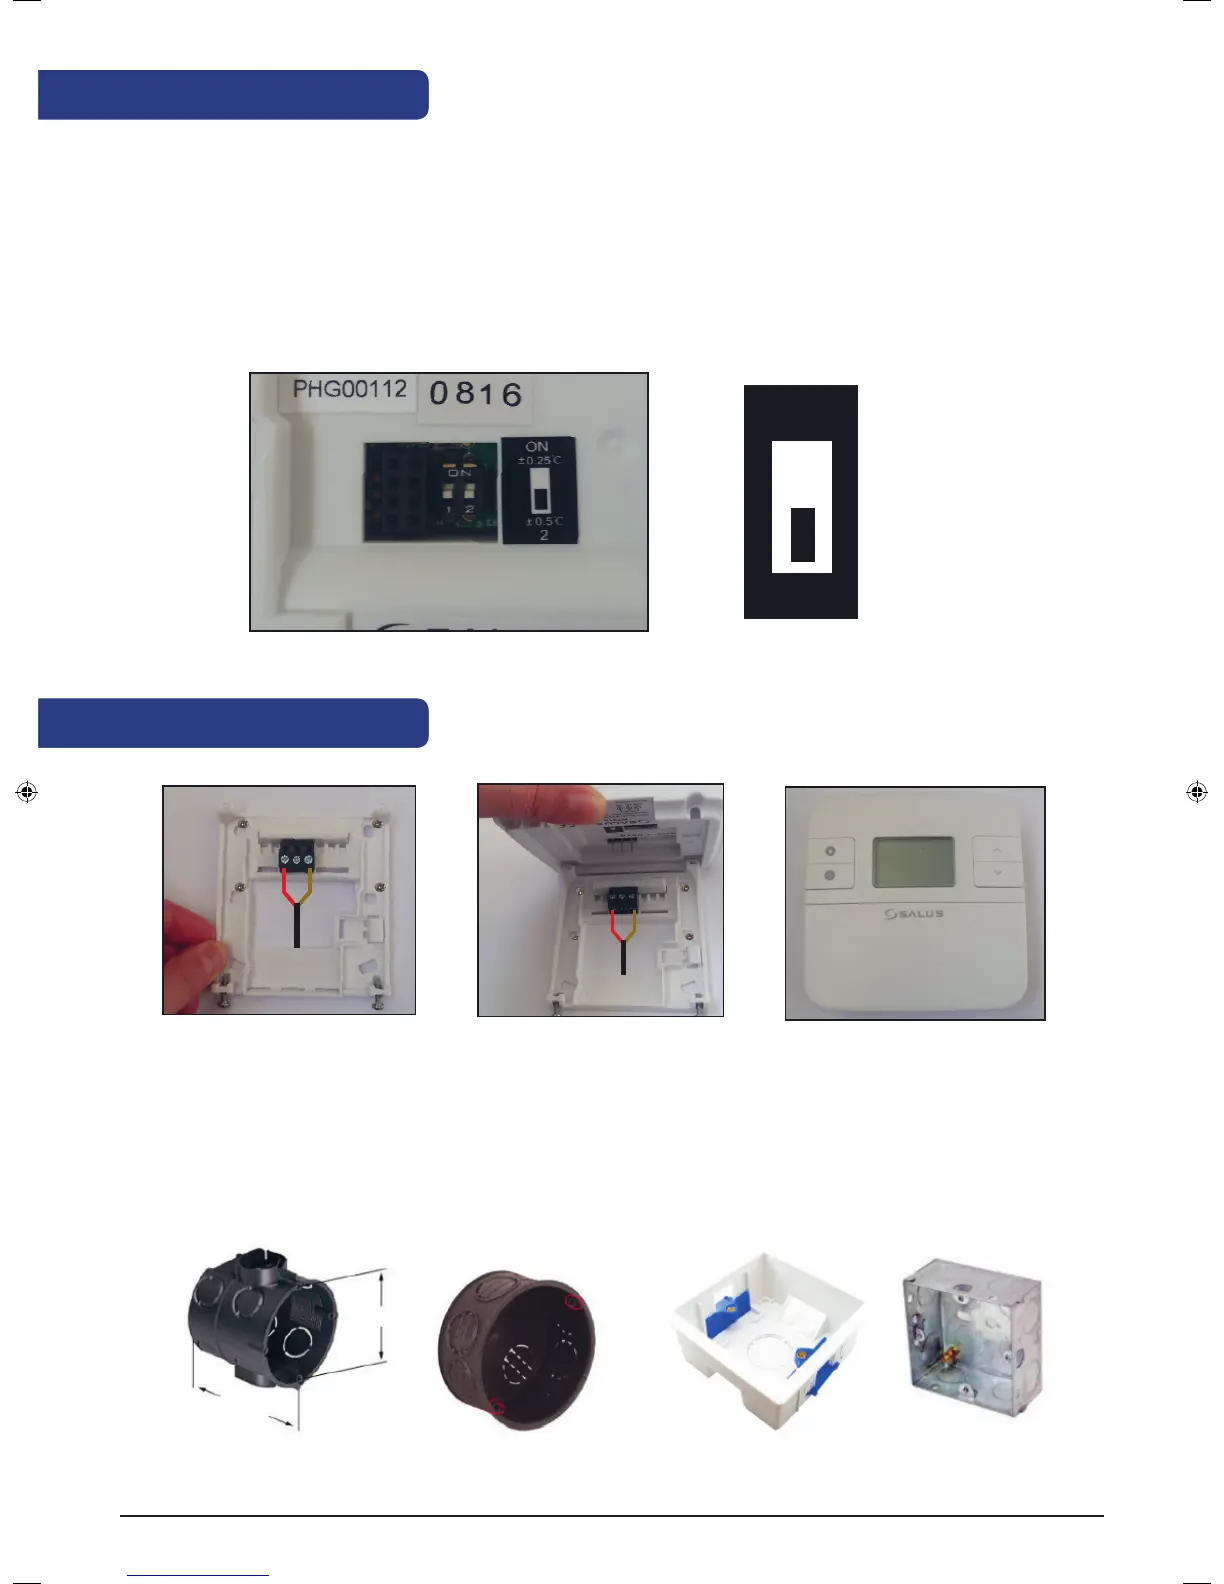
The DIP switches are found on the rear of your thermostat and can be used to change the span (temperature
accuracy) of your thermostat from the default +/-0.5°C to +/-0.25°C. This may cause your boiler to operate more
frequently. The DIP switches are located on the back of the thermostat. ON +/-0.25°C, OFF +/-0.5°C.
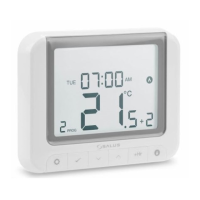
The span is the accuracy with which the thermostat operates when displaying your temperature. You can
increase the accuracy by setting the span to +/-0.25°C, meaning that your thermostat will be sensitive to a
quarter of a degree temperature change and will activate/deactivate the boiler.
DIP switch settings
+/-0.25
+/-0.5
ON
2
Fix the backplate
to the wall
Align the front housing at
the top edge
.
60mm
46mm
06 RT310 Installation Manual