RXRT505 INSTRUCTION MANUAL
7
SETTING UP RF COMMUNICATION WITH
YOUR THERMOSTAT
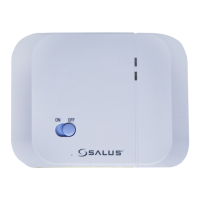
RT505TX / RT305TX
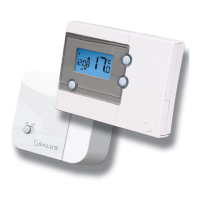
After you have switched the receiver on, the
thermostat will automatically pair* with the
RT505TX and the RT305TX (only). When the red
LED stops flashing, the unit has successfully paired.
If you have difficulty in pairing the thermostat, we
recommend changing the address codes in the
thermostat and the receiver.
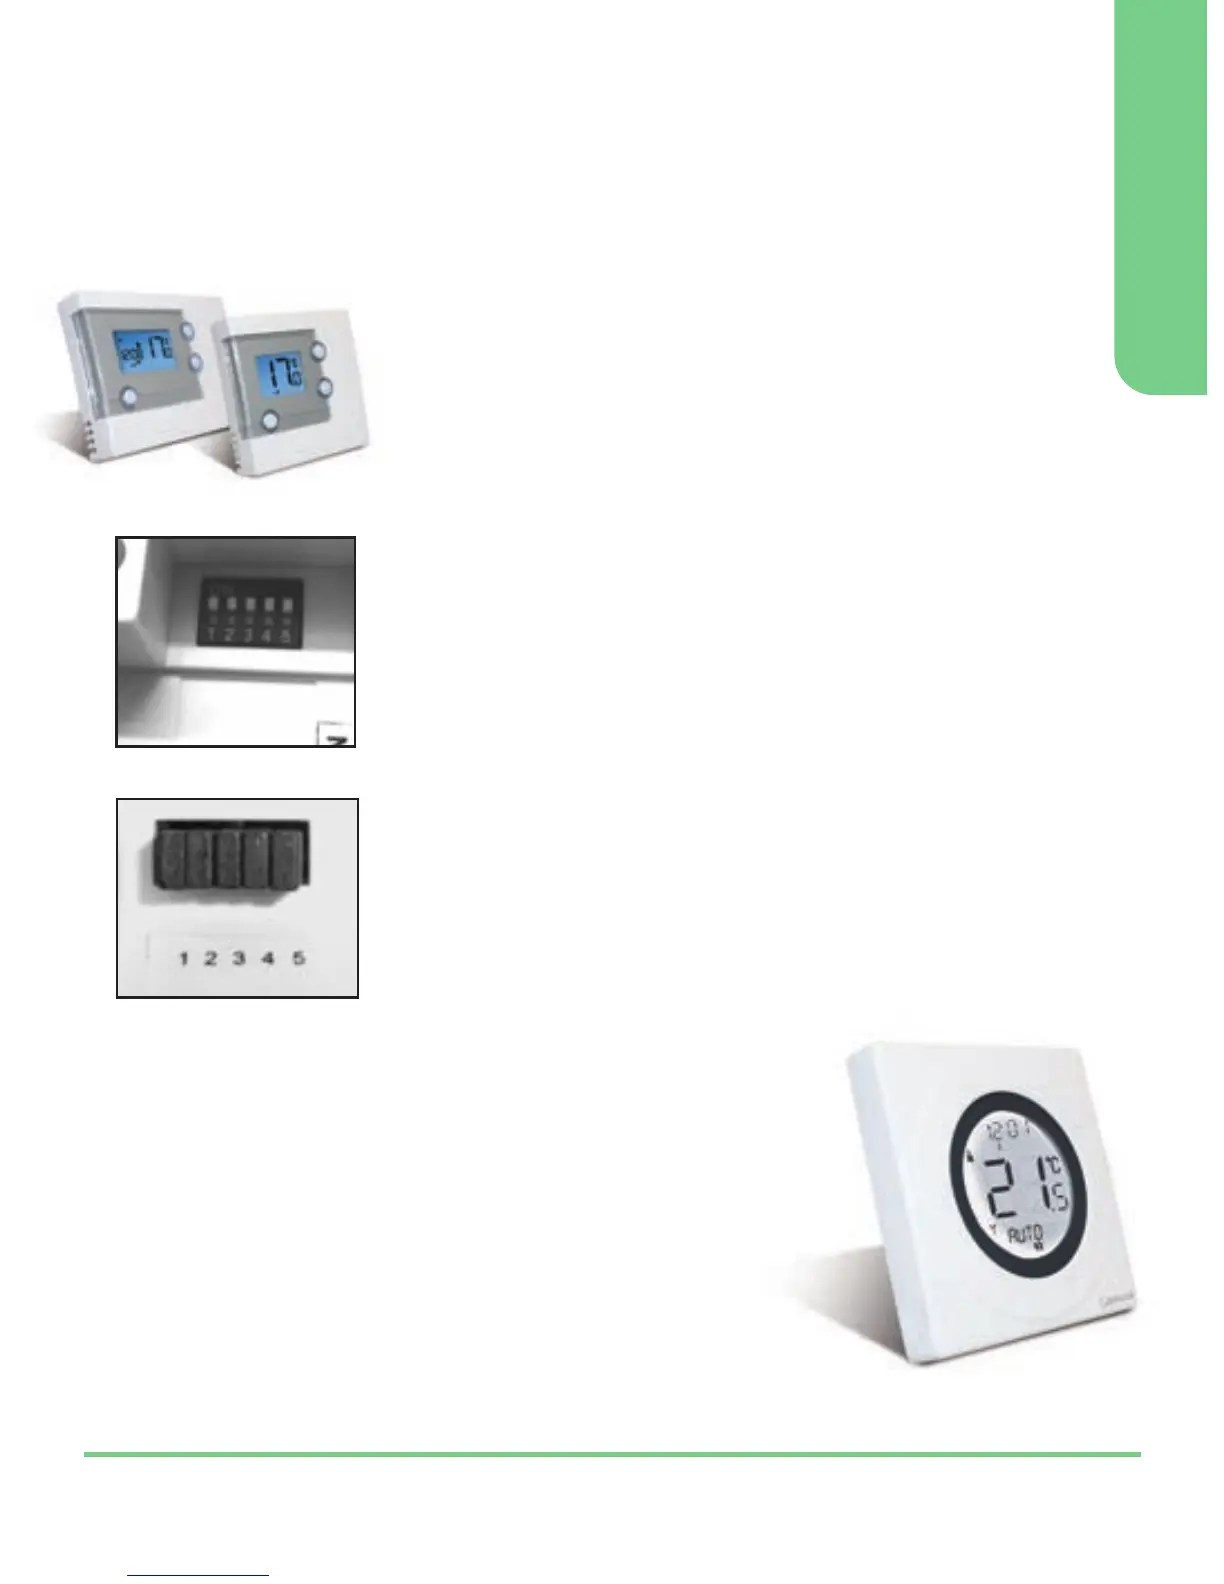
To adjust the RF address code of the receiver,
simply push up one or more of the 5 DIP switch
levers on the DIP switch bank located on the back
of the receiver (the levers are numbered 1 to 5
from bottom to top, as shown in the picture left),
and then make a note of the setting of each switch:
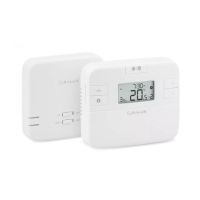
To adjust the RF address code of the thermostat,
remove one or more of the jumper caps located on
the back of the unit (labelled 1,2,3,4 and 5, and
shown in the picture left) so that the jumper
settings match the settings made on the receiver:
DIP Switches
Thermostat
Jumper Caps
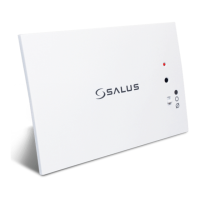
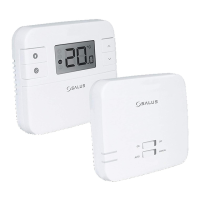
ST325TX / ST625TX
1. Switch power on the receiver, the receiver
will now automatically enter pairing mode.
2. Enter Pair Menu on the S-Series thermostat
and start the pairing procedure*.
3. When the red LED on the receiver stops
flashing, pairing has been successful.
* For full instructions on thermostat pairing see:
RT505TX Manual - Page 13 ST325TX Manual - Page 15
RT305TX Manual - Page 9 ST625TX Manual - Page 11