10 _ Disassembly and Reassembly
3-2. STANDARD DISASSEMBLY DRAWINGS
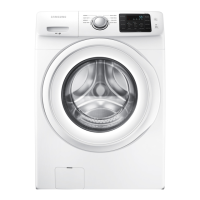
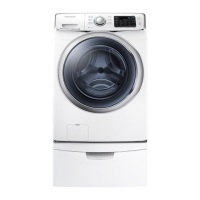
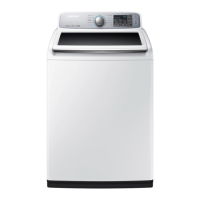
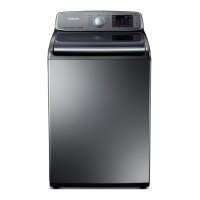
► Thisisastandarddisassemblydiagramandmaydifferfromtheactualproduct.
Use this material as a reference when disassembling and reassembling the product.
Part Figure Description
Sub and Main PCB
Assembly
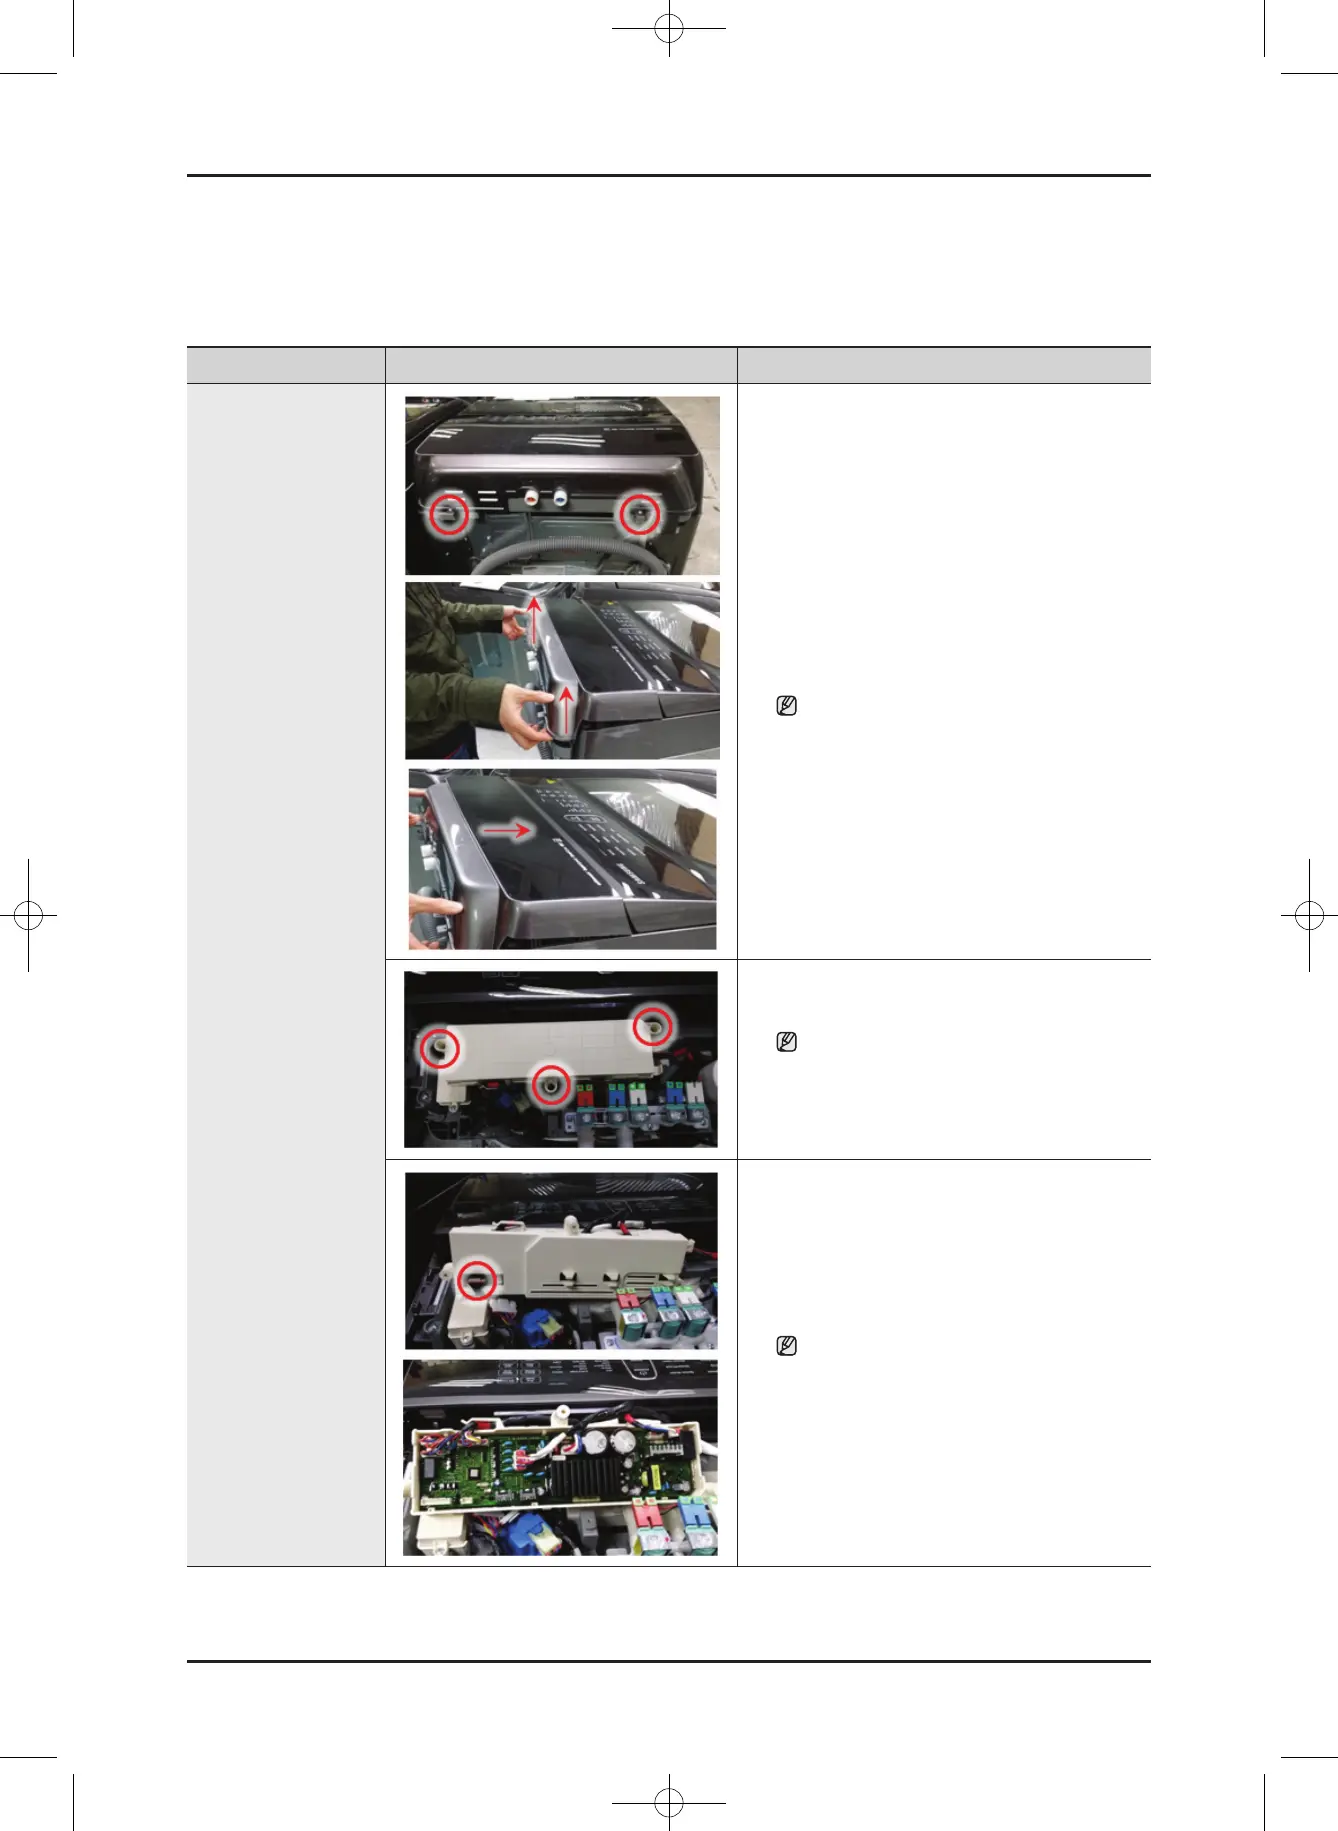
1. Remove the 2 screws holding the Cover T.C
assembly.
2. Separatethebothhooks.(LeftandRight)
3. Separate the cover panel upward.
Ifitisdifculttodisassemble,Push
Forwardtodisassemblehooks.
(Becarefuldamageofhooks.)
4. Removethe3xingscrewsandSeperatea
connectoronbackside.
WhenreassemblingthePCB,takecare
that you do not damage the control-panel
xinghook.AfterreplacingthesubPCB,
checkthekeyoperation.
5. Separate the cover pcb(m) and the wires
connected to the main PBA.
Afterreassemblingthehousing,checkif
the wires are properly connected.
When disassembling and reassembling
thehousing,takecarethatyoudonot
damage the part.
WA8700K Washer.indb 10 2016/2/4 16:56:12
This document can not be used without Samsung's authorization.
SAMSUNG PROPRIETARY. DO NOT COPY OR DISTRIBUTE WITHOUT PERMISSION