Getting Started 7
1.
Select locale: choose a language for using the phone.
2. On-screen keyboard settings: shows how to change
keyboard settings.
3. Internet connection: lets you select whether to use packet
data. Data service will be connected automatically.
4. Set up Wi-Fi: lets you set up your Wi-Fi connection. If you
select Connect to Wi-Fi, the available Wi-Fi networks are
displayed on the next screen. Tap the network you want to
connect to. For more information, refer to “Wi-Fi” on
page 114.
5. Use Google location: let Google’s location service provide
applications with your approximate location without using
GPS. This service collects anonymous location data even
when no applications are running.
6. Set up accounts: automatically sync email, contacts and
calendar events by setting up one or more of the following
account types: Google account, Exchange account, or
Other email account. Tap the type of account and follow the
on-screen instructions to enter your information.
7. Learn more: learn more about how to use your phone.
Note:
If you do not have a network connection, the
Set up accounts
screen will
be skipped.
Creating a New Google Account
In order to utilize your device to the fullest extent, you will need to
create a Google™ Account when you first use your device. With a
Google Account, Google applications will always be in sync
between your phone and computer.
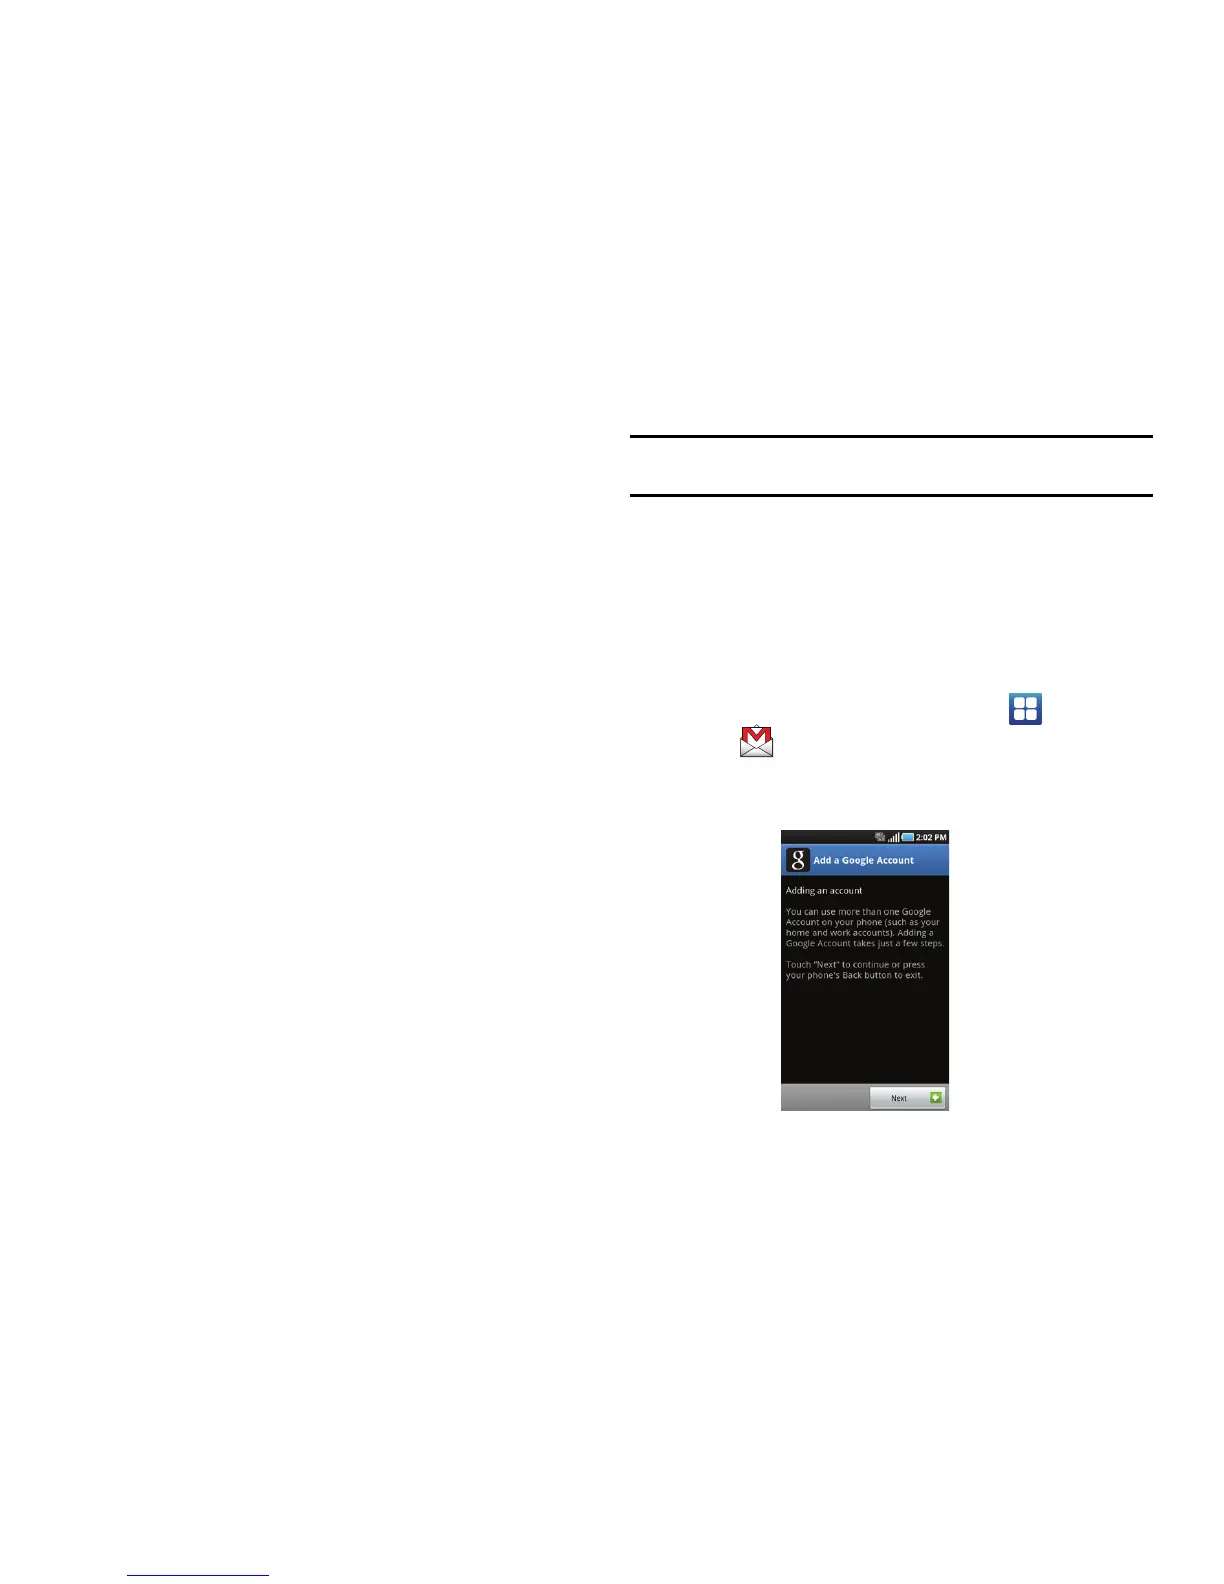
After you start your phone for the first time, follow these steps:
1. From the Home screen, tap
Applications
Gmail
.
The
Add a Google Account
screen displays.