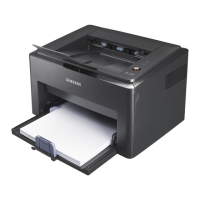
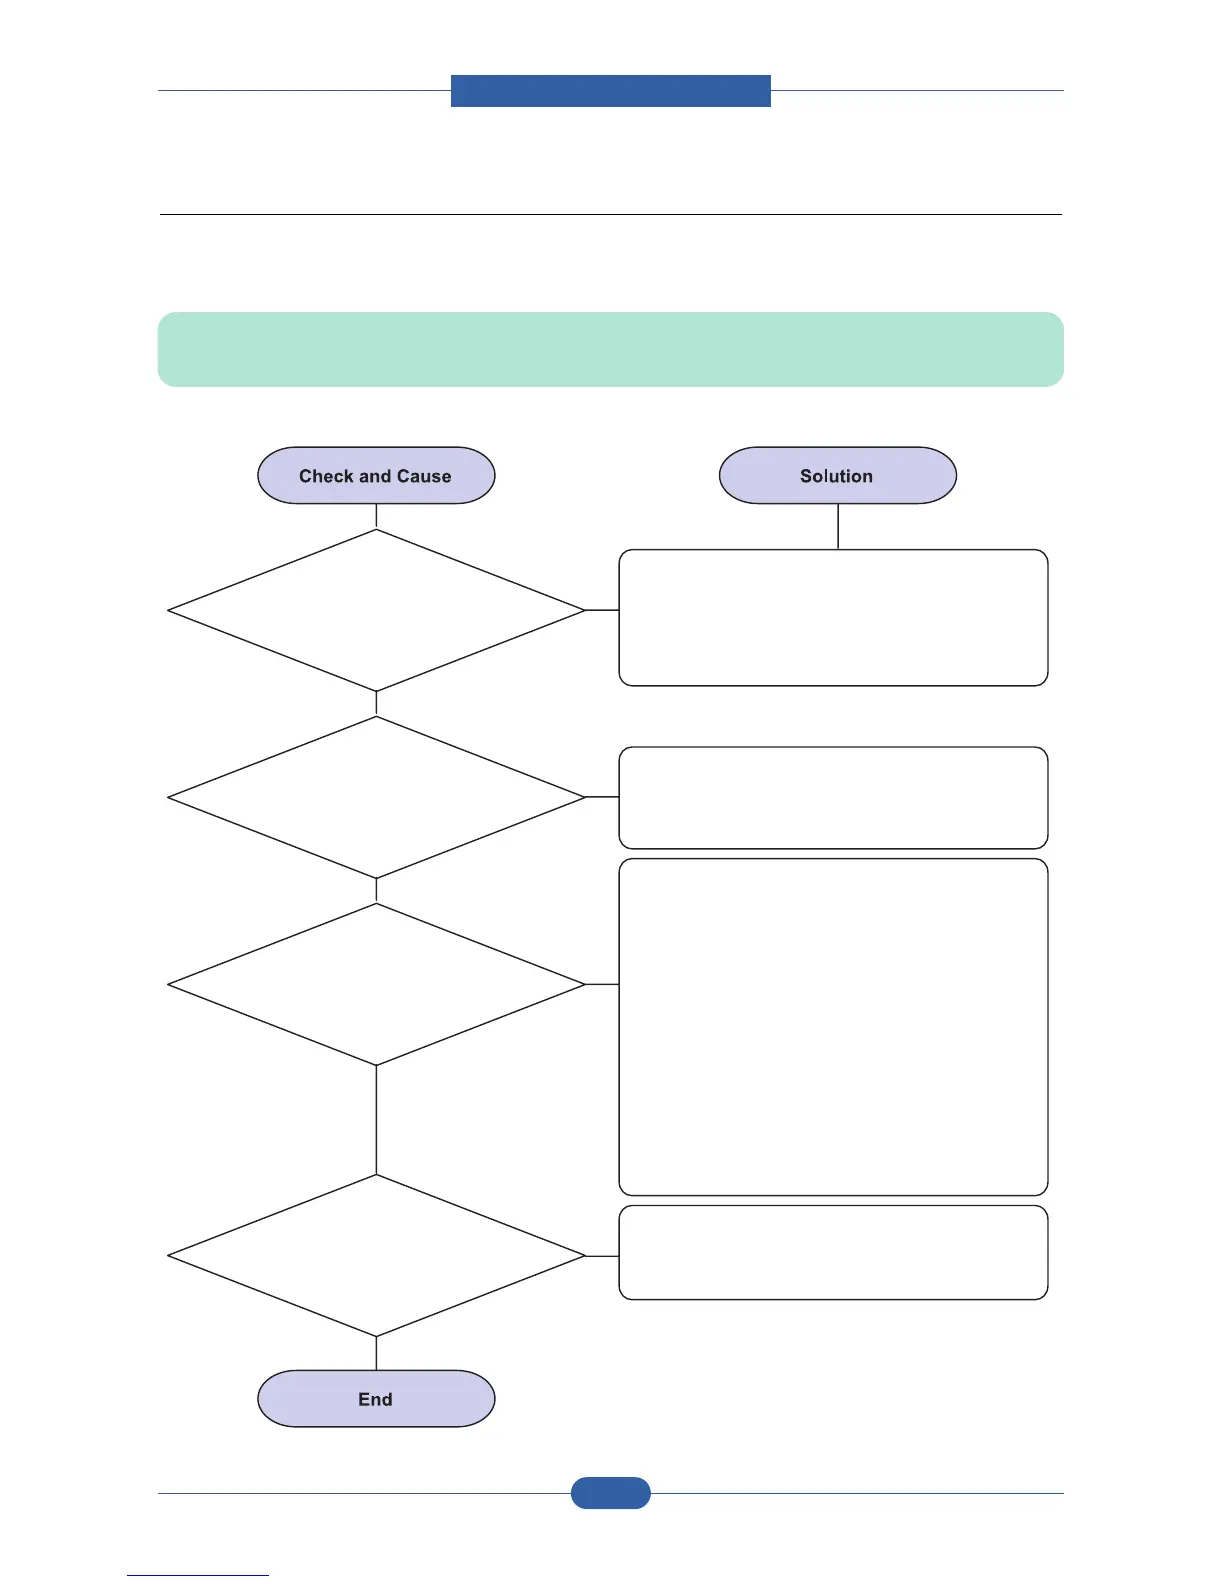
1. Run Self-Test Mode :
Turn the power on and pressing
“System Data List” by pressing Menu-
Reports-System Data.
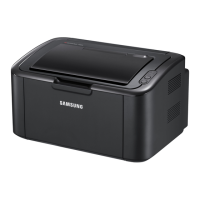
2. Check if the PC
and the printer is properly
connected and the toner cartridge
installed.
3. Printing is not working in the Windows.
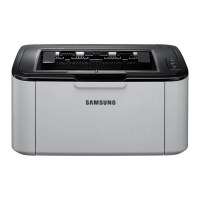
4. Check if the printer
cable is directly connected to
peripheral devices
Check the power of the printer and perform the
Self-Test. If the test printing works, that means no
problems in the printer itself. If the test printing
does not work, that means bad functioning of the
printer(not because of software).
Replace the printer cable. If the problems not
solved even after the cable replaced, check the
amount of the remaining toner.
Check if the connection between PC and printer
port is proper. If you use windows, check if the
printer driver in the controller is set up. If the printer
driver is properly set up, check in which program
the printing is not working. The best way to find out
is to open the memo pad to check the function of
printing. If it is not working in a certain program,
adjust the setup the program requires. Sometimes,
the printout is normal within the Windows basic
programs, but it's not working in a particular
program. In such case, install the new driver again.
If not working in the Windows basic program,
Check the setup of the port of CMOS is on ECP.
And check the address of IRQ 7 and 378
If the scanner needs to be connected to the printer,
first the remove the scanner from the PC to see if
the printer is properly working alone.