-3-
Screen surface versus focal point
About the focus balance
Focus Correction
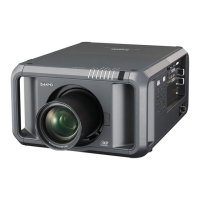
When the lens is attached to the projector and images are being projected onto the screen, the
peripheral focus may be out of focus in some localized areas. If this happens, adjust the three
focus adjustment screws on the lens mount to adjust the focus balance of the screen.
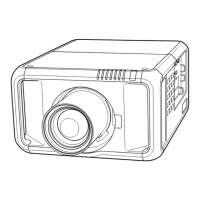
Projection lens
Image formation surface
Relationship between lens orientation and screen focus
Adjustment preparations
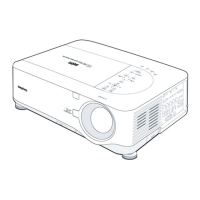
Set up the projector and project images on
the screen.
Press and hold the LENS SHIFT button for
more than 5 seconds to shift the lens to the
center position.
Adjust the focus to make the center area
sharpest, by using the focus adjustment of
the projector.
When the peripheral focus is out of focus in
some localized areas, follow the procedure
on the next page and adjust the focus
balance on the screen.
If the projection lens is tilted with respect to the plane of the screen, uneven focus will result. For
example, when the front side of the lens (screen side) is tilted downward as shown in the figure
below (direction of the dotted arrrow), the upper part of the screen will be tilted backward and the
lower part of the screen will be tilted forward.
Three focus adjustment screws on the lens mount may be used to compensate for uneven screen
focus.
Please adjust the focus balance of the screen by turning the focus adjustment screws.
1.
2.
3.
4.

 Loading...