-39-
Optical Adjustments
Put on the projector in the darkest room. Each adjustment
requires hex wrenches and slot screwdrivers.
1 Set the motorized lens shift to the center position (hori-
zontal and vertical) by pressing the LENS SHIFT button
for more than 5 seconds. The lens moves to the center
position automatically.
2 When adjusting optical components adjustments, using
Standard Zoom Lens is recommended.
3 Set "Dynamic black" function to "Off".
4 Remove 5 screws and remove the optical cover.
CAUTION:
When adjusting the optical components, do not insert any materials into the
optical block for blocking the light. Or the optical block may be damaged by
overheating or scratching the parts.
Before Adjustment
To select the internal test pattern
1 Press the MENU button.
2 Select the "Test Pattern" from the "Setting" menu.
3 Press the SELECT button. The test pattern menu ap-
pears on the screen.
4 Select a pattern name and press SELECT button.
To cancel the test pattern, press any of the buttons.
Color
Gradation 1
Gradation 2
Gradation 3
Gradation 4
All white
All black
Cross
Setting
Test pattern
WARNING : USE UV RADIATION EYE AND SKIN
PROTECTION DURING SERVICING.
CAUTION:
To prevent suffer of UV radiation, those adjustments
must be completed within 25 minutes.
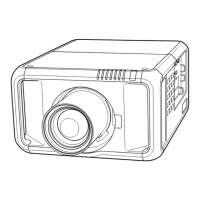
Mirror unit
Optical cover
Screws

 Loading...