-55-
SLOT-C
SLOT-B
SCREW-A
SCREWS-A
SCREW-A
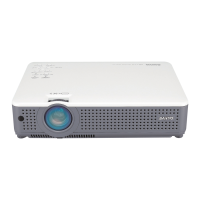
(6) Relay-lens adjustment
Before Adjustment :
1. Remove the connector K8E, connector K8N, connector
K8P and the flexible cables of LCD panels from the
assembly Main. And turn on the projector.
2. If the shade appears on the screen, adjust in the follow-
ing procedure.
Adjustment :
1. Set the assembly-Main to the upright position.
2. Loosen 4 screws-A.
3. If it appears on the top or bottom.---> Use slot-B.
If it appears on the left or right. -----> Use slot-C.
-- Insert slot screwdriver into each slot, turn it and
erase shade. --
4. Tighten the 4 screws-A to fix the Relay-lens unit.
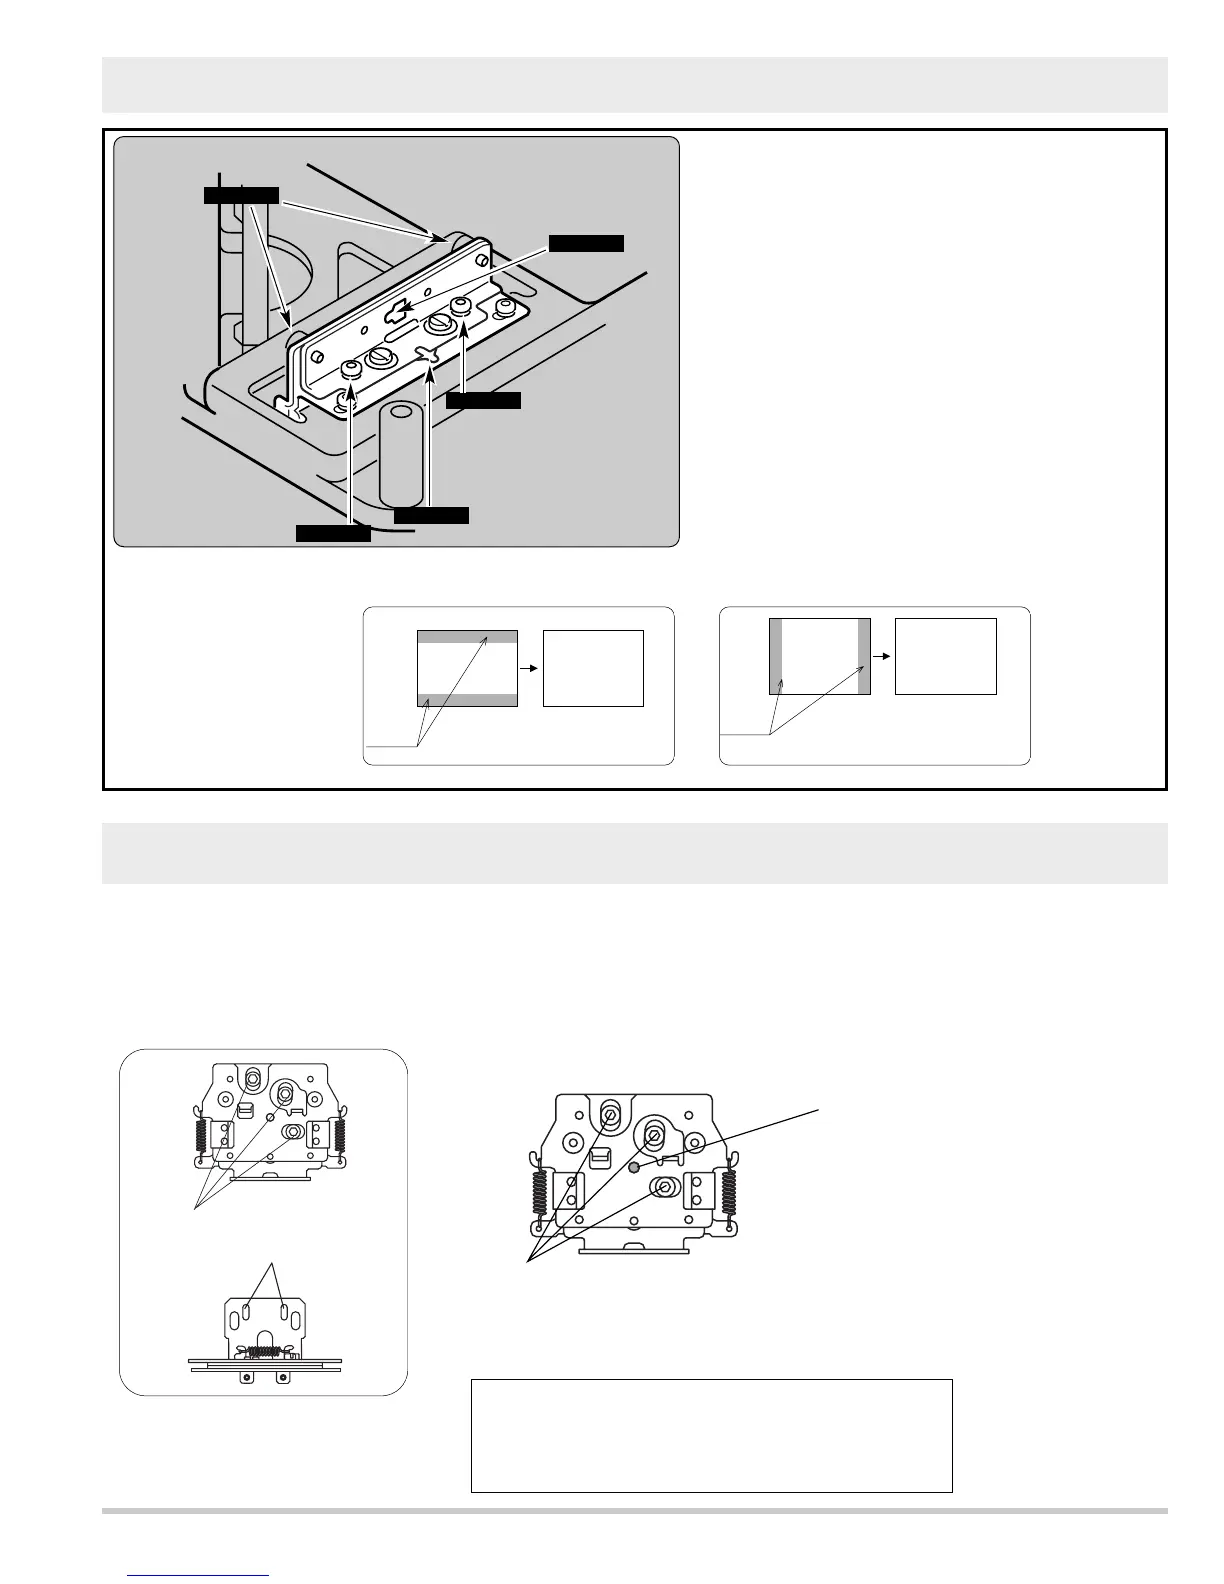
(7) Convergence adjustment
When adjusting convergence of LCD panels, Convergence Adjustment Tool is needed.
(This Tool can be ordered as a service parts. Parts No. shown below.)
Mount Adjustment Tool on the LCD panel and adjust each panel convergence.
Fig.1
Convergence Adjustment Tool
(part No. : 610 304 8208)
the hole for the guide
The screw for the adjustment
Top View
Hole
Adjust each screw for Hole can
be seen clearly through the hole.
Convergence Adjustment Tool can be ordered.
Give the following information to the dealer.
Name ; Assembly CG Adjust LCD -MT8A
Service Parts No. 610 304 8208
Screw Setting
 Loading...