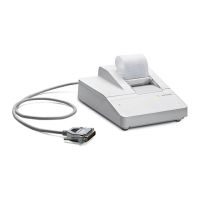
Connecting the Data Printer to a Weighing
Instrument
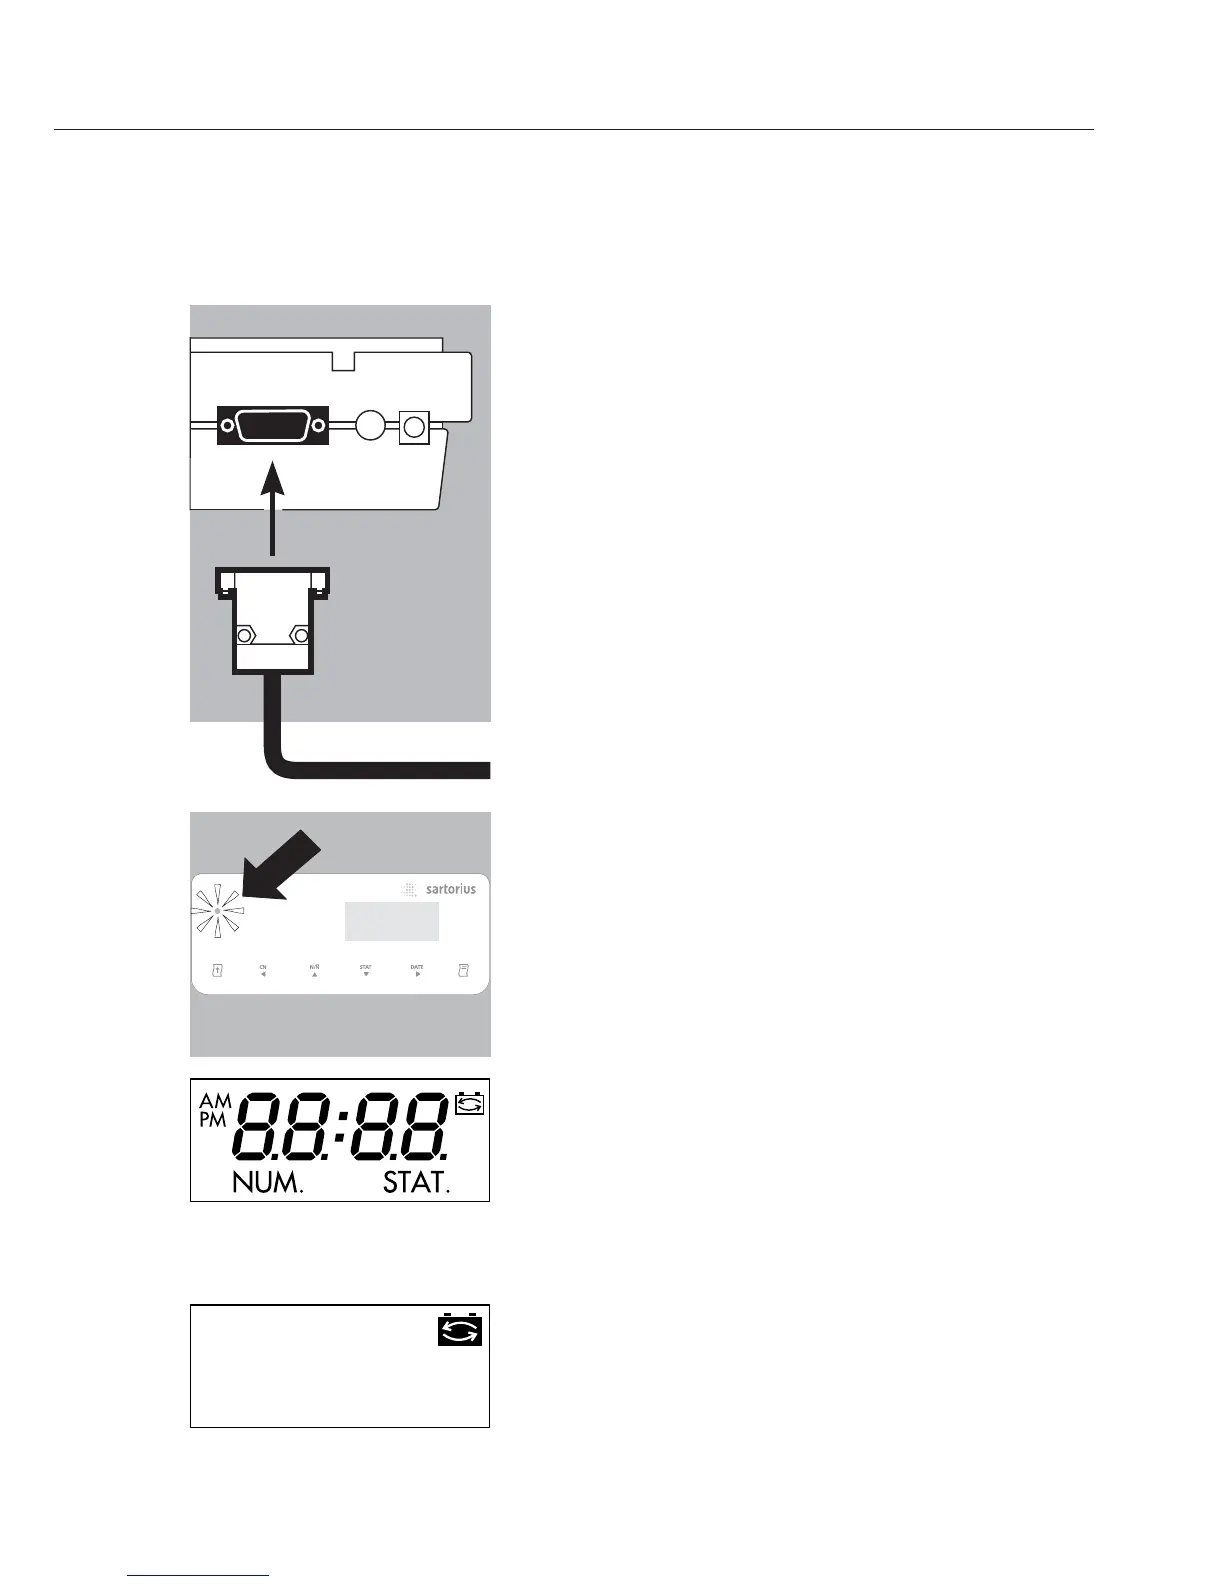
§ Connect the interface cable to the printer and the
weighing instrument you are using. Secure the
connection.
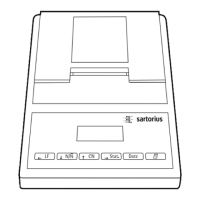
Turning On the Weighing Instrument and the Printer
§ Plug in the AC adapter
§ Switch on the weighing instrument
> The printer switches on automatically
> All segments of the printer display light up (self-test)
> The LED on the left-hand side of the front panel lights
up.
Charging the Batteries for Initial Operation
§ Leave the weighing instrument on
> The batteries are charged while the weighing
instrument is in standby mode
> Allow 28 hours to fully charge the batteries in the
printer
$ If the battery symbol does not go out after 3 hours at
the latest, replace the batteries (see page 35)
Installing the Ink Ribbon Cassette
§ For instructions on installing the ink ribbon cassette,
see “Maintenance” on page 34
7

 Loading...