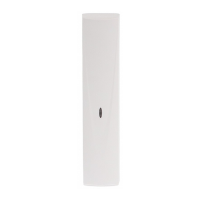
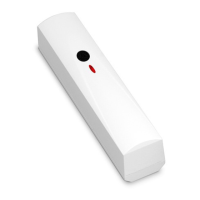
SATEL MAGENTA 3
3. Run wires through the prepared opening to a temporary 12 V DC power source.
4. Connect the power wires to the +12V and COM terminals.
5. Place the jumper on the TEST pins in the ON position (Fig. 2).
6. Close the detector enclosure.
7. Put the detector at the planned installation place.
8. Power up the detector.
9. Place the INDIGO TESTER close to the protected glass and use it to generate a glass-
break sound.
10. If the detector reports an alarm, proceed to the next steps. If the detector fails to report an
alarm, increase sensitivity or select another installation location and repeat the test.
11. Power down the detector.
12. Open the detector enclosure.
13. Disconnect the power wires.
14. Place the jumper on the TEST pins in the OFF position (Fig. 2).
5. Installation
Disconnect power before making any electrical connections.
1. Run wires through the opening prepared earlier.
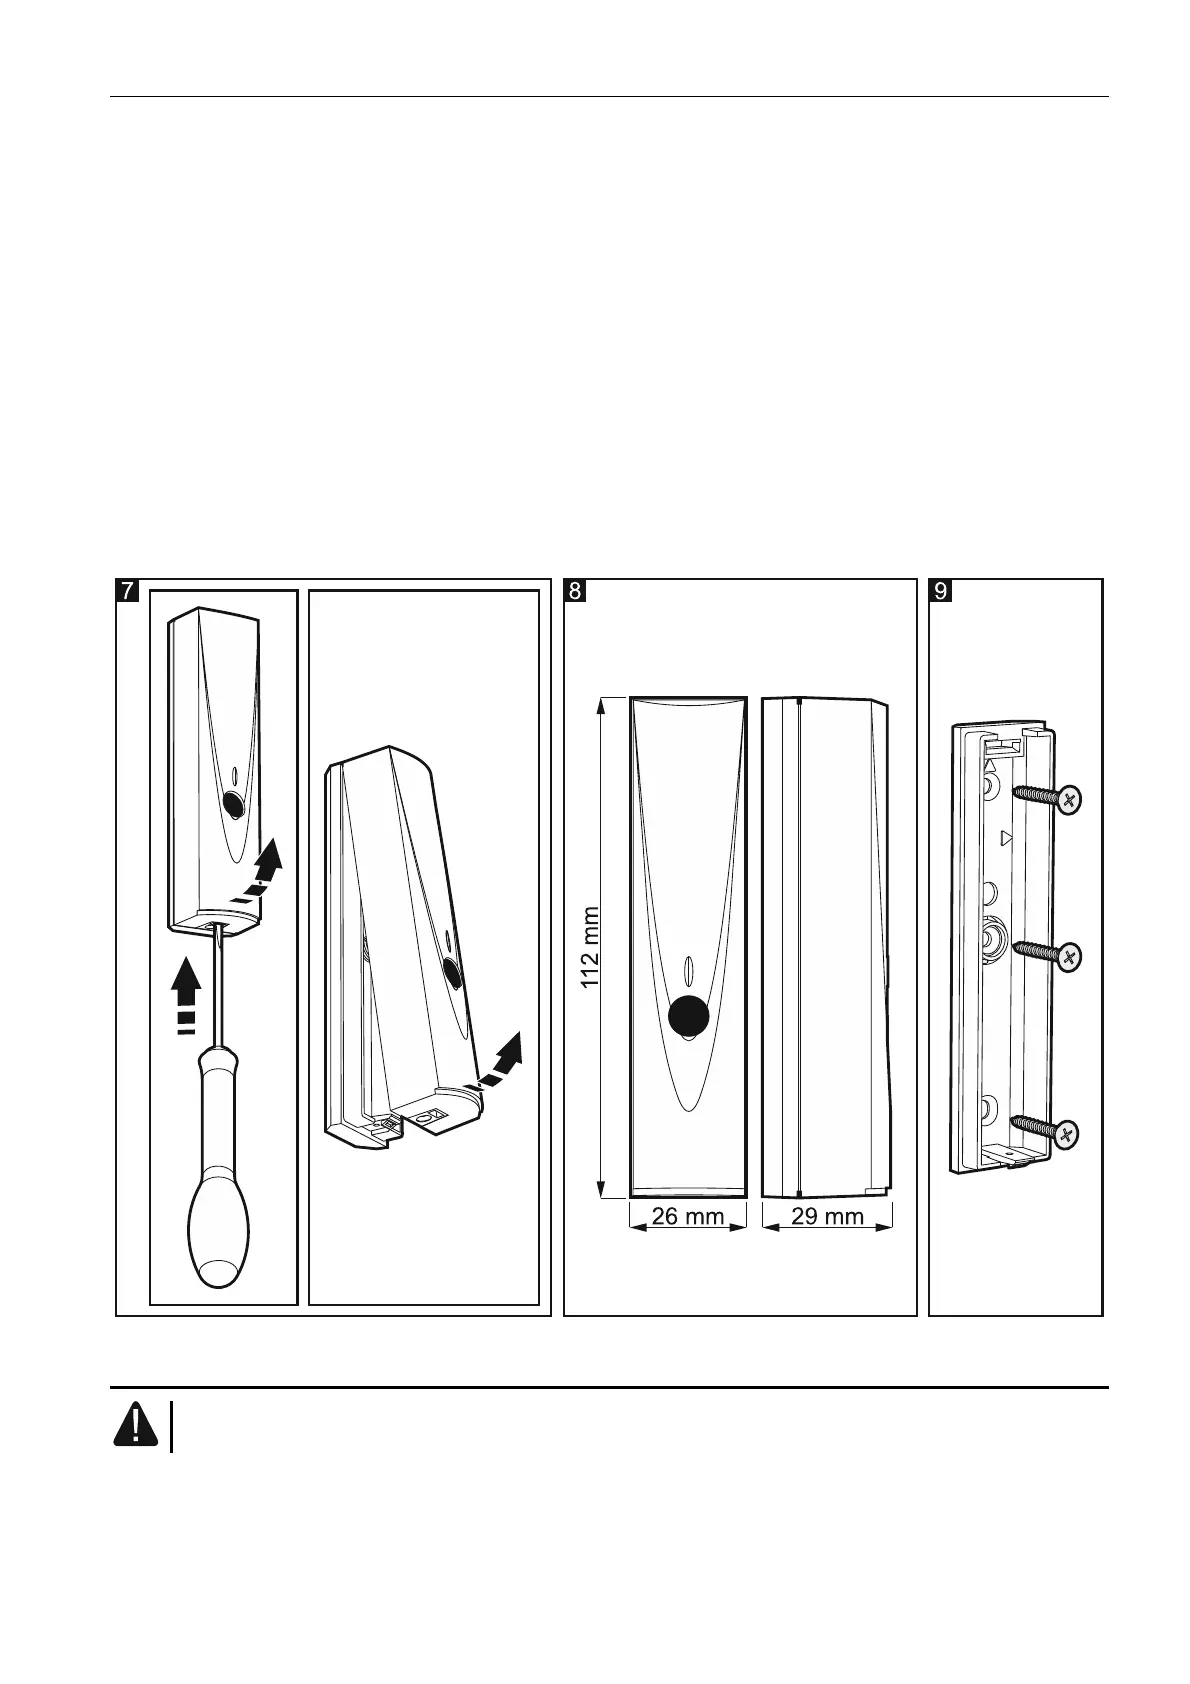
2. Use screws to secure the enclosure base to the mounting surface (Fig. 9). Wall plugs
(screw anchors) and screws are included in the detector delivery set.
3. Connect the wires to the corresponding terminals on the electronics board.


 To Next Page