Section Two
33
www.Satloc.com Falcon User Manual, Rev A
2.7 INPUT SETUP
Input Overview
Dierence Between the Falcon & Falcon Pro
Falcon models only come with an outer encoder knob, which is oen
referred to as a single or basic encoder. Falcon models do not have the
inner knob (no smaller knob) with a button. us, in the Falcon Basic
Soware there is only one (1) option to set the encoder.
Falcon Pro models come with a dual encoder knob, also referred to as a
multi-function, encoder knob.
The various inputs
on the Falcon are
programmable and
settable per Guidance Mode
(like the Lightbar, Display, and
Hotkeys.)
TIP
NOTE
A user can choose to upgrade the Falcon Encoder Knob
to the Falcon Pro Encoder Knob.
First, contact your dealer to purchase the hardware upgrade equipment
(cable, inner knob, button). Second, connect the soware by following
this path: Main Menu > Advanced > Visibility. en, click on the ‘Dual
Encoder Cable’ box.
Single Enoder Knob Setup
e Falcon models, which come with a single encoder knob, have three default input signals: Increment, Decrement,
and Encoder Knob. With only these three inputs, a Falcon user will most likely not have dierent settings for dierent
Guidance modes. Due to the limited capabilities, the increment Button is set to Increment and Decrement Button to
Decrement. e single Encoder knob should probably be set to dim both the display and Lightbar.
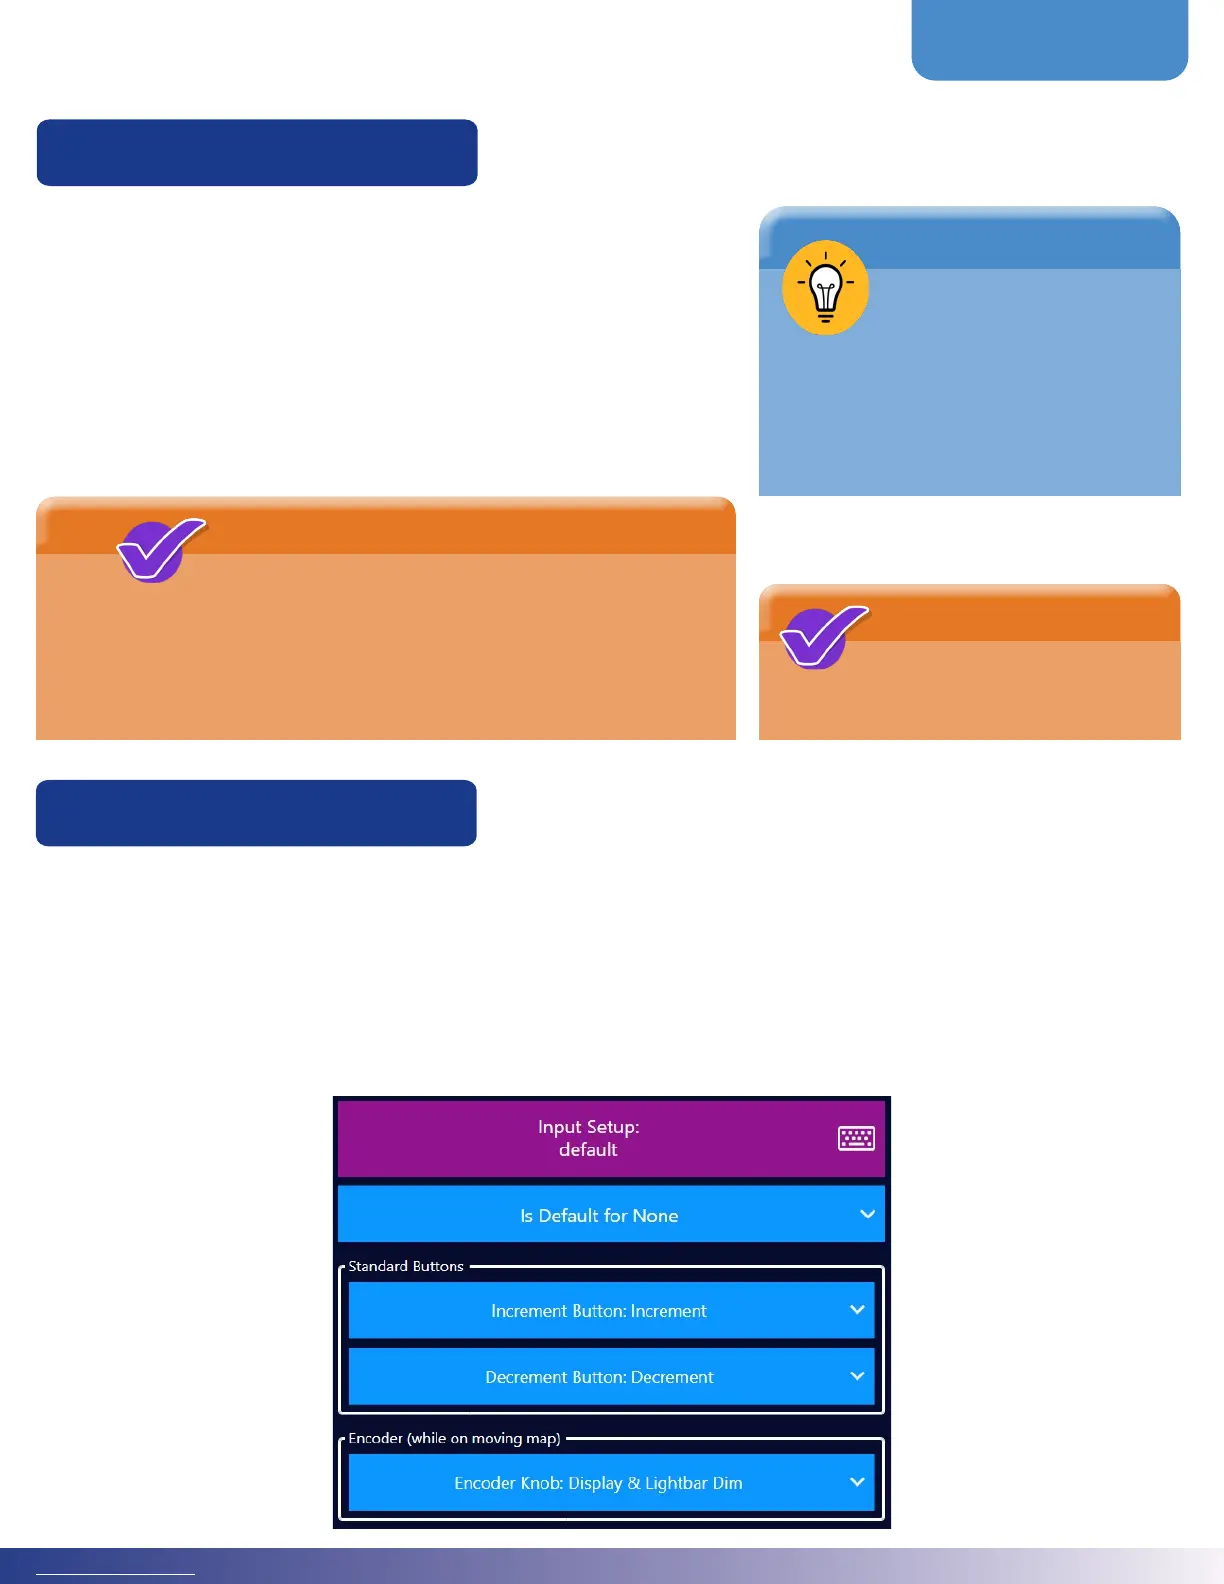
Follow this path to setup the single encoder knob: Main Menu > Devices > Input. en, scroll to the ‘Standard Buttons’
and ‘Encoder (while on moving map)’ section. Below is an image of the recommended setup.
NOTE
Section Four of this manual
explains basic functions of the
single and dual encoder knobs.