23
Section 4
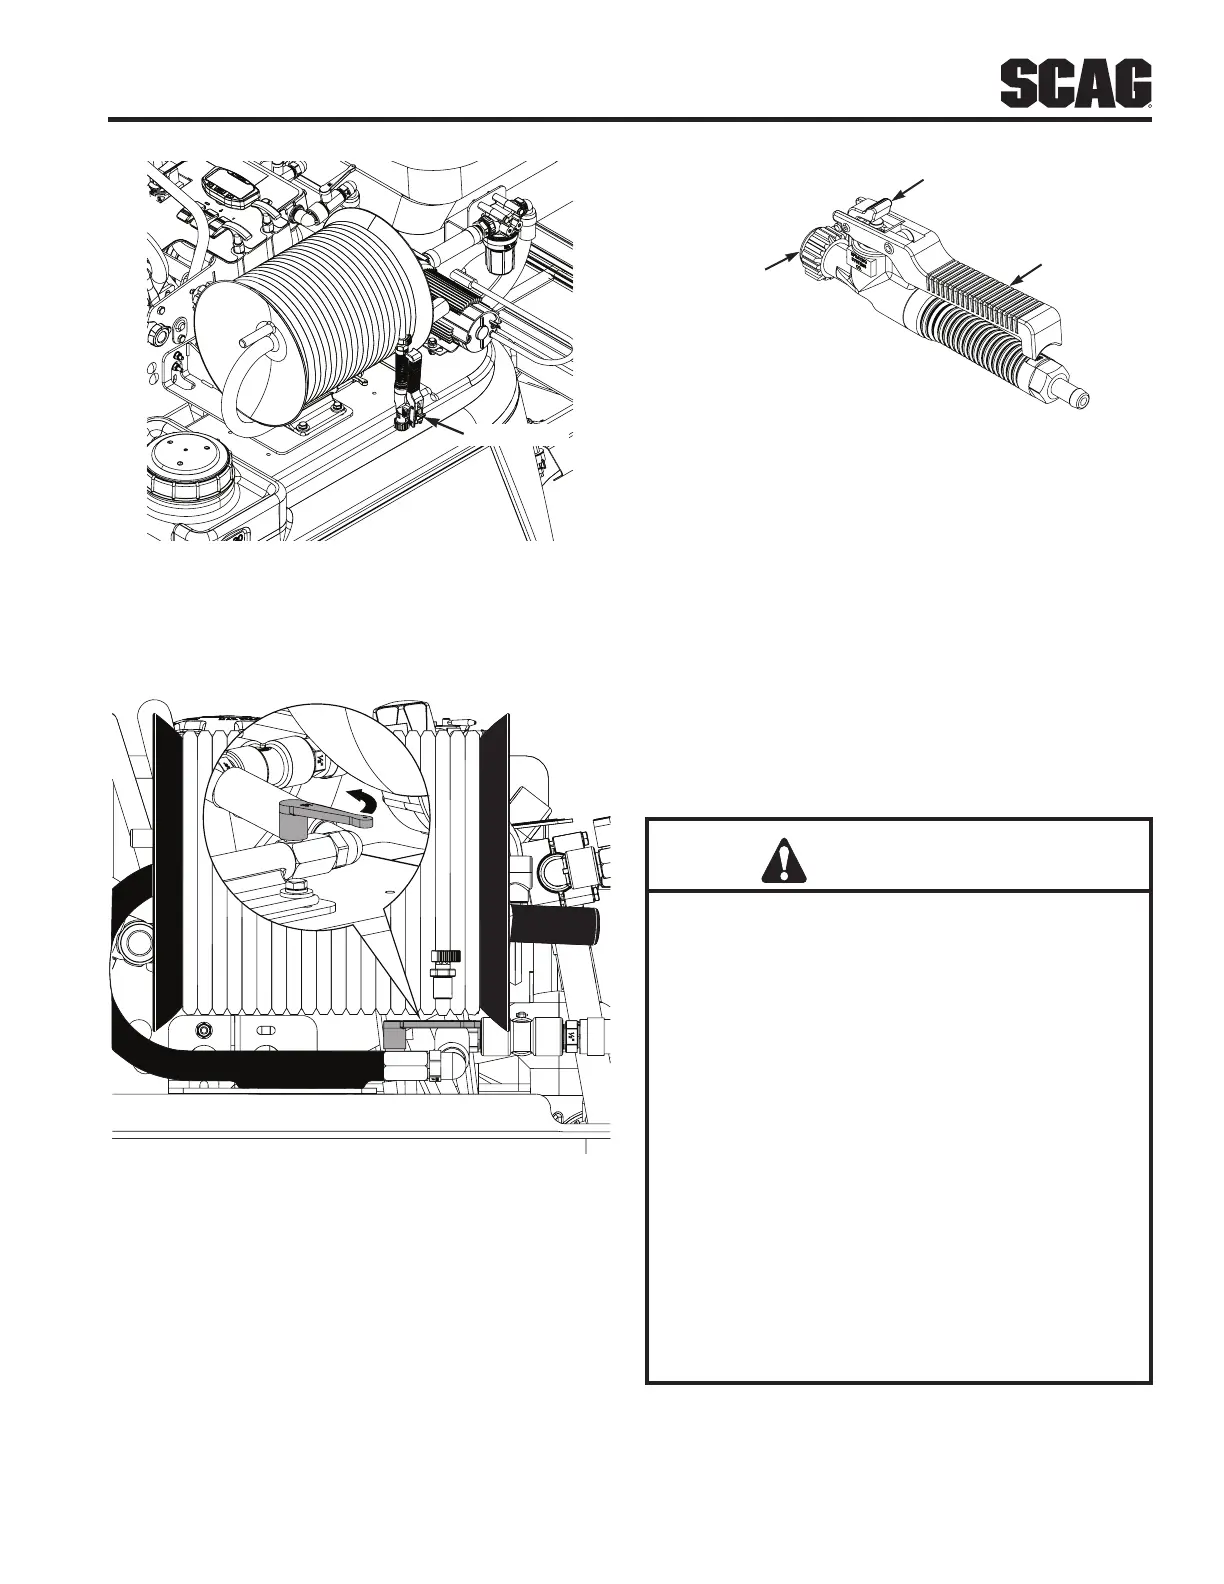
SPRAY WAND
Figure 4-12. Spray Wand
4. Rotate and open the spray wand valve to supply
chemicals to the spray wand.
ROTATE VALVE TO OPEN
Figure 4-13. Spray Wand Supply Valve
5. Adjust the sprayer pressure to the desired psi (do
not exceed 60 psi) using the pressure valve (counter
clock-wise to decrease pressure, clock-wise to
increase pressure). See Figure 4-10
6. Squeeze the trigger on the spray wand to begin
spraying. Lock the trigger if desired.
TRIGGER LOCK
Y TIP
Figure 4-14. Spray Wand Components
7. Once the desired area has been sprayed, release
the trigger lock (if applied) and release the trigger.
8. Rotate the spray wand valve to the off position and
reel in the hose.
4.12 OPERATING THE SPREADER
Use the spreader to disperse granular materials such
as fertilizers, grass seed, ice melt, etc. When using the
spreader, fill the hopper and then apply the material to the
work area. Clean the hopper when finished. See Section
6.12 for proper maintenance procedure.
CAUTION
Chemicals are hazardous and can cause personal
injury.
Read the chemical manufacturer's directions on
the label before handling the chemical.
Follow all manufacturer's recommendations and
precautions.
Keep chemicals away from skin. Should contact
occur, wash affected area thoroughly with soap
and clean water.
Wear eye protection, gloves and any other
personnel protection equipment (PPE)
recommended by the chemical manufacturer.
Before engaging the spreader, make sure the spreader
is calibrated. Refer to section 6-8 for proper spreader
calibration.