A ( 1 : 5 )
A
Stove:
Path:
Articlenumber:
Material:
Date:
Constructed/Changed by:
SCAN A/S
DK-5492 Vissenbjerg©
Drawing
number:
Name:
C:\Working Folder\Designs\Scan 80\90580027.idw
90580027
Montage af røgstuds
16-05-2017
jwa
Weight:
Area:
N/A N/A
4 x unbraco M5 x 10
Røgstuds til indvendig skorsten
A ( 1 : 5 )
A
Stove:
Path:
Articlenumber:
Material:
Date:
Constructed/Changed by:
SCAN A/S
DK-5492 Vissenbjerg©
Drawing
number:
Name:
C:\Working Folder\Designs\Scan 80\90580027.idw
90580027
Montage af røgstuds
16-05-2017
jwa
Weight:
Area:
N/A N/A
4 x unbraco M5 x 10
Røgstuds til indvendig skorsten
4x
A ( 1 : 5 )
A
Stove:
Path:
Articlenumber:
Material:
Date:
Constructed/Changed by:
SCAN A/S
DK-5492 Vissenbjerg©
Drawing
number:
Name:
C:\Working Folder\Designs\Scan 80\90580027.idw
90580027
Montage af røgstuds
16-05-2017
jwa
Weight:
Area:
N/A N/A
4 x unbraco M5 x 10
Røgstuds til indvendig skorsten
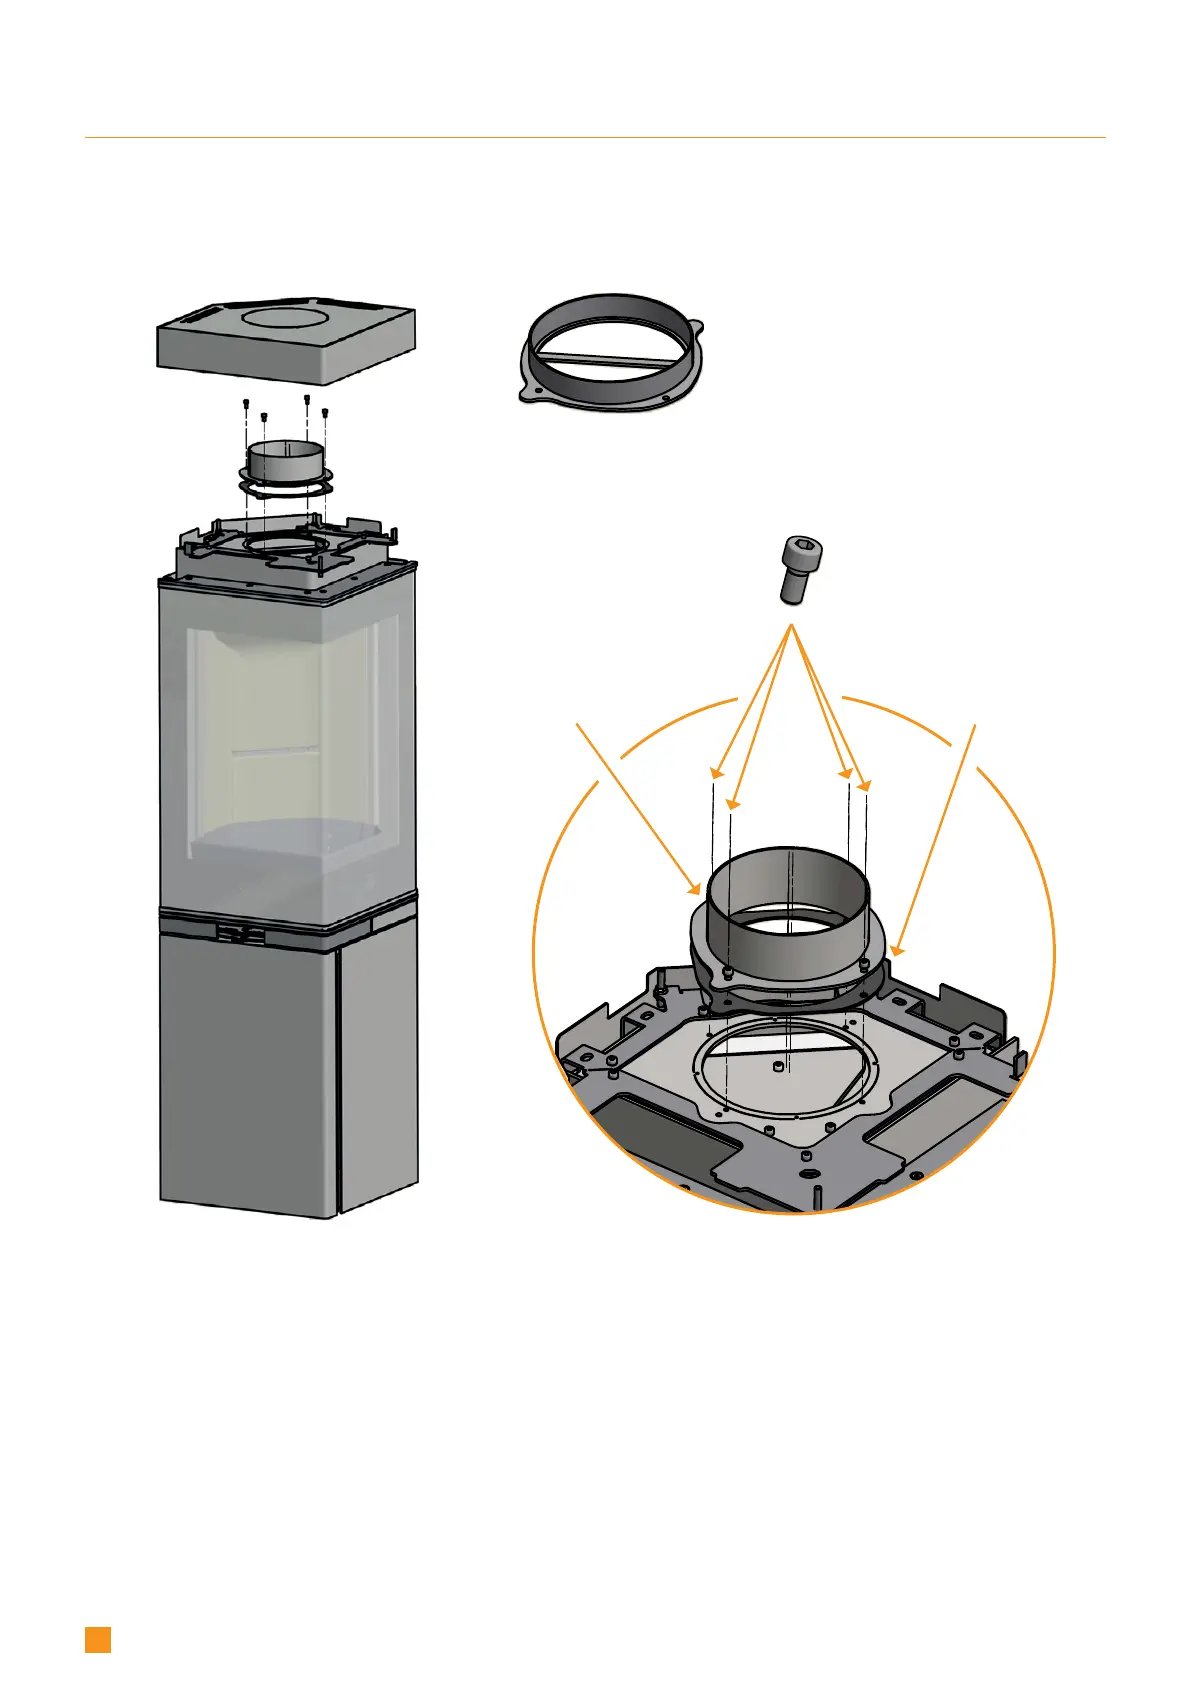
14
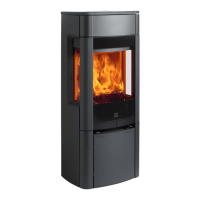
Connection piece
for external flue
pipe
Connection piece for
internal flue pipe
FITTING THE FLUE CONNECTION PIECE
The manufacturer has prepared the stove to take a top outlet. The gasket for the flue connection piece, flue connection piece
and screws can be found in the stove’s combustion chamber.
Mount the ceramic gasket on the connecting piece. Tighten the flue connection piece with the screws provided.
Gasket
IN THE TOP OUTLET