15
WALL MOUNTING PLATE
The ScentWave 1004 is equipped to allow mounting
to a flat surface using the mounting plate and
supplied hardware.
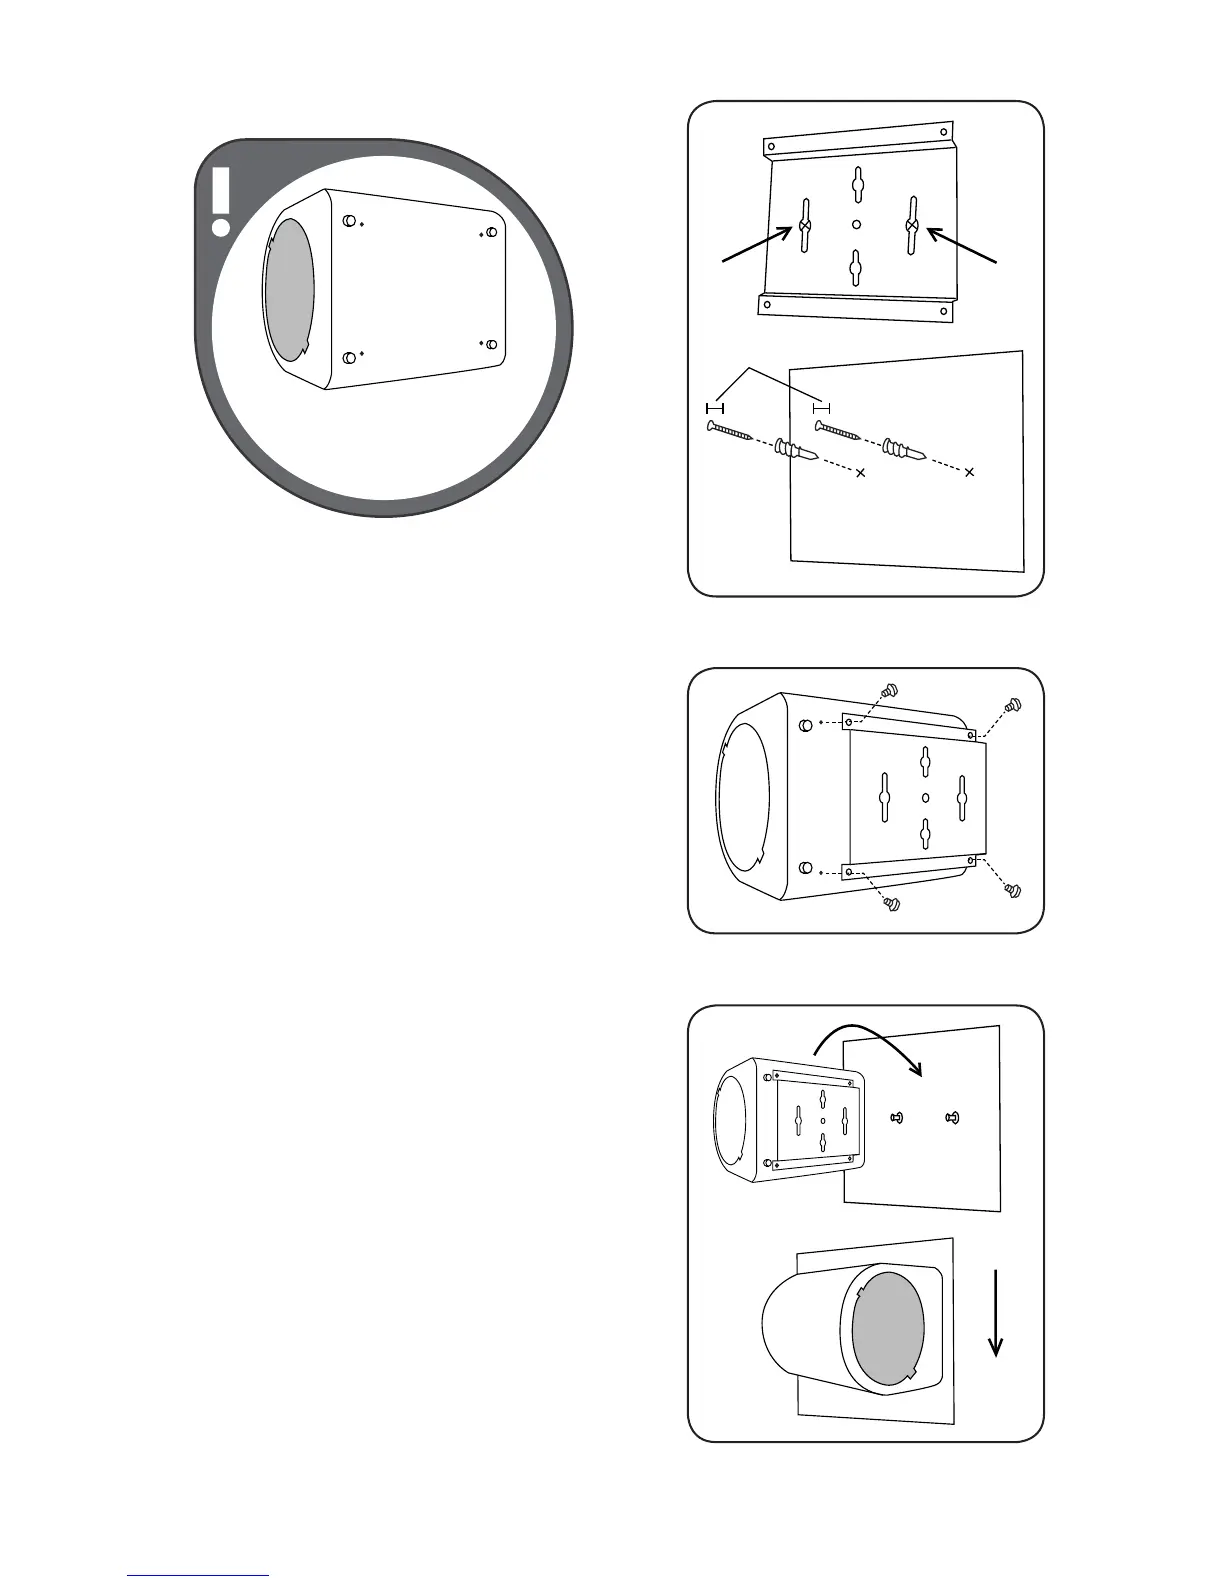
MOUNTING THE SCENTWAVE:
1. Ensure that the wall mounting plate is level
and mark two (2) hole locations with a
pencil.
• Choose either the small or large
openings to use for mounting.
• For drywall, drill a 1/4” (7.5mm) pilot
hole and use a screwdriver to drive the
provided white plastic anchors into the
wall. (Fig.26)
• Drive the screws into the anchors
leaving 1/4” (7.5mm) between the top
of the screw and the wall.
2. Attach the mounting plate to the ScentWave.
• Attach the mounting plate to the bottom
of the ScentWave using the provided
plate screws, pilot holes, slotted or hex
driver. (Fig.27)
3. Attach the ScentWave to the wall.
• Line up the slots on the ScentWave
system with the screws in the wall and
slide into place. (Fig.28)
• Remove the ScentWave and adjust the
wall screws as necessary for a tight fit.
1/4” (7.5mm)
Fig.26: This example is using the large openings on the
bottom of the ScentWave for mounting to a wall.
Fig.28: Adjust the mounting screws as needed to ensure
the ScentWave is securely in place.
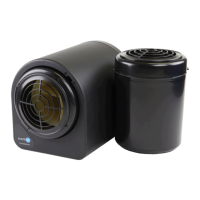
NOTE: Ensure the ScentWave intended
to be mounted has four small holes
near the rubber feet for attaching
the mounting plate.
Fig.27: Attach the mounting plate to the ScentWave.
IDENTIFY YOUR DEVICE