24 english
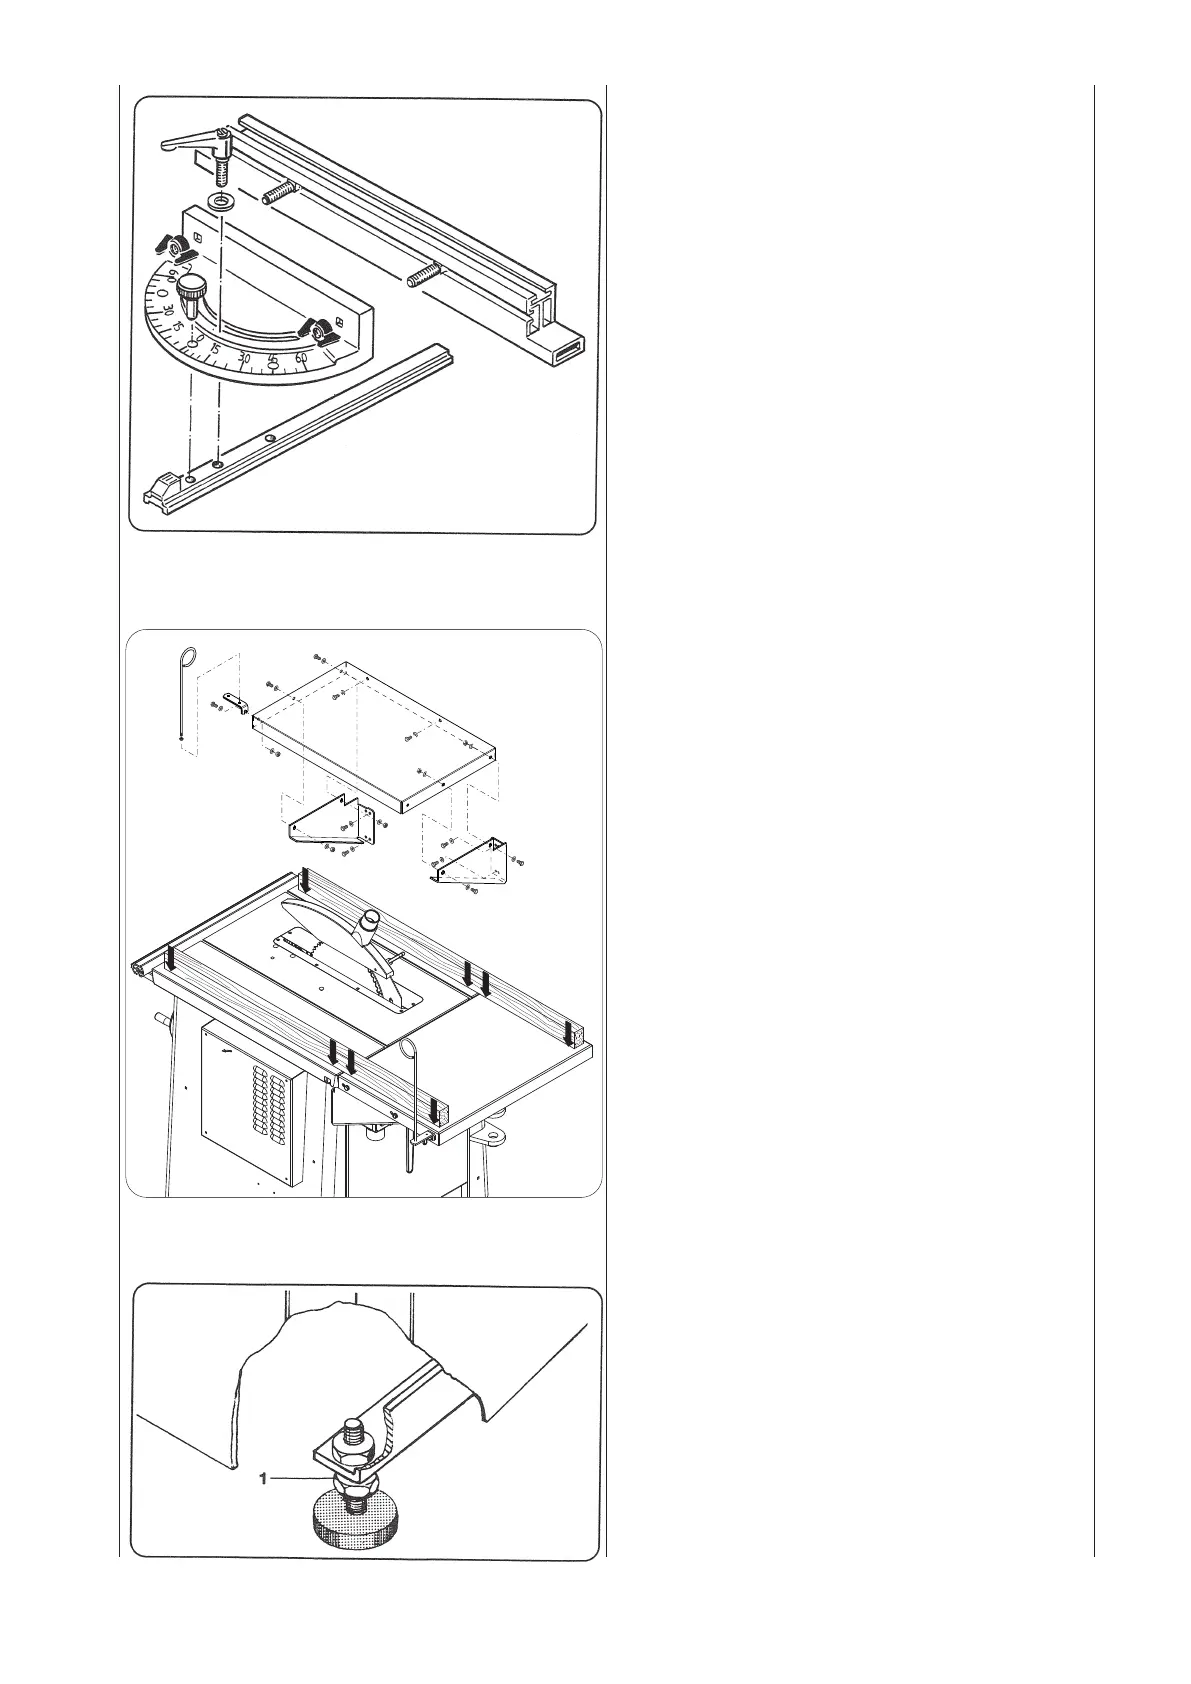
Crosscut 1 mitre gauge
Fig. "N"
Screw the swivelling part and the sliding rail together.
1 washer Ø 6,4
1 lock lever M 6
Mountthestoprailontotheswivellingpart
2 oval head screws M 6 x 25
2 wing-nuts M 6
Setthecrosscut/mitregaugeasrequiredtotherightorleftof
the sawblade.
Locking at 0° and 45° is effected with the socket pin and lock
lever.
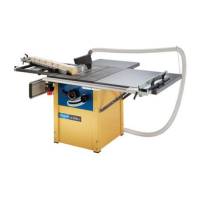
table length extension
Fig. "O"
Attachtablelenghtextensiontothemachine.Boltthescrews
to the machine only by hand.
11hexagonalscrews M8x16
16 washers Ø8
5hexagonalnut M8
Adjustthetablelengthextensiontothesawtableat(withtwo
woodlathes)andxallscrews.
Fit the hose holder and attach the suction hose Ø 50.
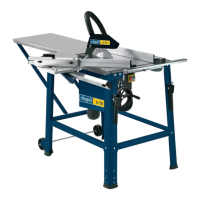
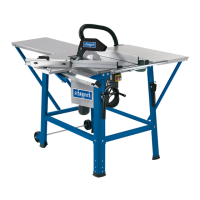
Your Circular saw bench ts 4020 is now fully assembled.
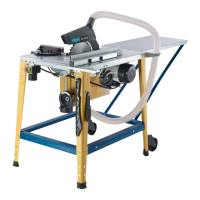
Installing and adjusting
Fig. "P"
Makesurethatyourscheppach Circular saw bench ts 4020 is
installed so that it is level and stable on a solid surface. Level
out surface uneveness.
To this end at the adjustable feet
•Releasethehex.nut (1)
•Carryouttheheightadjustment
•Tightenup(1)thehex.nut
Fig."N"
Fig."P"
Fig."O"