english 25
Starting operations
Please read the safety instruc- tions before setting
the saw bench into operation.
All protective and auxiliary devices must have been mounted.The
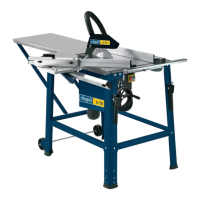
scheppach ts 4020 is ready for operation when it has been
connected to the mains.
NOTE:
Inaccordancewithvalidproductliabilitylaws,themanufacturer
of this device shall not be responsible for damage to and from
thisdevicewhichresultsfrom:
•lmpropercare
•NoncompliancewiththeOperatingInstructions
•Repairsmadebyunauthorizedpersons
•Theinstallationanduseofanypartswhicharenotoriginal
scheppach replacement parts.
•lmproperuseandapplication
•Failureoftheelectricalsystemasaresultof
noncompliance with the legal and applicable electrical
directivesandVDEregulations0100,DIN57113/VDE
0113
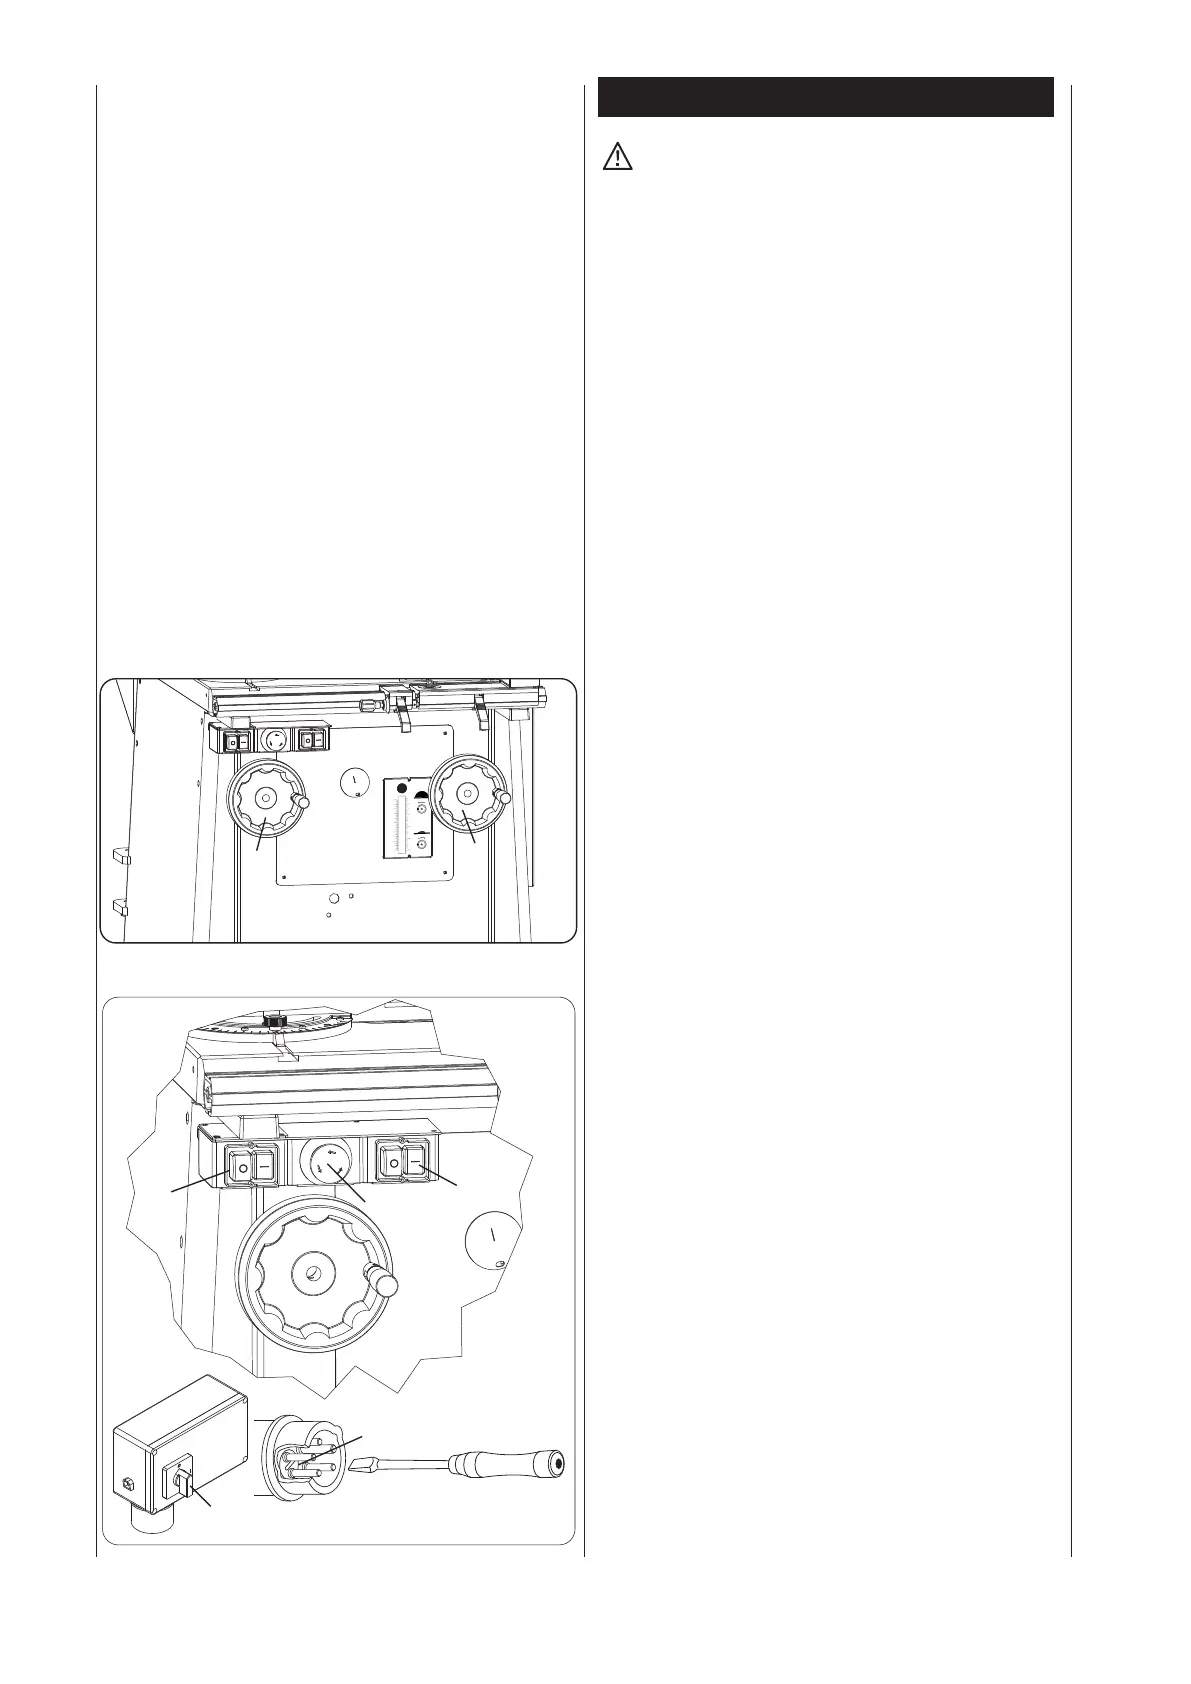
Sawblade height adjuctment
Sawblade angle adjustment
Fig. "Q"
•The height is adjusted simply by turning the hand wheel "1" left
or right.
•WithasawbladeØ315 mm read off the height to which the
blade has been adjusted on the left-hand scale.
•Sawblade Ø 315 mm = Cut depth from 0 - 110 mm
•The height is adjusted simply by turning the hand wheel "2" left
or right.
•For adjusting the sawblade angle setting (max. 45“) pull out
thehandwheelwithbothhandsandholdrmly.Release
the lock handle (1).
•Setthedesiredanglebyturningthehandwheel.
•Toreturnto0° turn the hand wheel back until the end stop
is reached.
Switch
Fig. "Q1"
1On/offswitchsawblade
2Kickswitch(onlywithscoringattachment)
3On/offswitchprescoringdevice
4Mainswitch/onlywith4,8kWmotor)
5Phaseinverter(whenchangingthepowersuppylineor
the location it is necessary to proof the directon of
rotation,ifnecessarypolaritymustbechanged)
Fig."Q"
10
0
20
30
40
50
60
70
80
90
100
110
0
1
2
3
4
315
mm
+
-
mm inch
1
2
1
2
3
5
4
Fig."Q1"