Do you have a question about the Schlage EncodePlus and is the answer not in the manual?
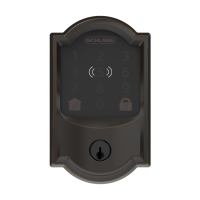
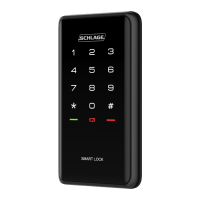
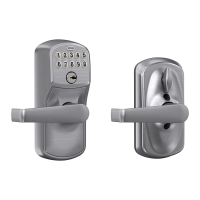
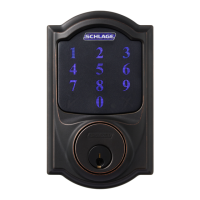
The front part of the lock with the keypad and display.
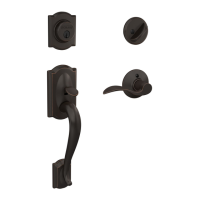
The deadbolt mechanism that extends and retracts.
Components that secure the bolt to the door frame.
The interior part of the lock, including the thumbturn.
Houses the batteries for the lock operation.
Physical key for manual override.
Access website for interactive instructions, warranty, and reference information.
Indicates WiFi connection status for updates.
Alerts when the lock's battery level is low or critical.
Controls backlight and confirms correct code entry or programming.
Used for locking and indicates incorrect code entry.
Recommended tool for installation; avoid power drills.
Ensure the bolt slot is centered and twist faceplate to adjust length.
Ensure the "TOP" marking faces upwards during installation.
Install strike into door frame, using longer screws for security.
Optional strike for enhanced security, especially with windows nearby.
Route the cable below the bolt and align the tailpiece with the bolt slot.
Ensure the tailpiece bump aligns with the slot in the bolt for proper fit.
Route the cable under the bolt and through the backplate hole before securing.
Secure with screws, ensuring the touchscreen is straight before fully tightening.
Tuck the cable and connector into the space above the spindle.
Ensure the tailpiece bump aligns with the slot in the inside assembly for secure mounting.
Ensure thumbturn is vertical if tailpiece does not align correctly.
Pull out, install batteries, and reinstall the holder with batteries facing the door.
Enter a default code to initiate the setup routine until the bolt stops moving.
Test extending and retracting the bolt using the thumbturn and touchscreen.
Use the app to lock/unlock remotely and manage user codes.
Links to download the Schlage Home app from App Store and Google Play.
Tap phone to HomeKit label for setup on compatible iPhones.
Follow guided setup in Apple Home app for older devices.
Press lock button after removing battery cover to enter pairing mode.
Tap phone to the HomeKit label on the lock for setup.
Scan the HomeKit QR code on the Quick Start guide.
Tap the lock icon on the touchscreen or turn the thumbturn towards the door edge.
Enter a user code on the touchscreen or use the thumbturn.
Control lock with Apple Home app and Siri on Apple devices.
Requires HomePod, Apple TV, or iPad for remote/automatic control.
Keep backup codes safe for factory default reset scenarios.
Contact for questions; do not return to the store.
| Type | Smart Lock |
|---|---|
| Keypad | Yes |
| Mobile App | Schlage Home App |
| Voice Control | Amazon Alexa, Google Assistant, Apple HomeKit |
| Battery Life | Up to 6 months |
| Power Source | Battery |
| Battery Type | 4 AA batteries |
| Remote Access | Yes |
| Lock Type | Deadbolt |
| Auto-Lock | Yes |
| Connectivity | Wi-Fi, Bluetooth |
| Finish Options | Matte Black, Satin Nickel |
| Technology | Apple Home Key |
| Security | ANSI/BHMA Grade 1 |
| Warranty | 3-year limited electronics, limited lifetime mechanical and finish warranty |