Do you have a question about the Schlage SchlageTouch BE375 and is the answer not in the manual?
Essential tools and preparations before lock installation.
Verify door dimensions for correct lock fit.
Adjust the deadbolt length to match door thickness.
Verify the deadbolt extends properly when the lock is engaged.
Confirm the deadbolt retracts correctly when the lock is disengaged.
Steps to add new user codes or delete existing ones.
Procedure to update the master programming code.
How to temporarily power the lock using a 9V battery.
| Brand | Schlage |
|---|---|
| Model | BE375 |
| Product Line | Schlage Touch |
| Keypad | Yes |
| Material | Metal |
| Number of Access Codes | 19 |
| ANSI/BHMA Grade | Grade 2 |
| Power Source | Battery |
| Connectivity | No |
| Keyless Entry | Yes |
| Auto-Lock | No |
| Alarm | No |
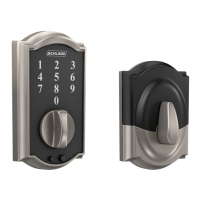
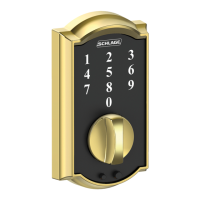
| Finish Options | Satin Nickel, Aged Bronze |
| Battery Type | 9V |
| Finish | Satin Nickel |
| Backset | Adjustable to 2-3/8" or 2-3/4" |
| Lock Type | Electronic Deadbolt |