17
3.2.3 Setting the rotational stops on the rotary stage
The rotary stage ensures that an ideal sample approach angle can be achieved. The stage
is rotated manually between two magnetic stops. The position of these stops can be
adjusted to suit the application.
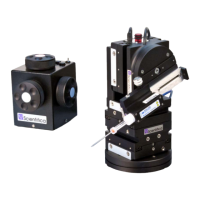
1. On each edge of the rotary stage, there is a set screw for clamping and releasing
the rotary ring.
Please note: throughout this process, these set screws need only be loosened
one full turn. Take care not to remove them completely.
Figure R: Left and right hand views, rotary stage set screws indicated
2a. For a right handed setup: Ensure that the rotary stage is positioned midway
between the two stops and then loosen both of set screws using a 1.5 mm allen key.
Rotate the front plate anti-clockwise until the magnet which determines the approach
angle is engaged with the stop. You should hear a small click as this happens.
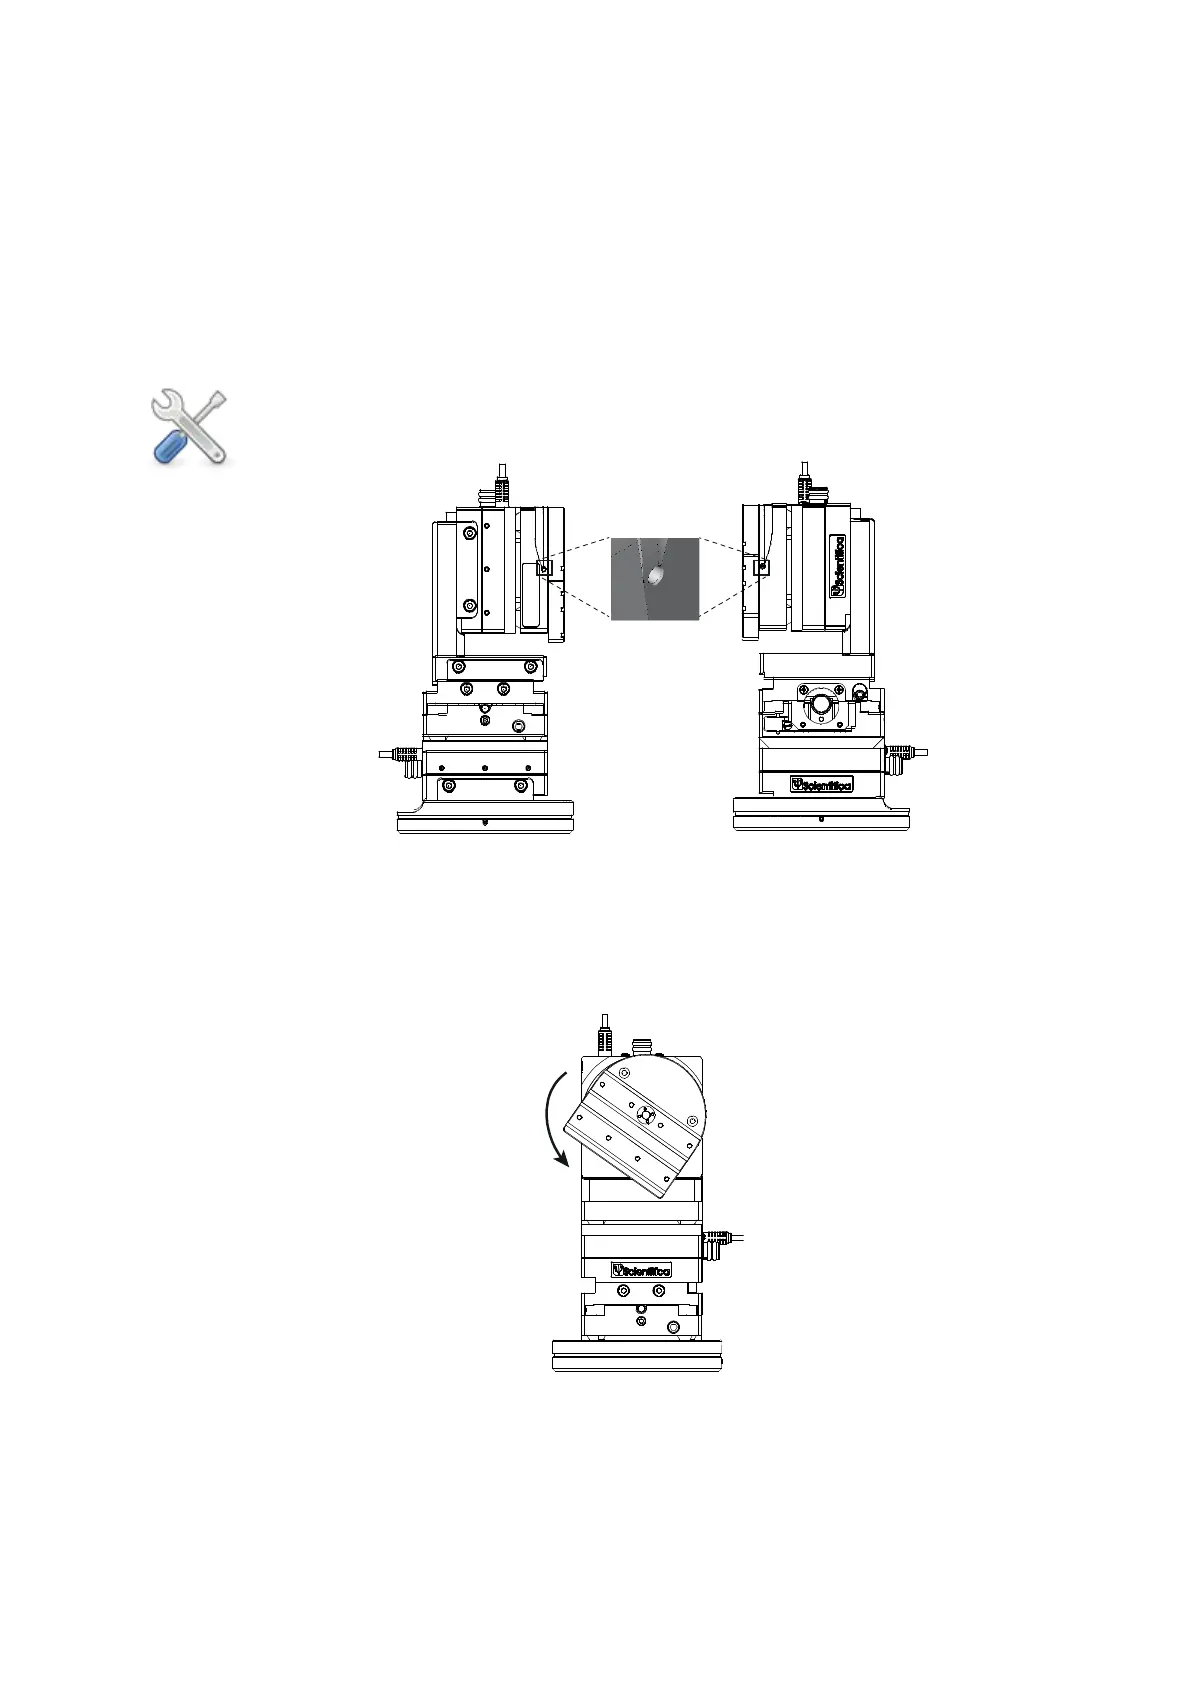
Figure S: Front view, PatchStar in right hand configuration.
Rotating the vertical stage and engaging the internal rotary ring
2b. Now rotate the stage to the required angle and re-tighten the 2 set screws to lock
the setting. Once tightened, ensure that the vertical rotary stage can be freely rotated
clockwise, away from the experiment.