8
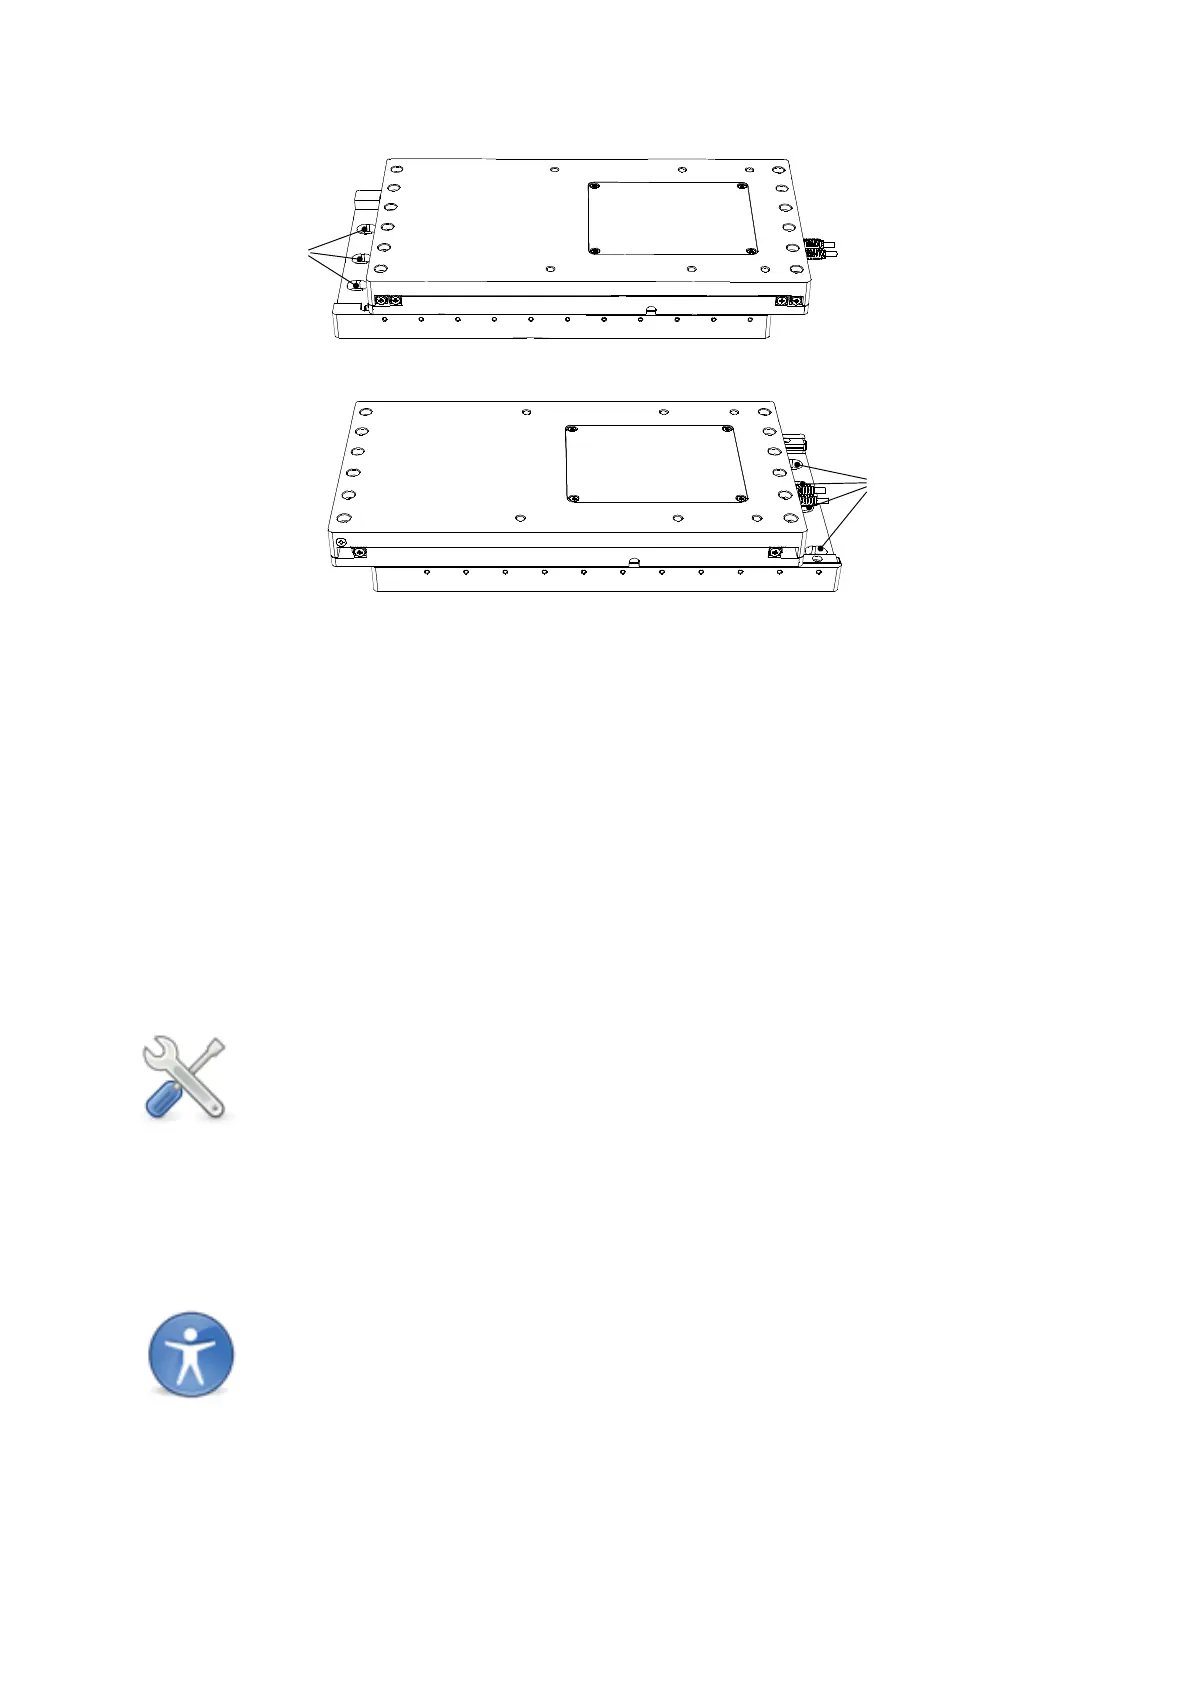
Figure C: View of UMS exposing mounting holes (marked 'A' and 'B' )
The UMS stage needs to be translated using the motors to reveal the mounting holes. The
stage must therefore be connected to the 1U controller rack and control device as described
in your Control Rack User Manual.
1. Using the controller, move the stage backwards in the Y axis to reveal the mounting
holes on the front edge of the lower surface (marked ‘A’ above). Insert the screws
into the slots and lightly tighten.
2. Translate the stage forward to reveal the mounting holes at the opposite end of the
stage (marked ‘B’ above). Insert and fully tighten the screws supplied.
3. Move stage backwards again and fully tighten the mounting screw on the front edge
of the XY stage.
Note: Mounting holes are provided for both metric and English tables so typically
only two holes on each side of the stage will match – these are enough to
securely mount the stage
3.4 Mounting a microscope to the stage
The UMS is compatible with microscopes from all major manufacturers. The majority of
these will bolt directly down onto the UMS stage from above. A variety of hole patterns are
featured on the top plate to accommodate the requirements of these microscopes.
Note: A small number of microscopes need very specific instructions for
mounting. If the following instructions do not suit your microscope –
contact Scientifica for help.