9
3.4.1 Conventional mounting of microscopes to the UMS
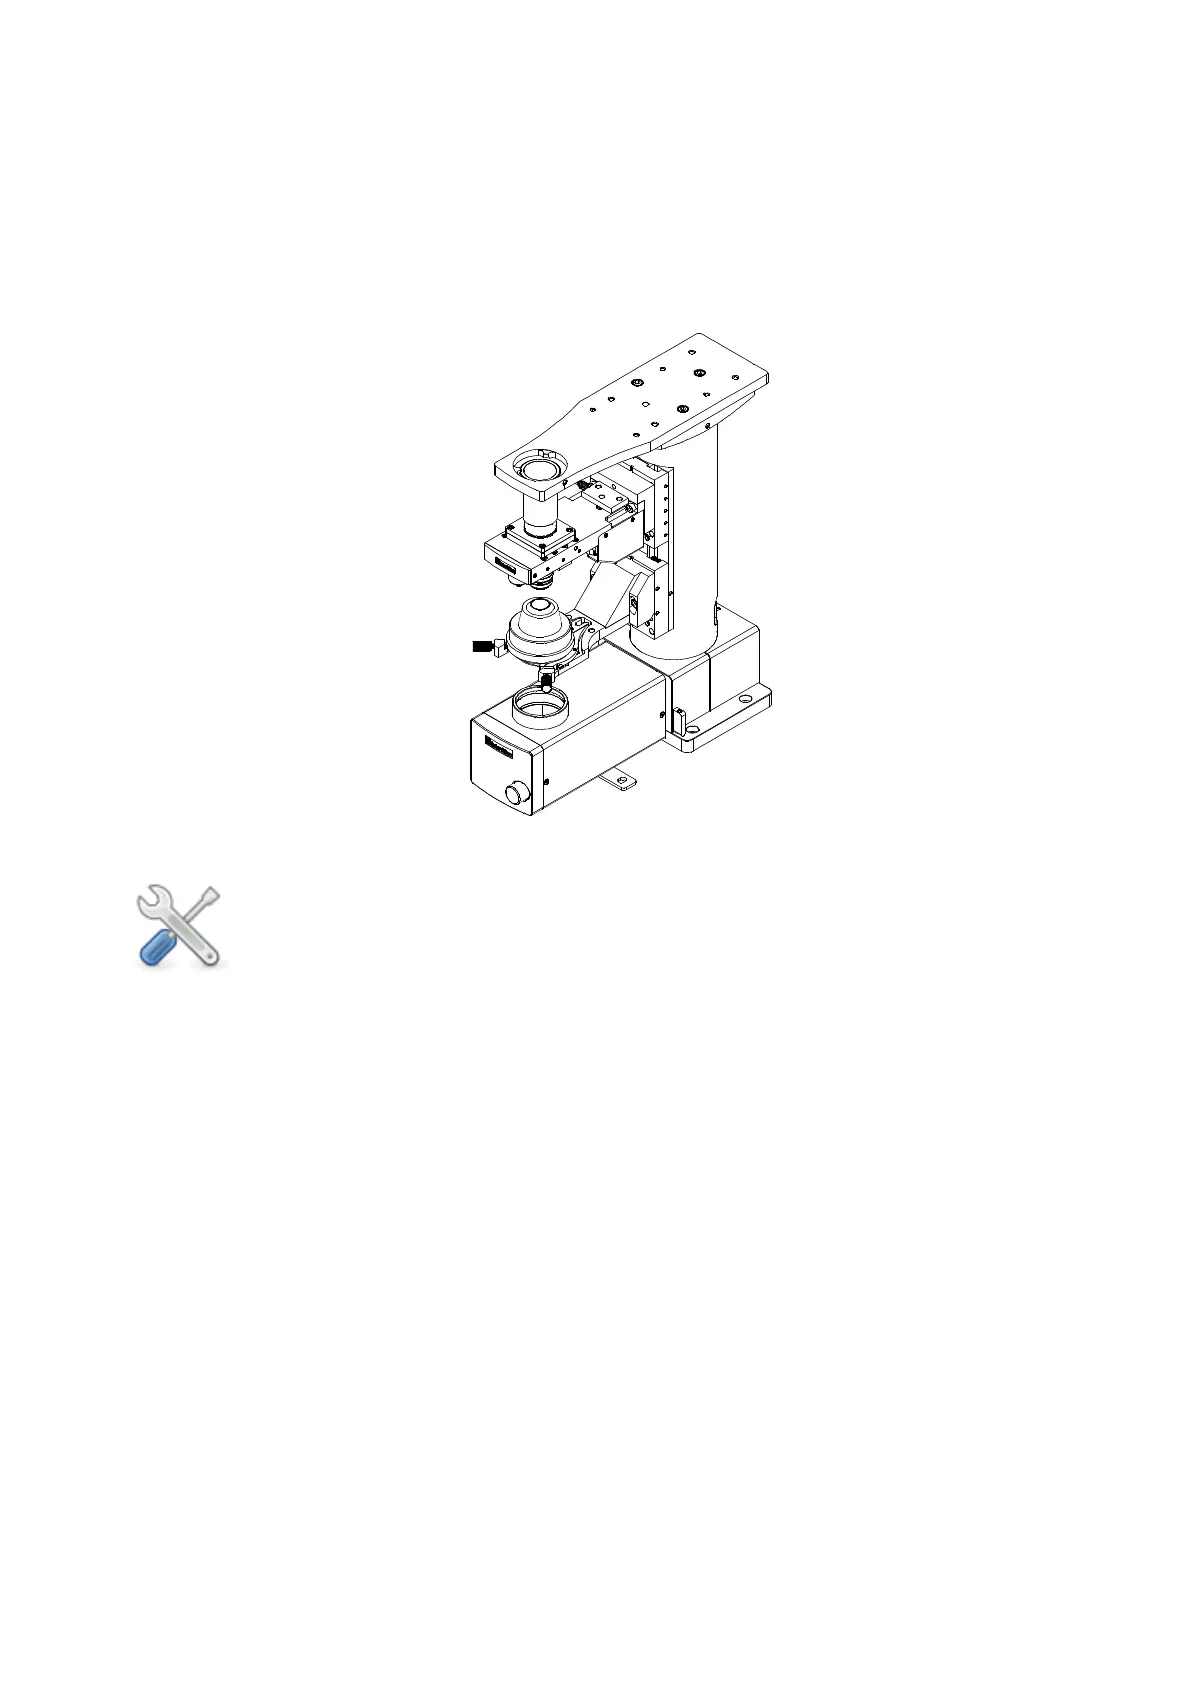
Scientifica’s SliceScope can be secured to the UMS using the six mounting holes indicated
in Figure D: Demonstrating holes for mounting SliceScope to UMS:
Four M6 x12 through the base (A)
Two M6 x10 through the brackets on either side of the substage optics (B)
Figure D: Demonstrating holes for mounting SliceScope to UMS
Note: Most other manufacturer’s microscopes can be mounted in a similar
fashion, using their respective mounting holes.
3.4.2 Alternative mounting of microscopes to the UMS
Compatibility with some microscopes requires the top plate of the UMS to first be removed
so that the microscope can be secured to the UMS from below. This provides an alternative
way of attaching the microscope to the UMS in the absence of dedicated mounting holes
accessible from above.
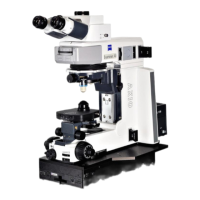
As an example in the case of a Zeiss FS2 microscope the following steps must be carried
out:
1. Remove the top plate from the motorised stage of the UMS by unscrewing the 6 x M6
screws securing it in place.
2. Carefully turn the microscope onto its rear to expose four rubber feet.
3. Remove rubber feet and corresponding crosshead screws from the base.
4. Align the four counter-bored screw holes of the UMS top plate with the four threaded
holes in the microscope base, exposed in the previous step.
5. Attach the plate to the microscope using four M4 x16 mm screws.
6. Turn the microscope (with top plate attached) upright again and place it on the lower
stage of the UMS.