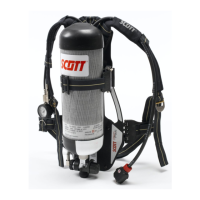
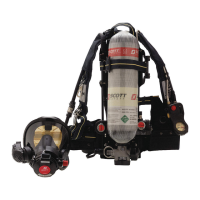
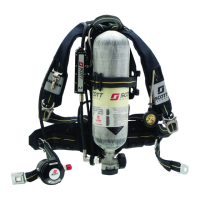
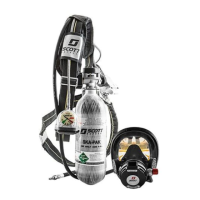
PRO-PAK
10
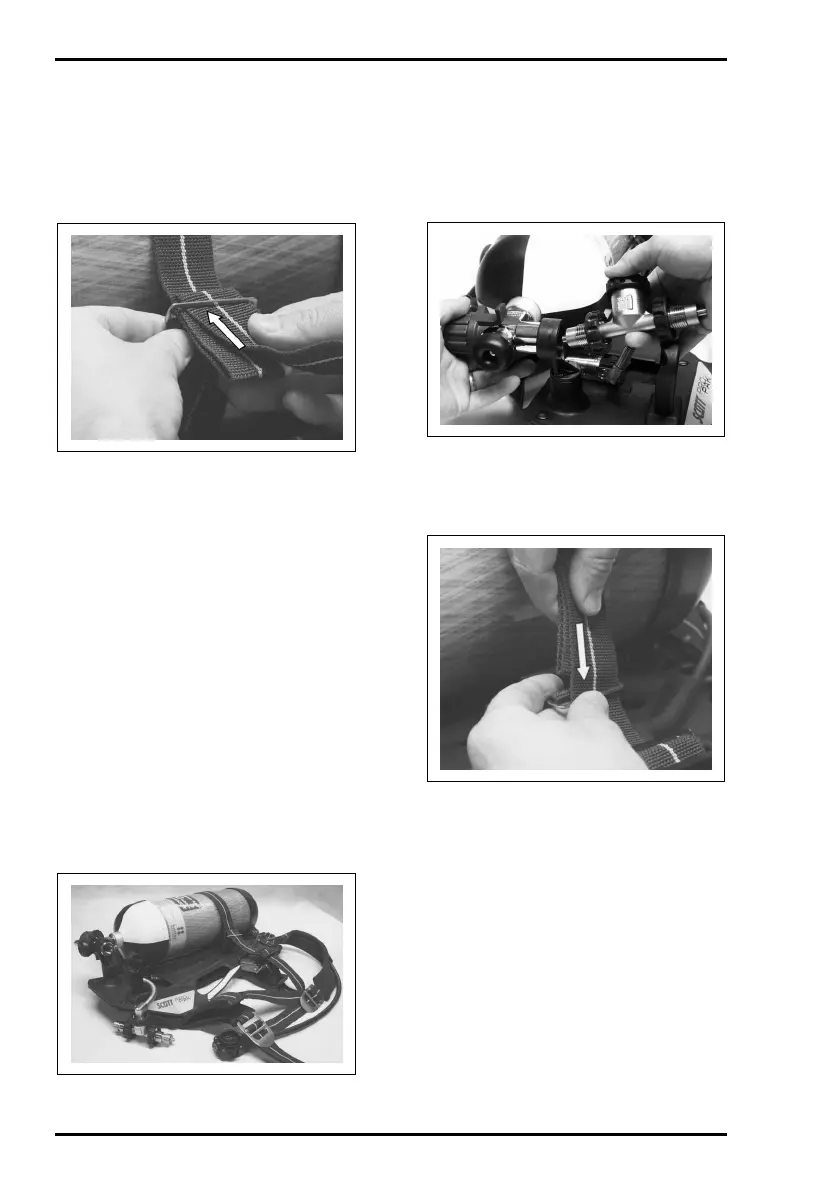
6. Manoeuvre the cylinder valve end
of the remaining cylinder to allow removal
of the Duo manifold from the cylinder
valve retainers.
7. Place the Duo manifold and high-
pressure hose aside, away from the
remaining cylinder valve.
8. Holding the flag-end loop and
cylinder band together, feed through the
buckle on the cylinder dividing loop. The
cylinder will move freely within the
cylinder band.
9. Remove the cylinder by sliding it
through the loosened cylinder band in
either direction, as desired.
WARNING:
Replacement cylinders must always be
fully-charged and of matching types.
CAUTION:
Before installing cylinders, ensure that
the protective shrouds are in position
on the buckle pivot bracket.
Note:
Cylinder replacement is carried out in the
reverse order of removal - i.e.: the last to
be removed is the first to be replaced.
10. Slide a fully-charged cylinder along
the back-plate and through the loosened
cylinder band. Position the cylinder outlet
through the cylinder valve retainer.
11. Inspect the cylinder connector O-
Rings on the Duo manifold to ensure that
they are clean and in good condition.
12. Manoeuvre the cylinder valve end
of the cylinder to allow the Duo manifold
to be inserted through the cylinder valve
retainers.
13. Holding the flag-end loop and
cylinder band together, re-feed through
the buckle on the cylinder dividing loop.
The cylinder will be loosely held within the
cylinder band.
14. Screw the cylinder connector firmly
into the cylinder valve outlet.
15. Slide a second fully-charged
cylinder along the back-plate and through
the loosened cylinder band. Position the
cylinder outlet through the cylinder valve
retainer.
16. Screw the cylinder connector firmly
into the cylinder valve outlet on the
second cylinder.