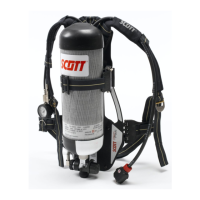
PRO-PAK
11
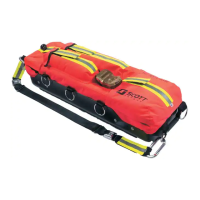
17. Grasp the cylinder band near to the
slide buckle and pull firmly to securely
retain the cylinder furthest from the clamp
mechanism.
18. Apply gentle pressure to the clamp
mechanism by pushing downwards and
toward the cylinder to close the
mechanism and tighten the cylinder band.
The clamp mechanism will lock
automatically when closed.
Should it become necessary to adjust the
size of the cylinder band:
i) Ensure that the clamp mechanism
is unlocked and in the open position.
ii) Adjust the tension of the cylinder
band using the slide buckle.
iii) Repeat operations 17 and 18 and
check that both cylinders are held
securely. Repeat as necessary.
19. Re-confirm that both cylinder
connectors are firmly secured to the
cylinder valve outlets.
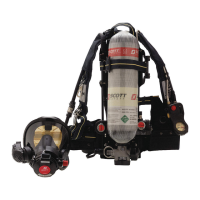
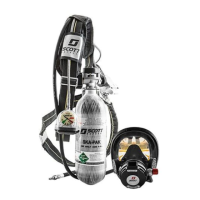
3.4 CONVERTING FROM
DUO CYLINDERS TO
SINGLE CYLINDER
Pro-Pak Duo can be adapted to
accommodate either one or two cylinders.
Conversion is a straightforward process
in which no tools are required.
To convert from Duo to single cylinder
application:
1. Remove both cylinders from the
back-plate as described in Section 3.3 of
this Manual.
2. Unscrew the central cylinder
connector from the Duo manifold. Store
the manifold safely for future use when
the Duo application may be required once
again.
3. Place the folding cylinder valve
retainer flat against the back-plate.
4. Rotate the fixed cylinder valve
retainer through 180
o
.
5. Remove the cylinder band loop (A)
from the retaining bracket by squeezing
together the end of the loop with the
thumb and forefinger and manoeuvring to
withdraw from the open-ended bracket.
6. Attach the flag-end loop (B) to the
retaining bracket by fitting one side of the
loop over the bracket and manoeuvring
until the opposite side of the loop is also
correctly positioned. Ensure that the loop
is fitted securely.