Installation Guide 5
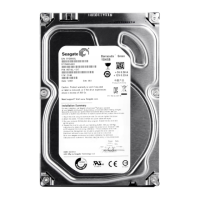
Attach the cables
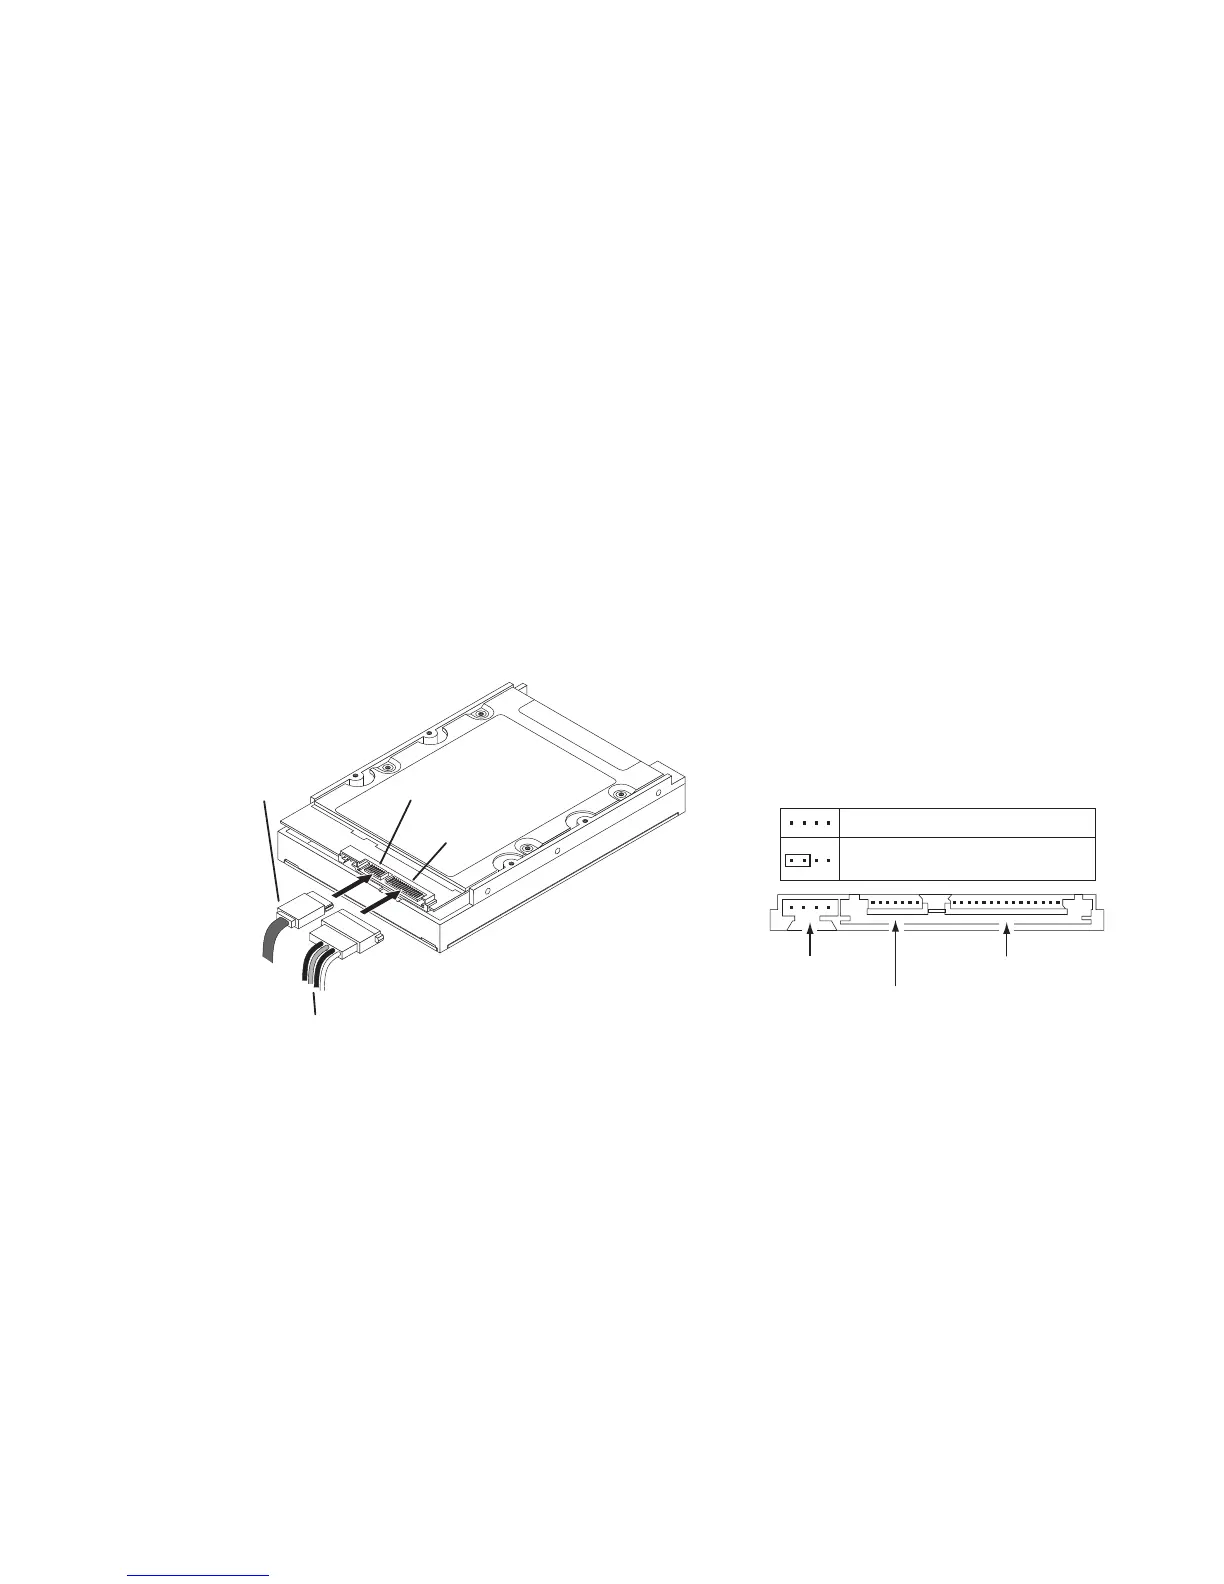
Attach cables to your new drive
Note: Do not disturb the power and interface cables that are
attached to your existing drive.
Attach the SATA interface and power-adapter
cables as shown. Connect either end of the
interface cable to the drive. Both data and
power adapters have keyed connections. Please
ensure proper orientation before connecting the
cables.
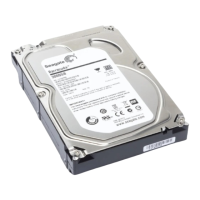
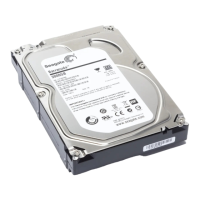
3Gb/sec SATA drive connected to a
1.5Gb/sec SATA card or motherboard
Older 1.5Gb/sec SATA motherboards and
host controllers equipped with VIA, VT8237,
VT8237R, VT6420, VT6421L, SIS760, and
SIS964 do not support auto speed negotiation
with newer 3.0Gbit drives. Systems with these
chipsets will hang, lock-up, or fail to detect
during boot.
Applying a jumper to the outer-most pins of the
jumper block will force the drive into the 1.5Gb/
sec transfer mode – allowing it to function on
the above mentioned chipsets.
See the gure below for Seagate SATA drive
jumper congurations.
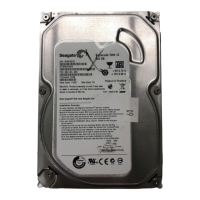
Serial ATA
cable
Serial ATA
interface connector
Power
connector
4-pin to 15-pin
power-adapter cable
The drive is inverted in
this illustration to show
the connectors.
Jumper block
SATA interface connector
Normal operation
Limit data transfer rate to
1.5 Gbits per second
SATA power connector