24
DAT 72/DDS-4 Product Manual
Installing an External Drive
The external drive is a compact external SCSI device that connects to the host
computer as a turnkey subsystem. Installing the external drive involves three simple
steps:
1. Configuring the drive
2. Connecting the SCSI interface cable
3. Connecting the power cord
Configuring the External Drive
The following is the default configuration for the external drive:
•
The SCSI ID: 6
•
Media Recognition System (MRS) checking: enabled
•
Parity checking: enabled
•
Data compression: enabled
•
Power-on self-test diagnostics: enabled
•
Host operating system: Windows 98/Me/XP/NT/2000/2003 Server
•
Termination power: supplied to the SCSI bus
Note:
Some of these configuration settings can be changed using the SCSI Mode
Select command. SCSI command information for these drives is provided in
the product description manual.
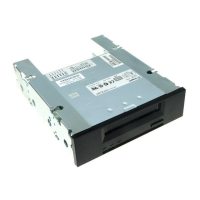
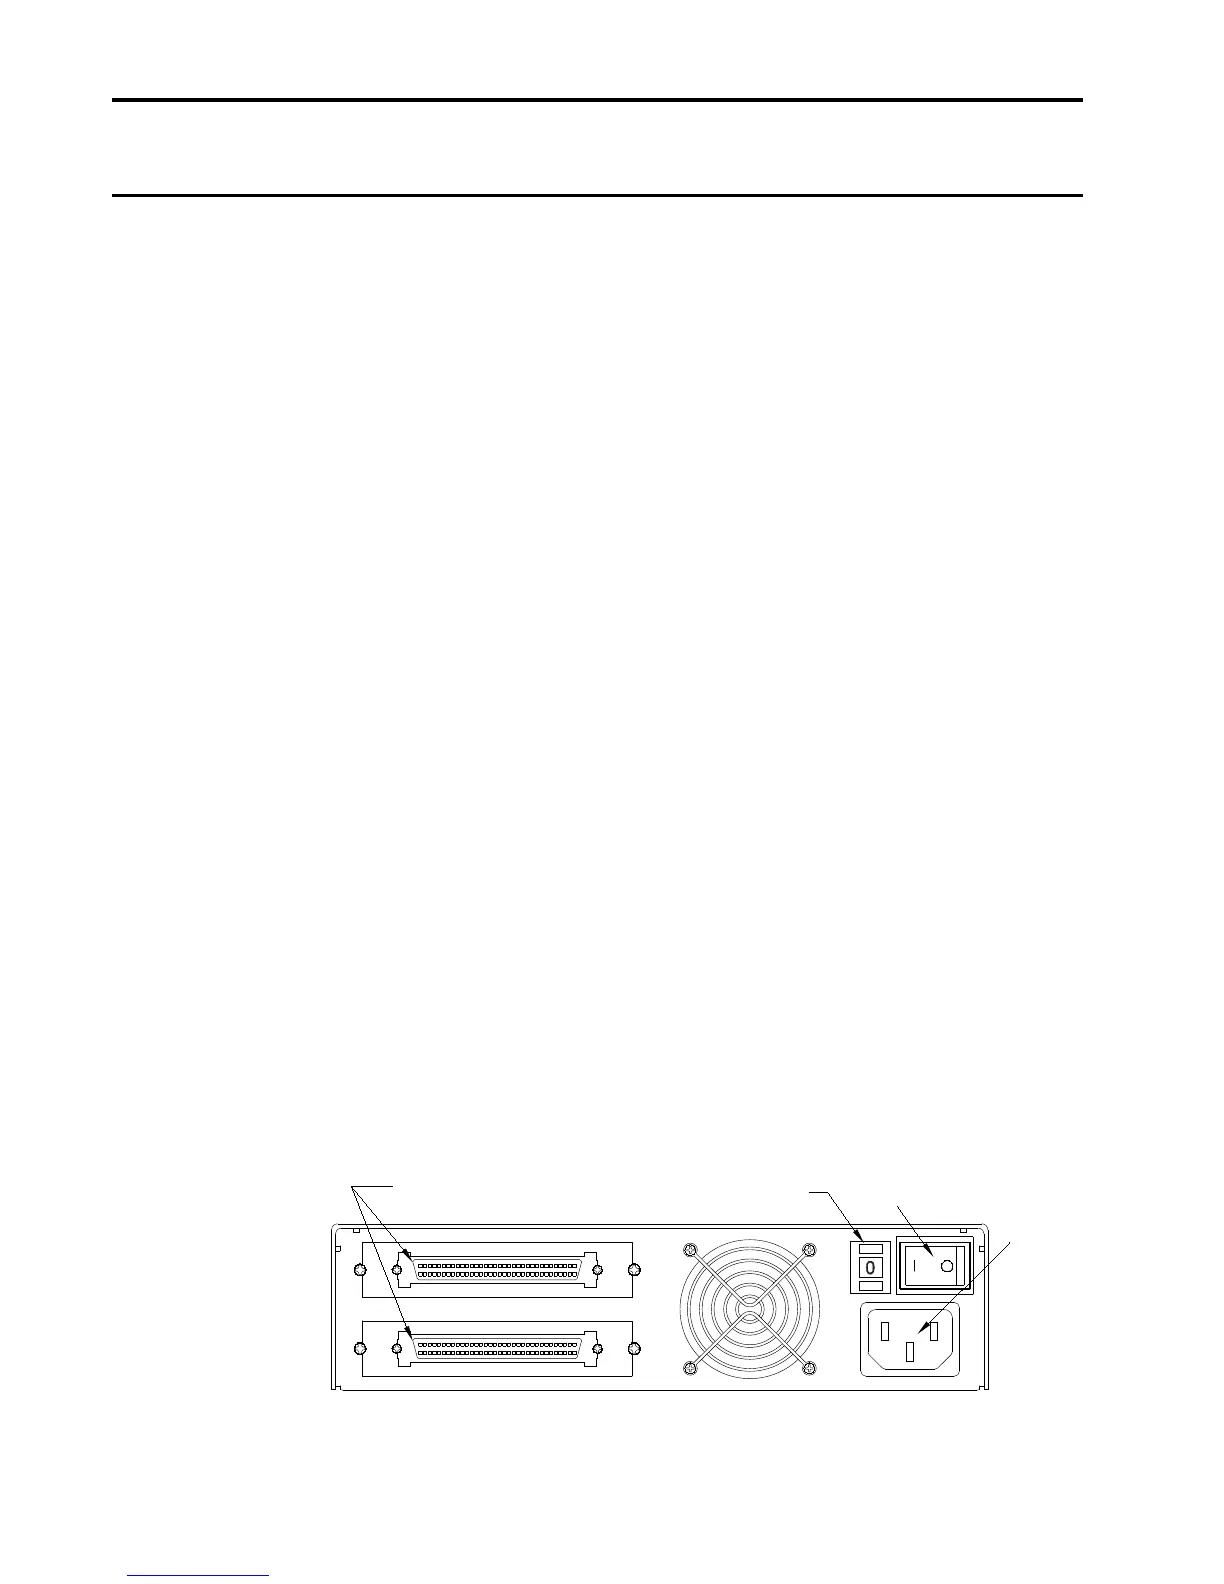
Setting the SCSI ID
Make sure that the drive is turned off; and then set the SCSI ID for the drive using
the push-button switch on the back of the external drive. Figure 14 shows this switch,
as well as the two SCSI interface connectors, on/off switch, and the power-cord
connector.
Note:
The drive must be restarted, or a bus reset must occur for any change in a
SCSI ID to take effect.