Consider the points below before following the instructions:
Replace an existing or faulty hard drive with a hard drive of equal or greater capacity.
When handling hard drives, make sure that they are placed (and stored) on a cushioned surface.
If you are replacing a 3.5-inch hard drive with a 2.5-inch hard drive, make certain to use the screws
included with the NAS.
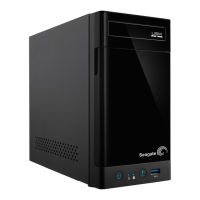
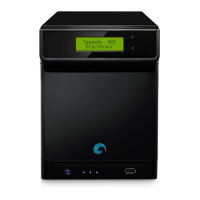
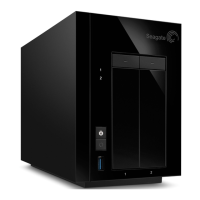
3.5-inch hard drive
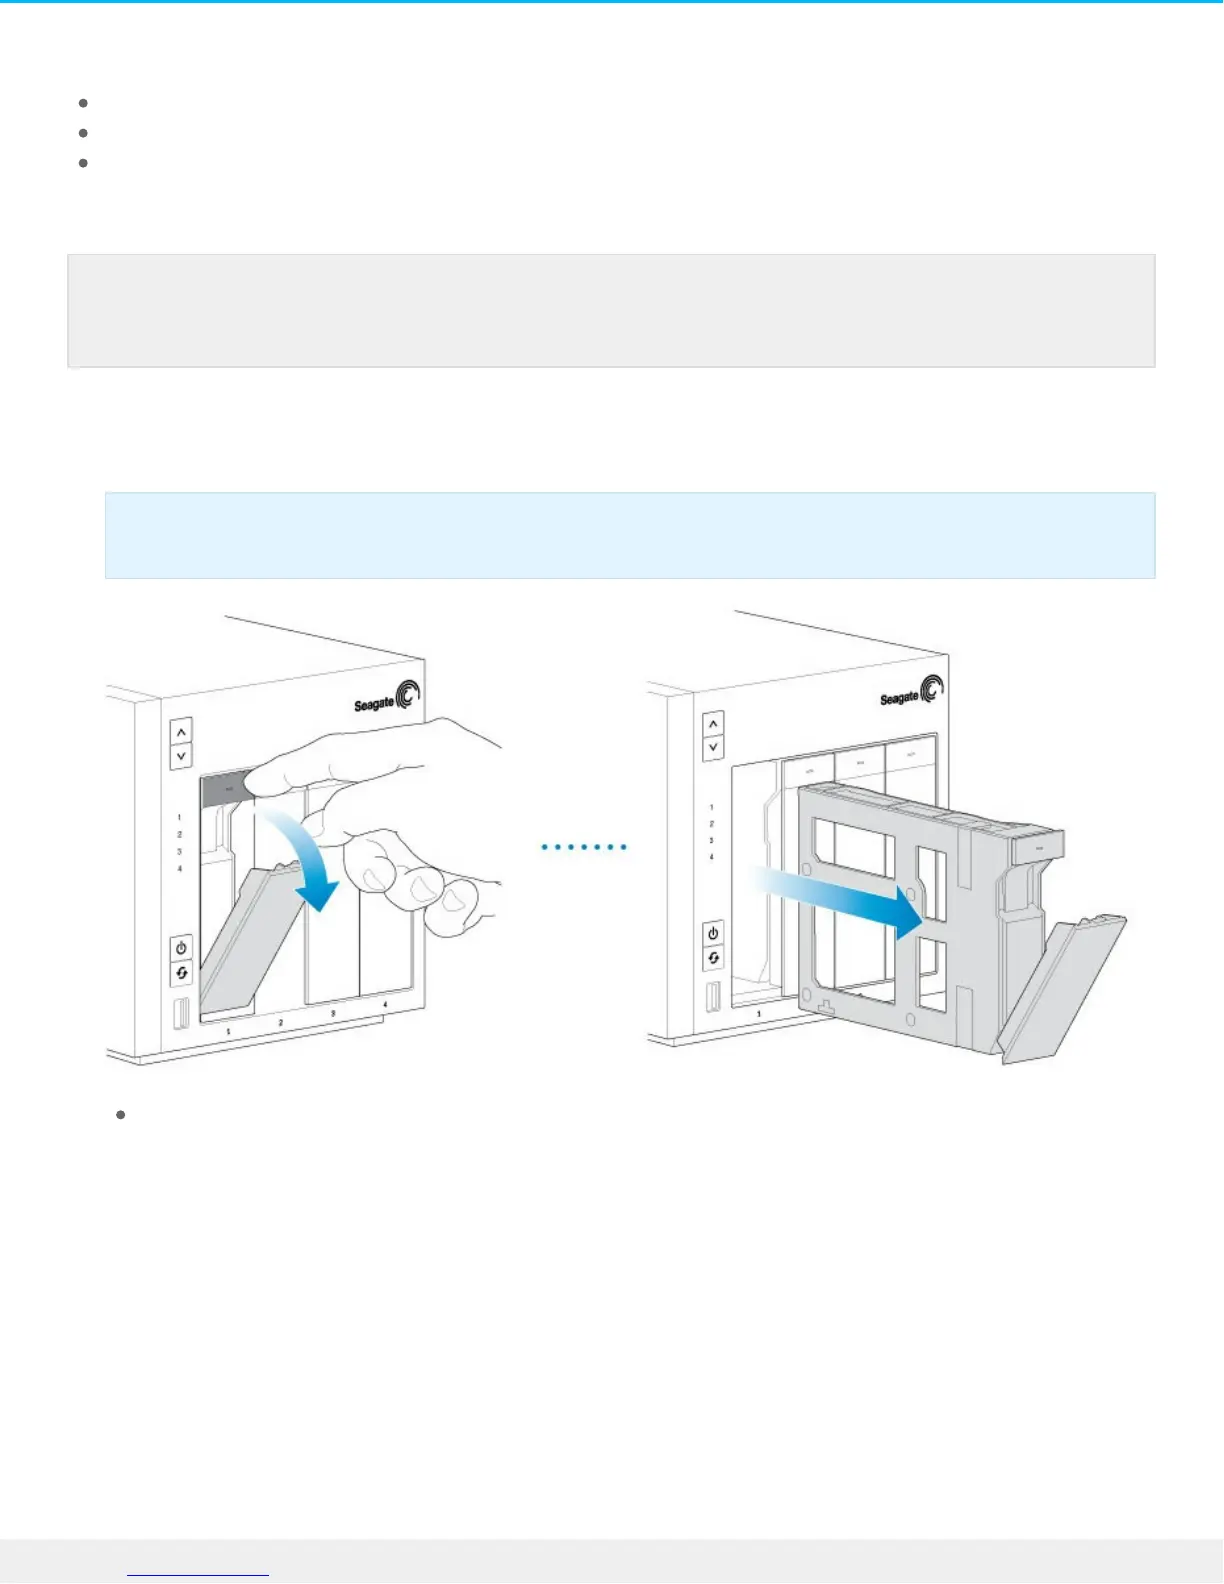
1. Push the hard drive tray’s lock button to open the latch and remove the hard drive tray.
2. Insert a new hard drive or replace the current hard drive:
Empty tray: gently bend the left side of the tray and connect the hard drive to the two pins on the
right.
Note: Seagate hard drives are optimized for use with your NAS. See Seagate NAS HDD for
further information.
Important: Make certain that you remove the correct hard drive tray.
 Loading...