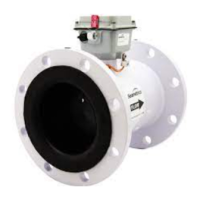
AG3000 INSTRUCTIONS
Seametrics • 253.872.0284 Page 10 seametrics.com
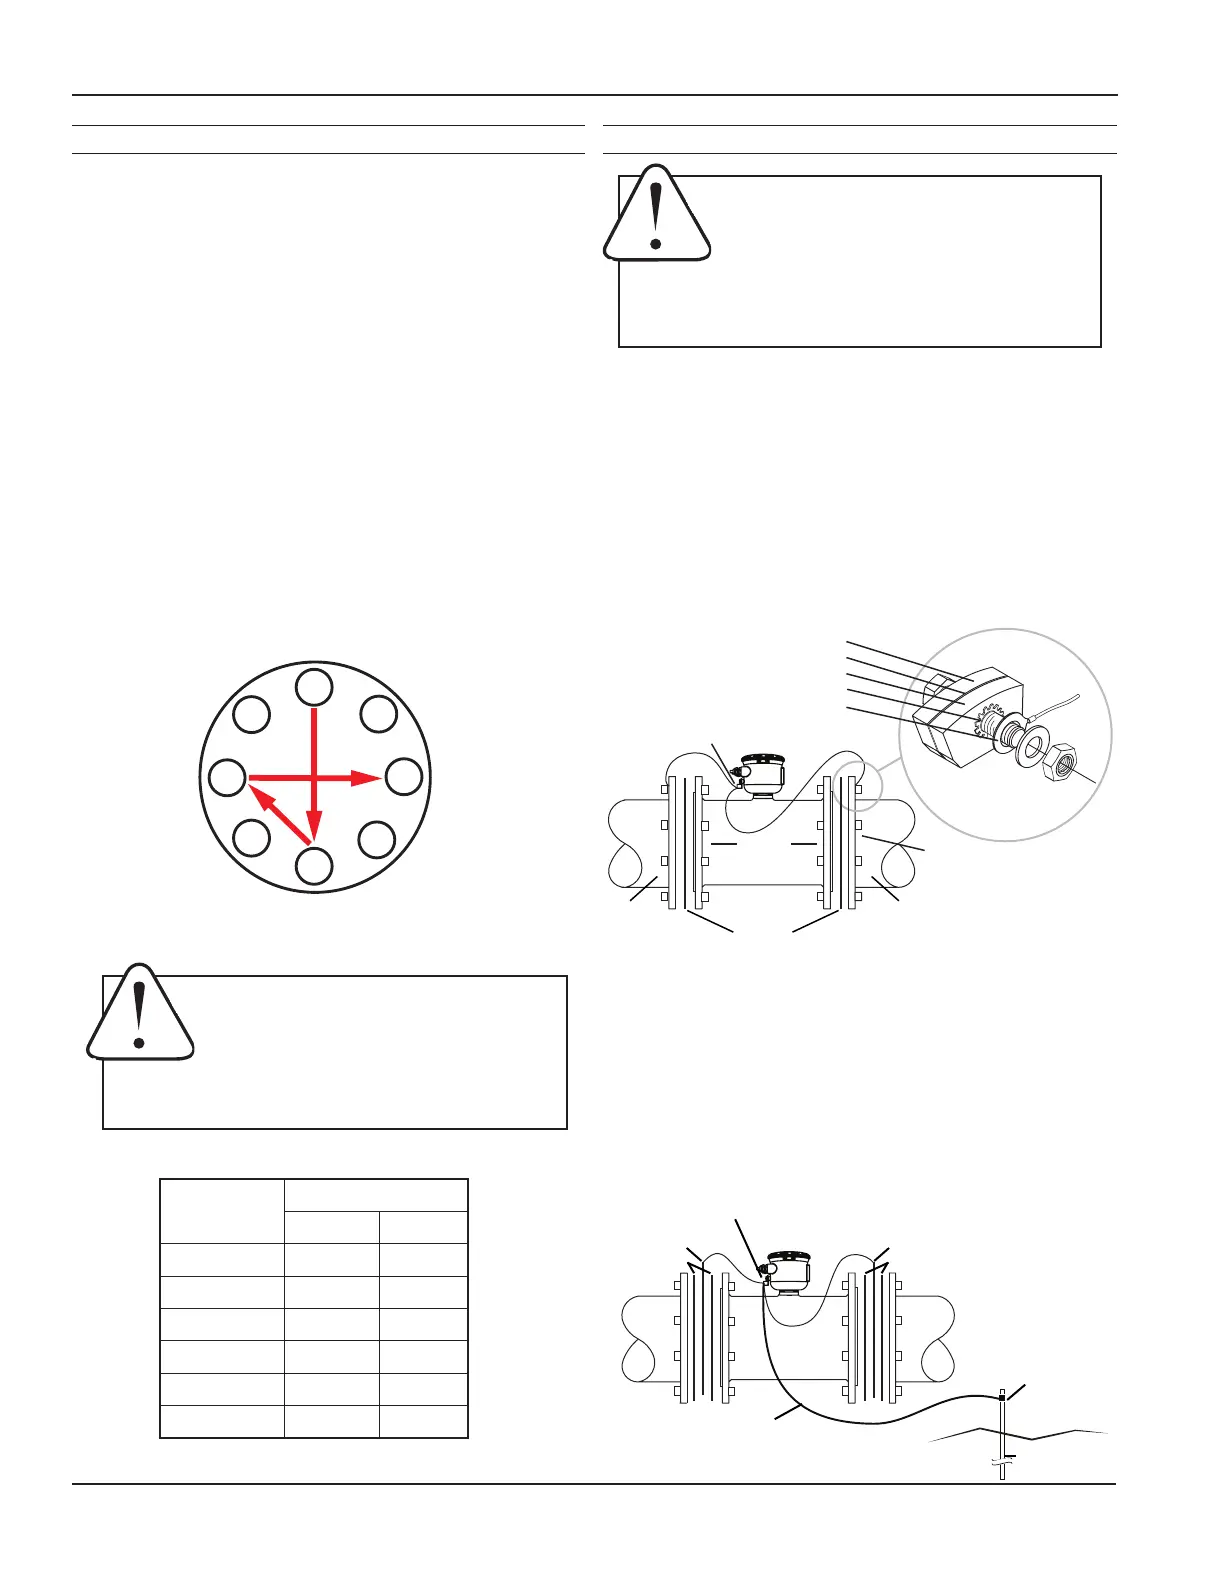
Equalization and Grounding
Metal Pipe Installations. To equalize the electrical
potential of the uid, the AG3000 meter, and the
surrounding pipe, secure the ange plates (factory-installed
on the equalization wire) to both pipe anges at one of the
bolt holes, as shown below. Be sure the lock washer ts
between the pipe ange and the ange plate. For the best
electrical bonding, remove rust and paint to expose clean,
bare metal where the equalization ange plate lock washer
contacts the pipe ange. Connection must be inspected
periodically for corrosion to maintain the necessary low
resistance connection.
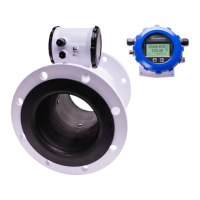
Plastic Pipe and Electronically Noisy Installations.When the
AG3000 is installed in plastic pipe or in an electrically noisy
system (near a VFD etc.), grounding rings are recommended.
As shown in the diagram below, the equalization wires should
be solidly connected to the grounding ring tabs instead of the
ange bolts as in metal piping installations. Where lightning
is a threat, or in severe electrical environments, an optional
connection to a nearby equipment ground or ground rod may
be advisable.
WARNING: ELECTRICAL SHOCK HAZARD
When the AG3000 is installed in a plastic
piping system, or when externally powered,
the piping system must be grounded to
meet national and local electrical safety
codes. Failure to do so can result in
electrocution.
Equalization Lug
Meter
Flange
Pipe
Flange
Gasket
Pipe Flange
Flange Plate
Lockwasher
Metal PipeMetal Pipe
Meter Flange
Gaskets
Equalization Lug
Ground Clamp
(Exothermicallyweldwhen
corrosionisaconcern)
8’ Ground Rod
Earth
Grounding Ring
Gaskets
Grounding Ring
Gaskets
#6, #8, or #12 AWG Stranded
Copper Ground Wire < 5’
Plastic
Pipe
Plastic
Pipe
Grounding Ring Part Numbers:
3” = 102157 8” = 100878
4” = 100876 10” = 100879
6” = 100877 12” = 103288
INSTALLATION
Tightening Flange Bolts
NOTE: Mating pipe anges must be ANSI 150# full face (FF)
and/or raised face (RT).
1. Tighten ange bolts in an alternating pattern.
• Tighten left ange bolt-1 to 20% recommended
torque.
• Tighten right ange bolt-1 to 20% of
recommended torque.
• Repeat steps a and b for each bolt in an
alternating order, such as shown at right,
tightening to 40%, then 60%, then 80%, and
then 100%.
2. Test for leaks.
3. If needed, tighten further in 10% increments
until leaking stops. DO NOT over-tighten. Over-
tightening can cause serious damage to the ow
meter.
4. Recheck after 24 hours, adjusting if needed.
SuggestedTighteningSequence
Caution: Improper tightening sequence
can cause serious damage to the ow
meter.
• Do not tighten one side at a time.
• Do not tighten each bolt completely
at one time.
Liner
Pipe Size ft-lb Nm
3” 25 34
4” 20 27
6” 42 57
8” 65 88
10” 73 99
12” 97 132
SUGGESTED FLANGE BOLT TORQUE
1
2
3
4
5
6
7
8
 Loading...